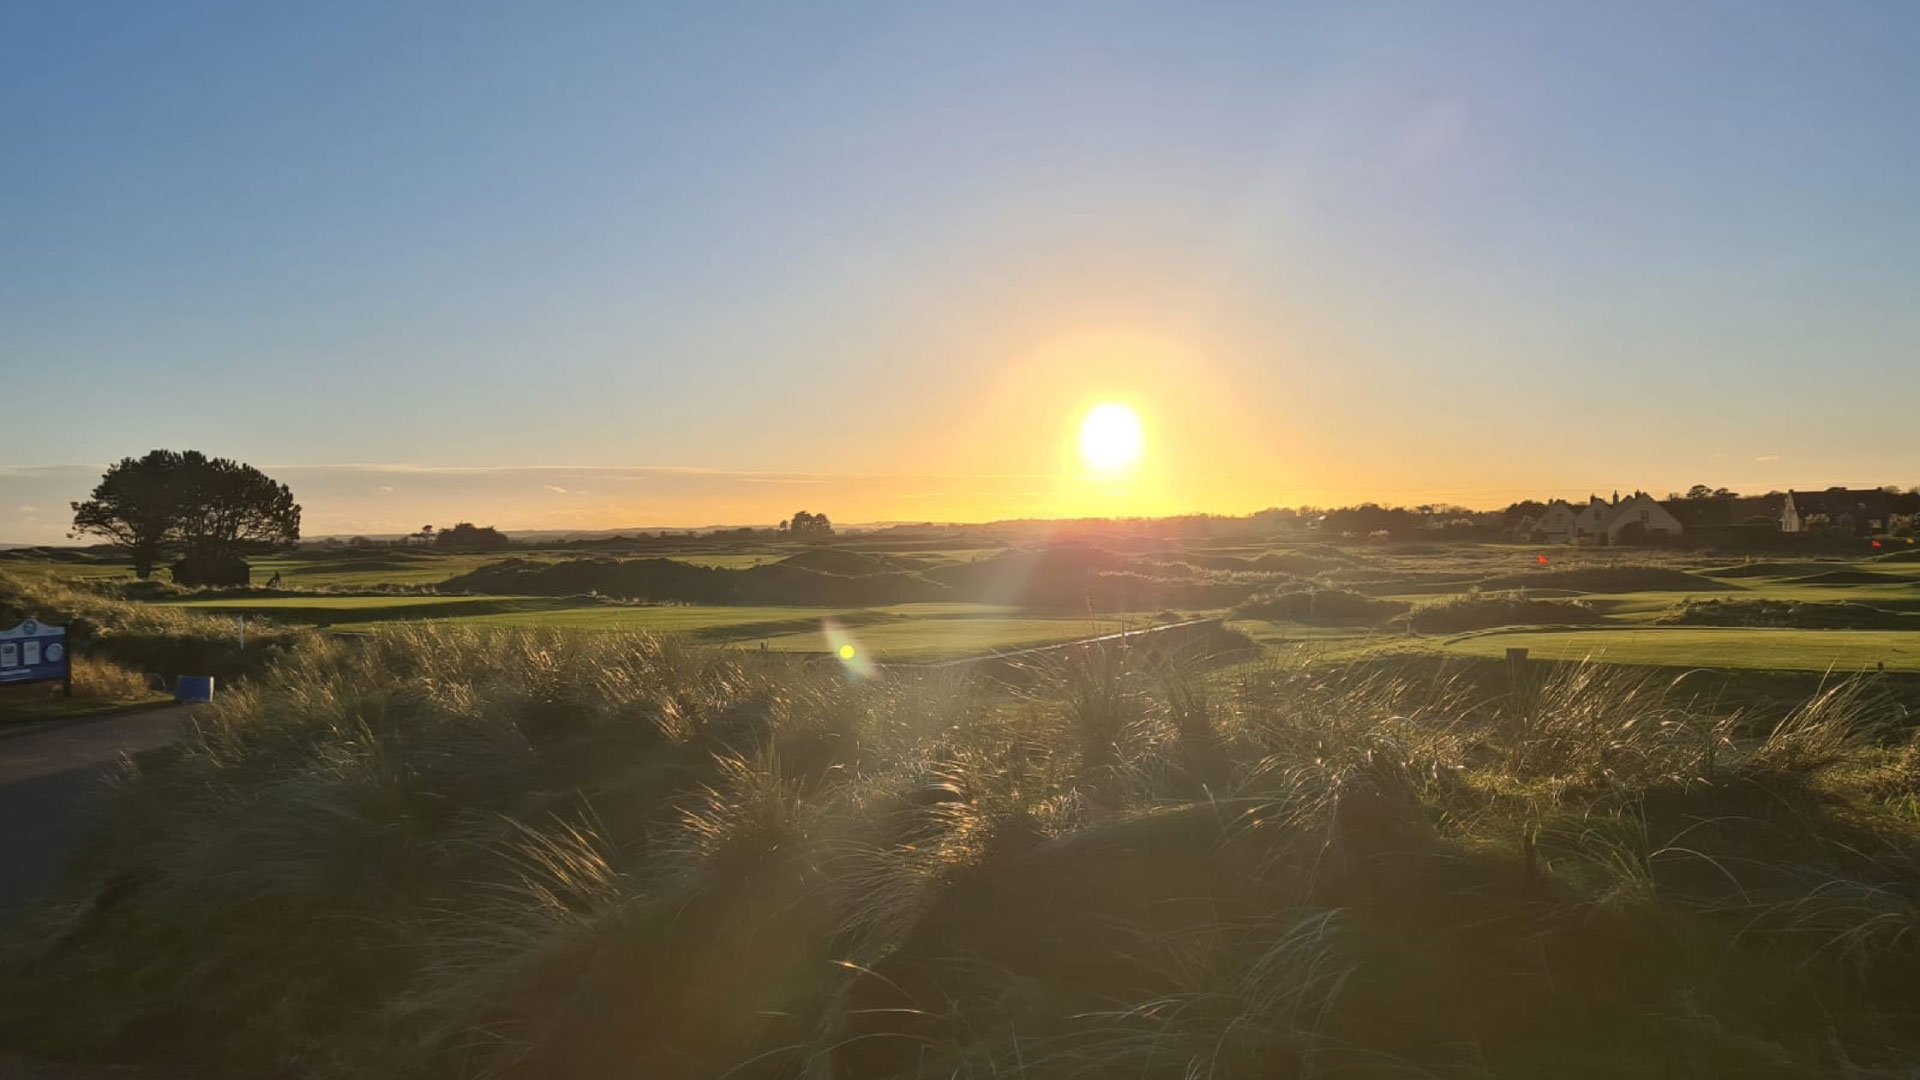
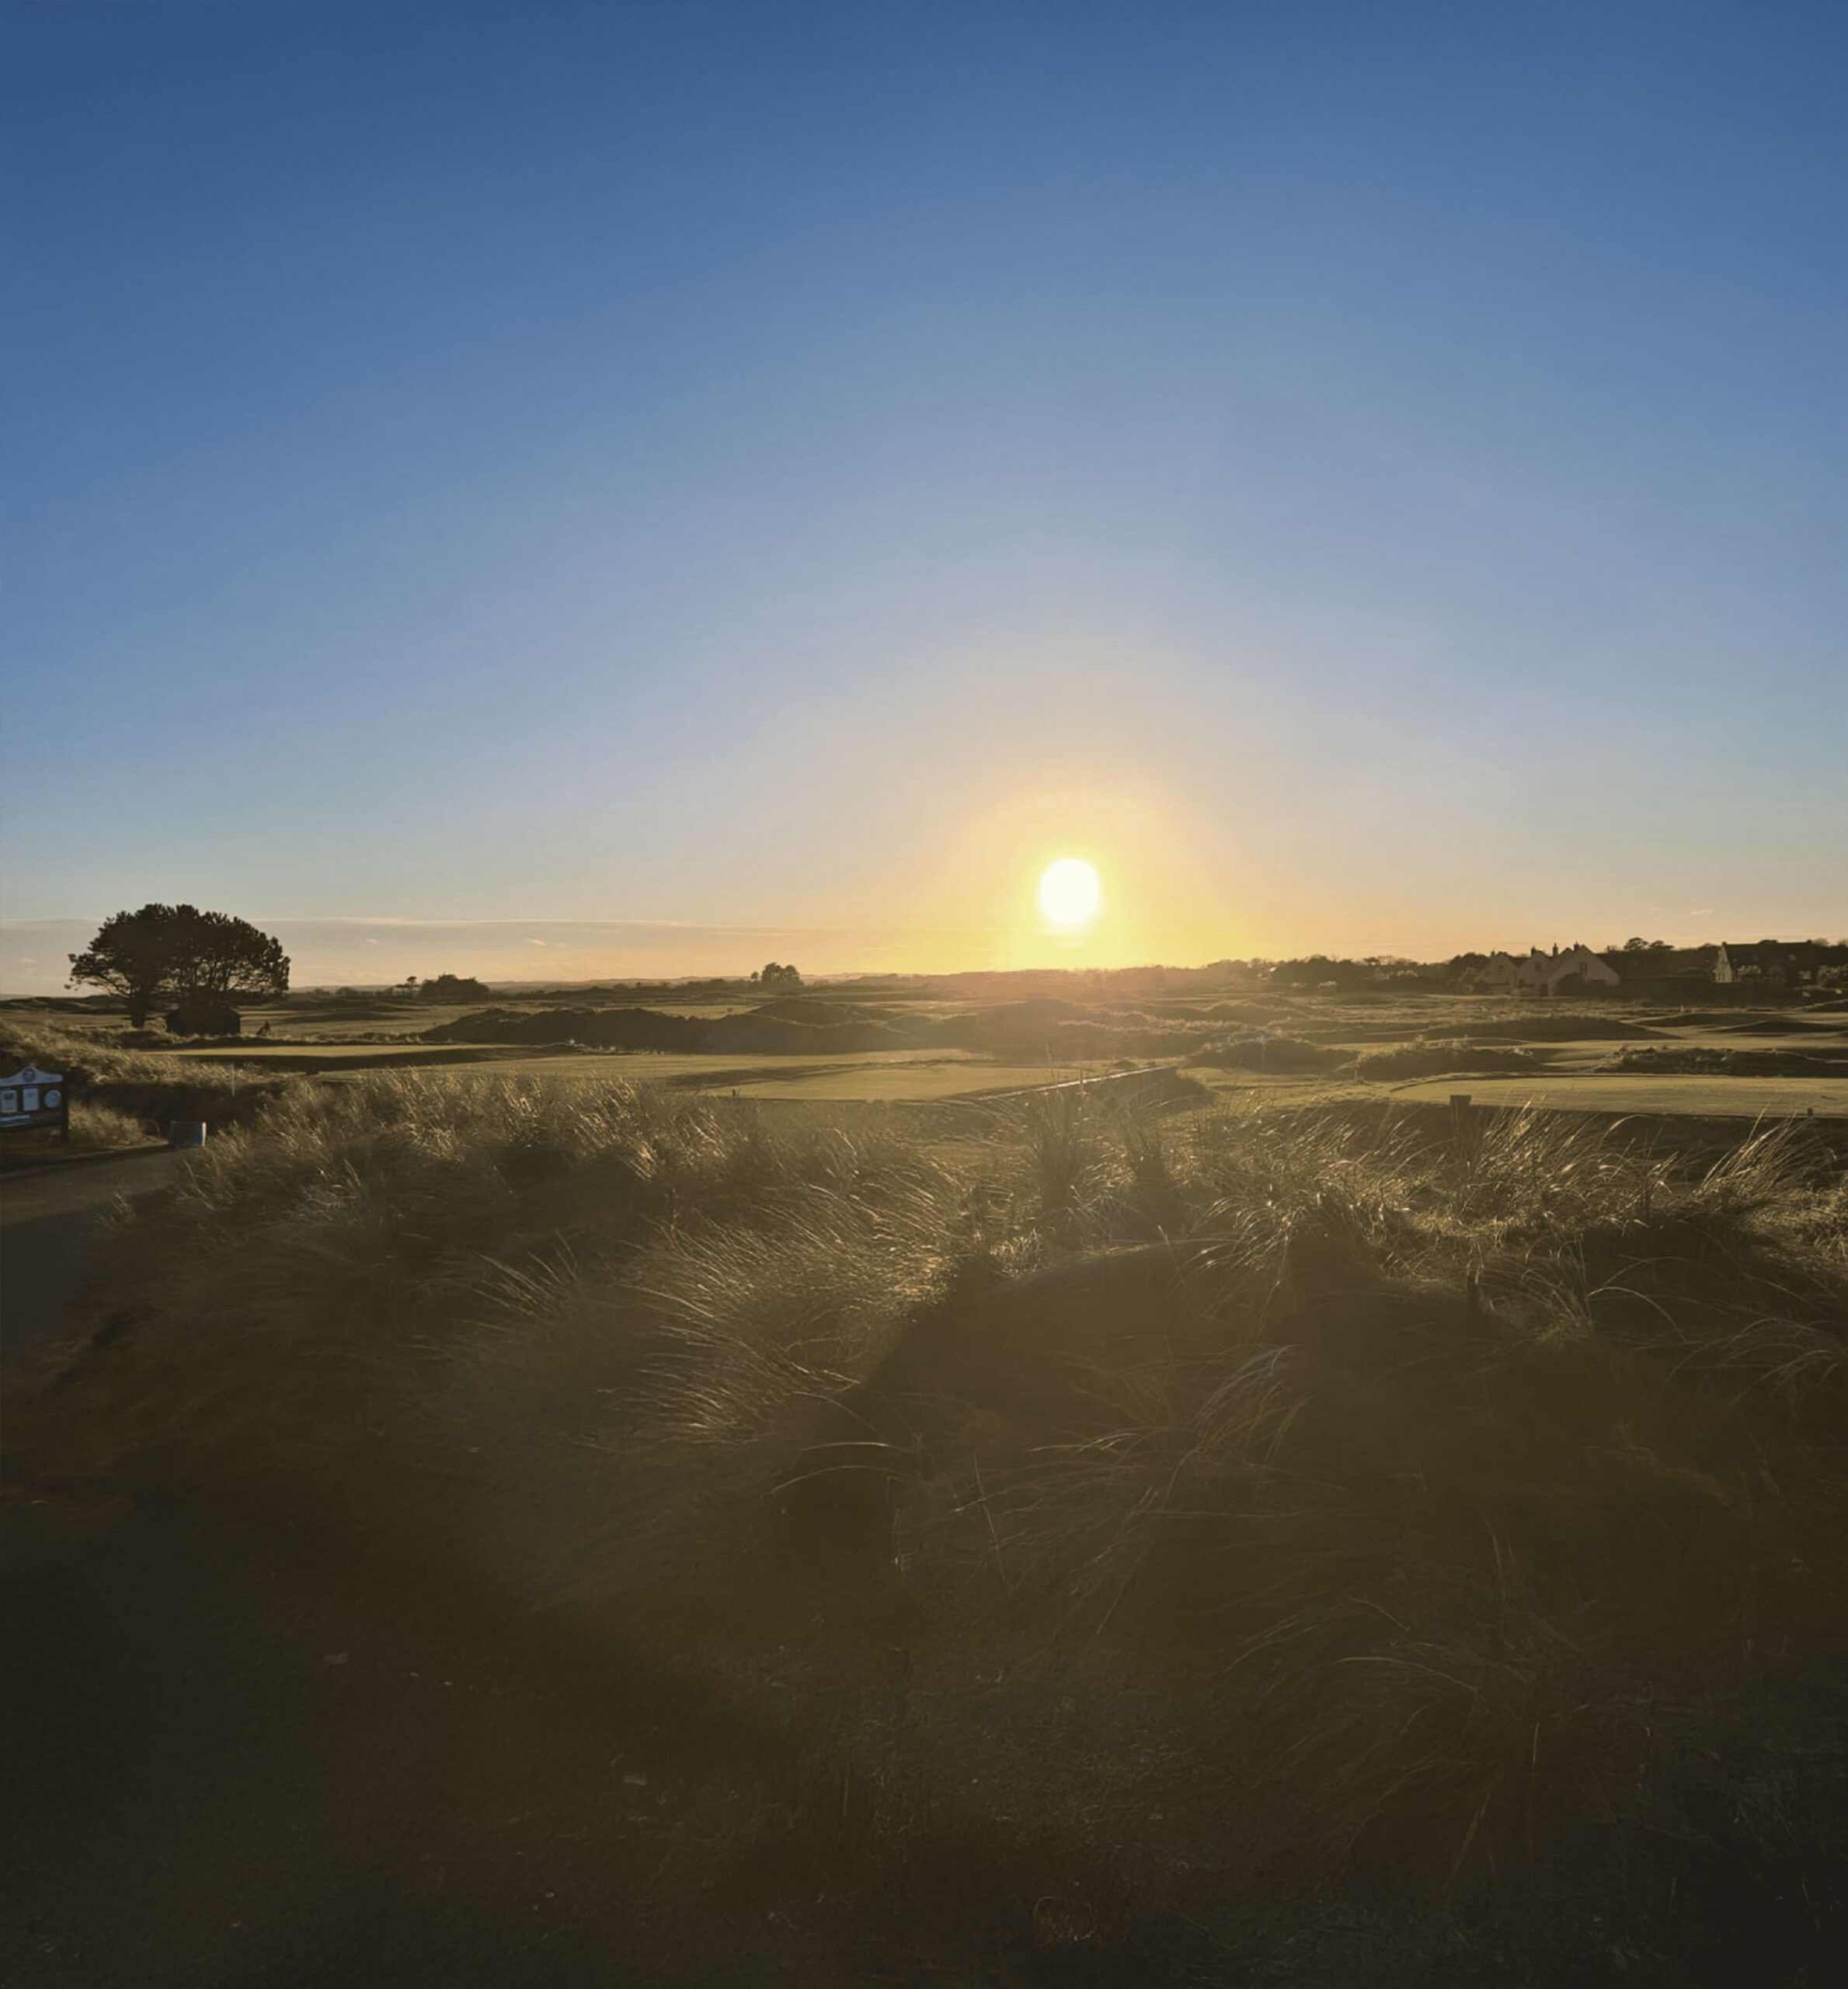
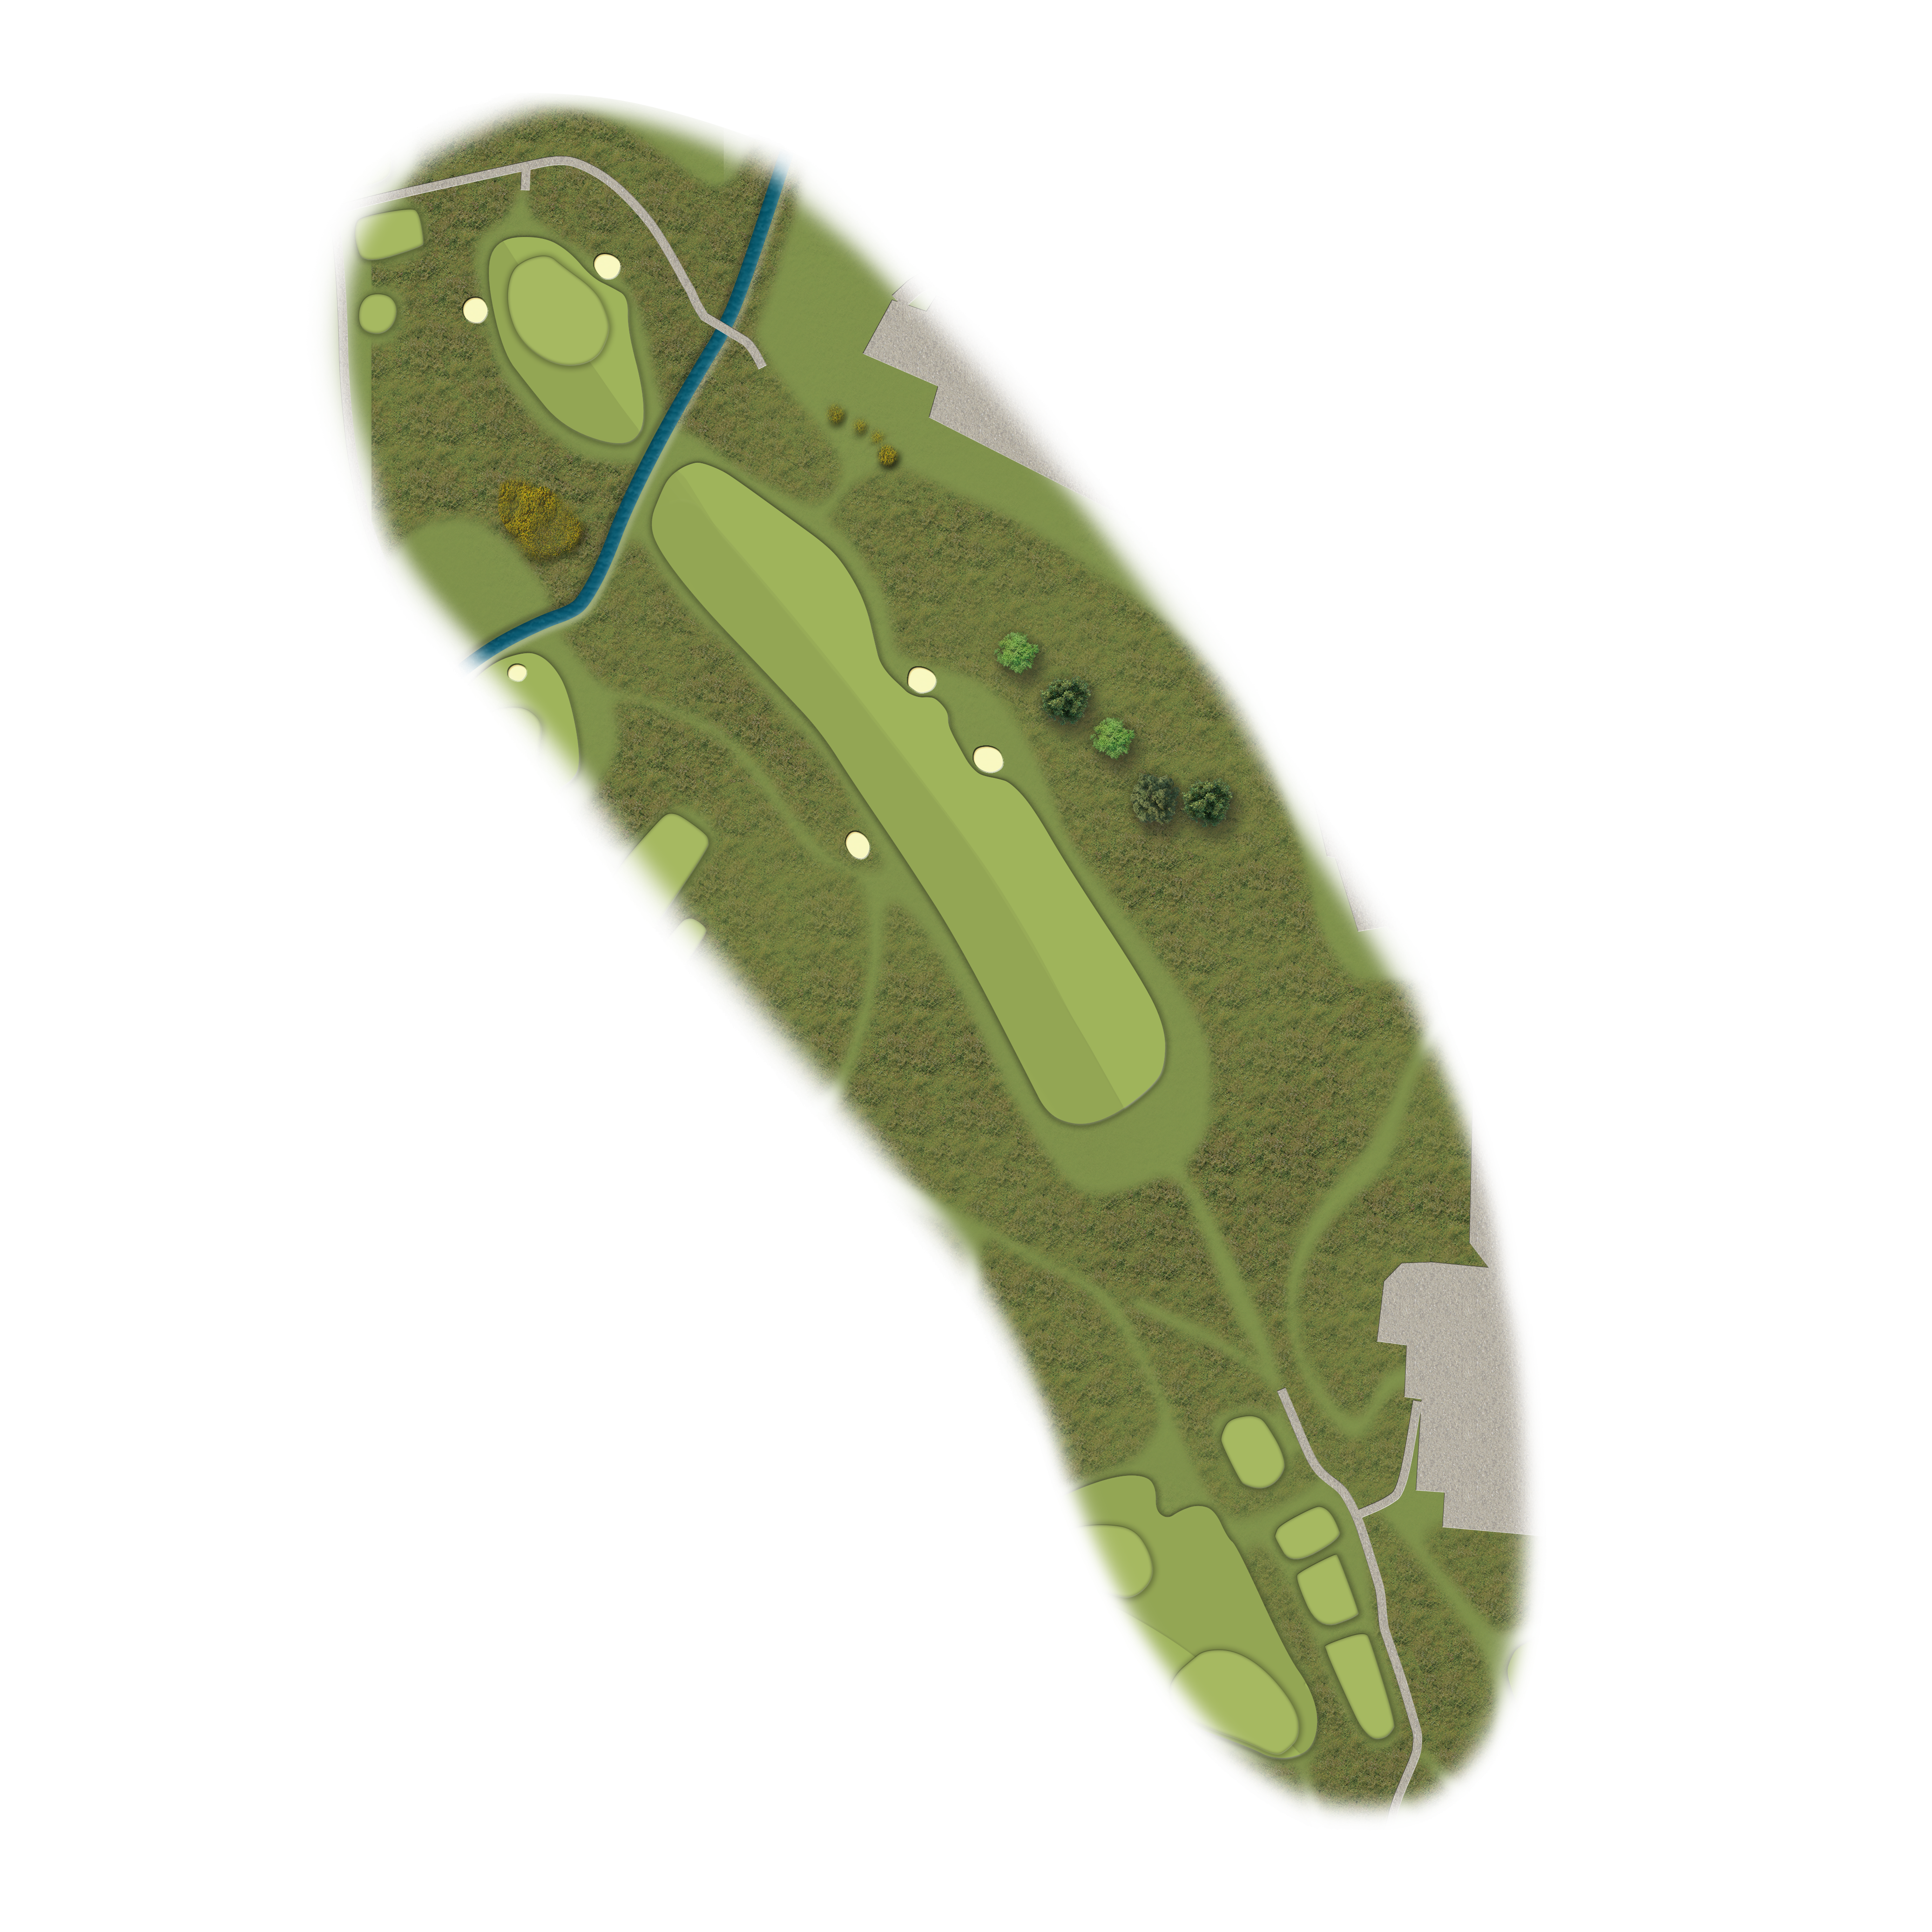
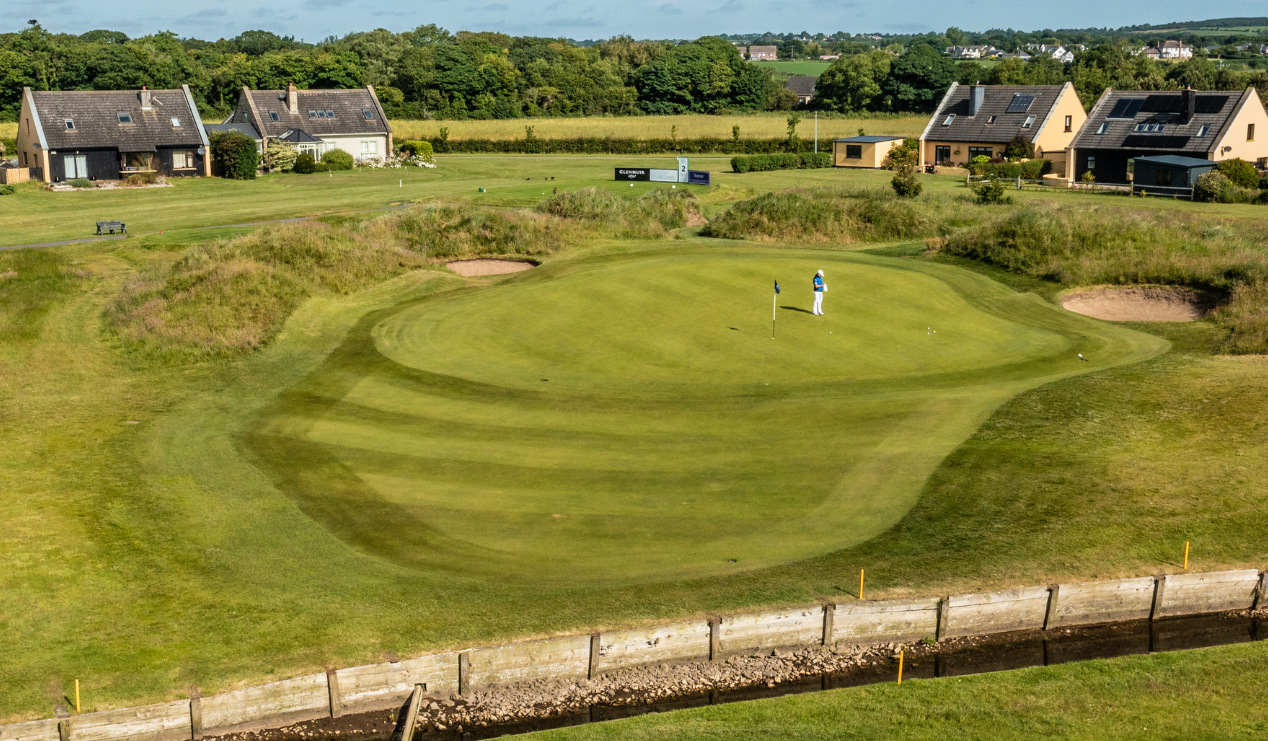
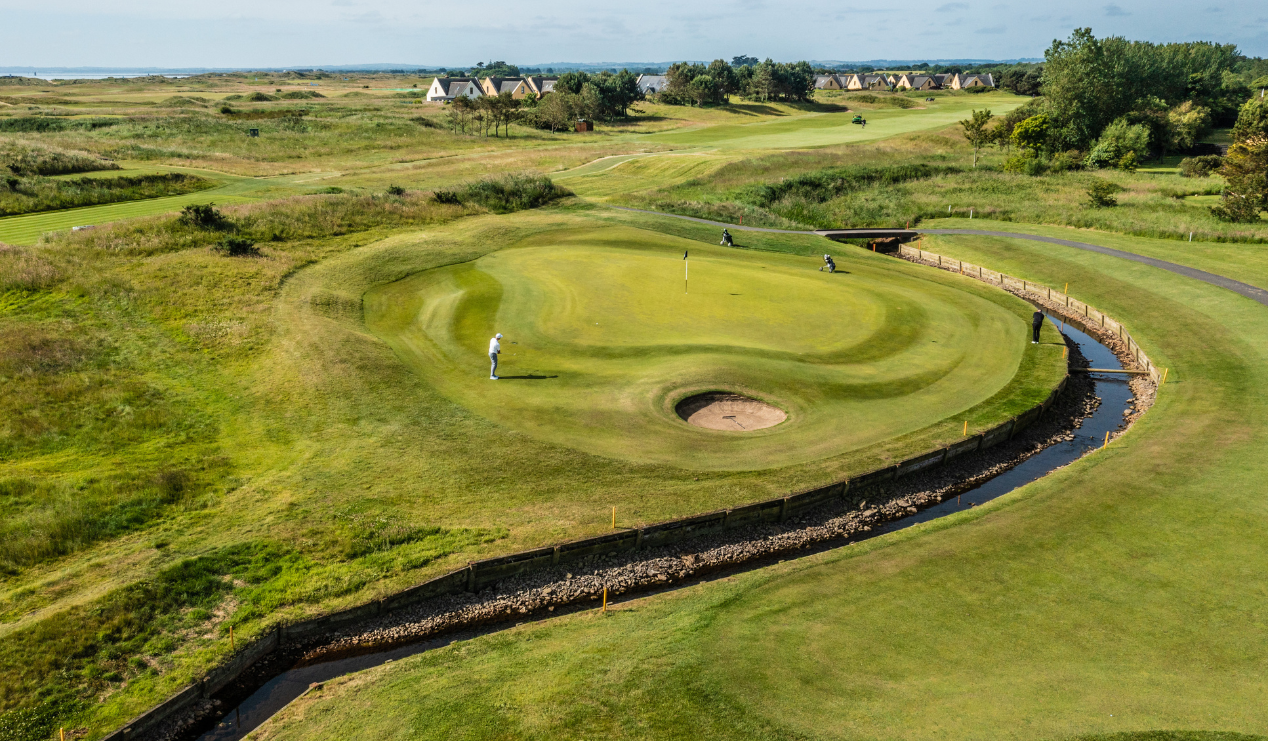
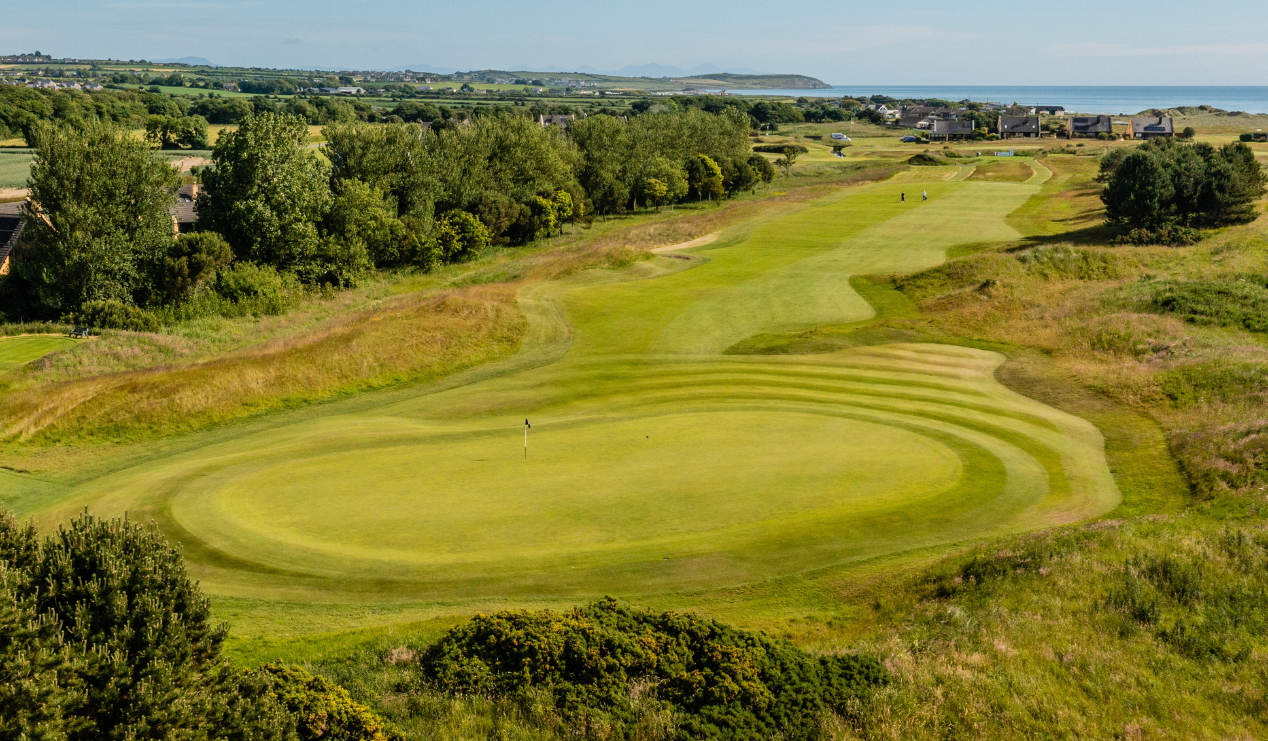
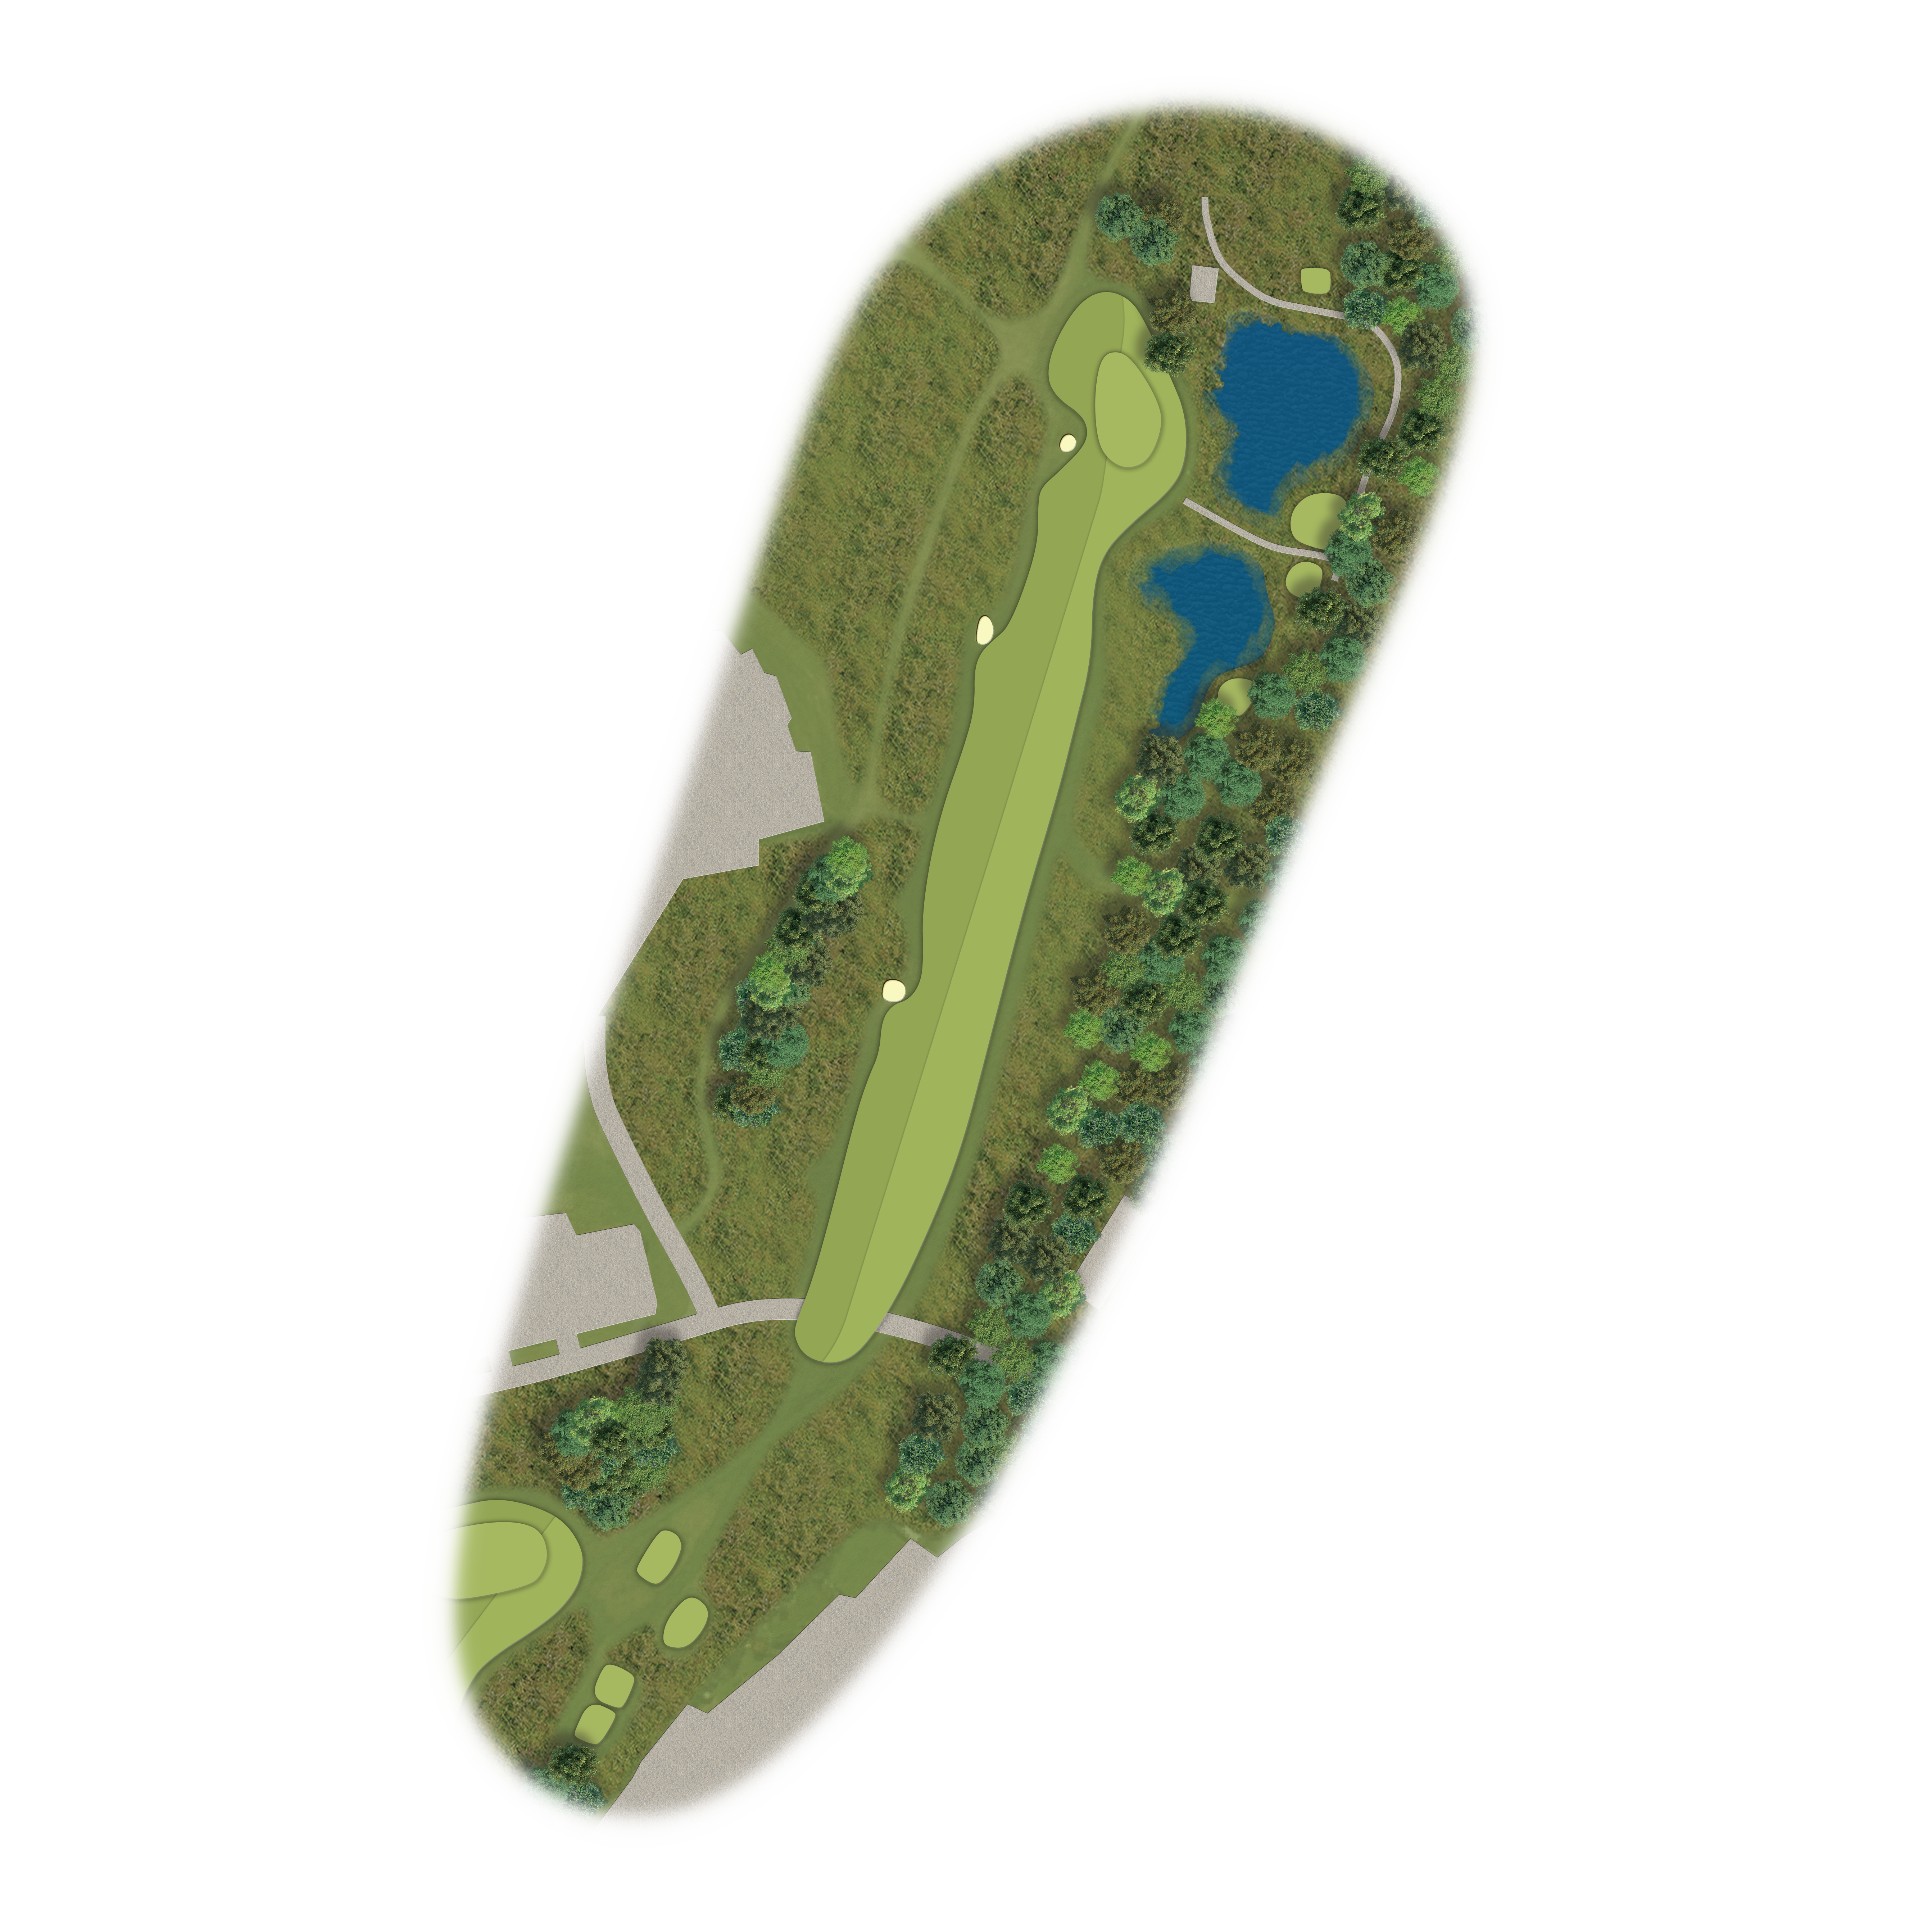
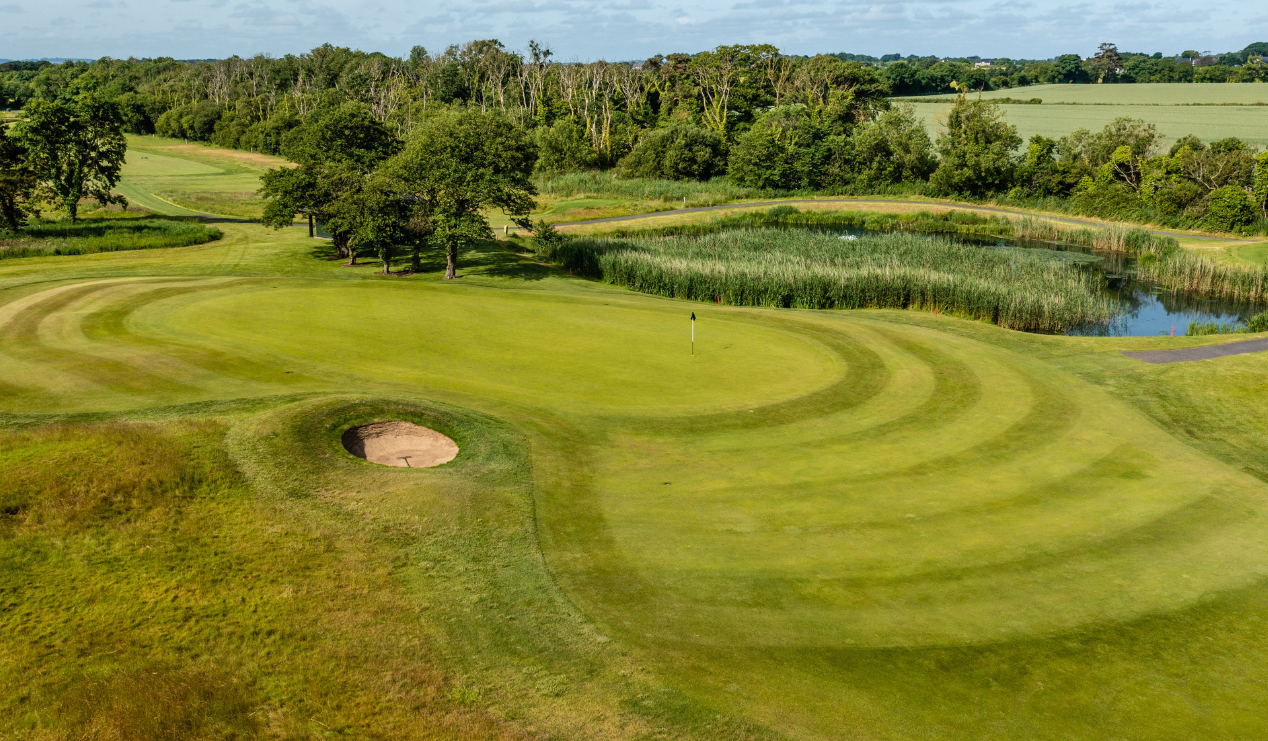
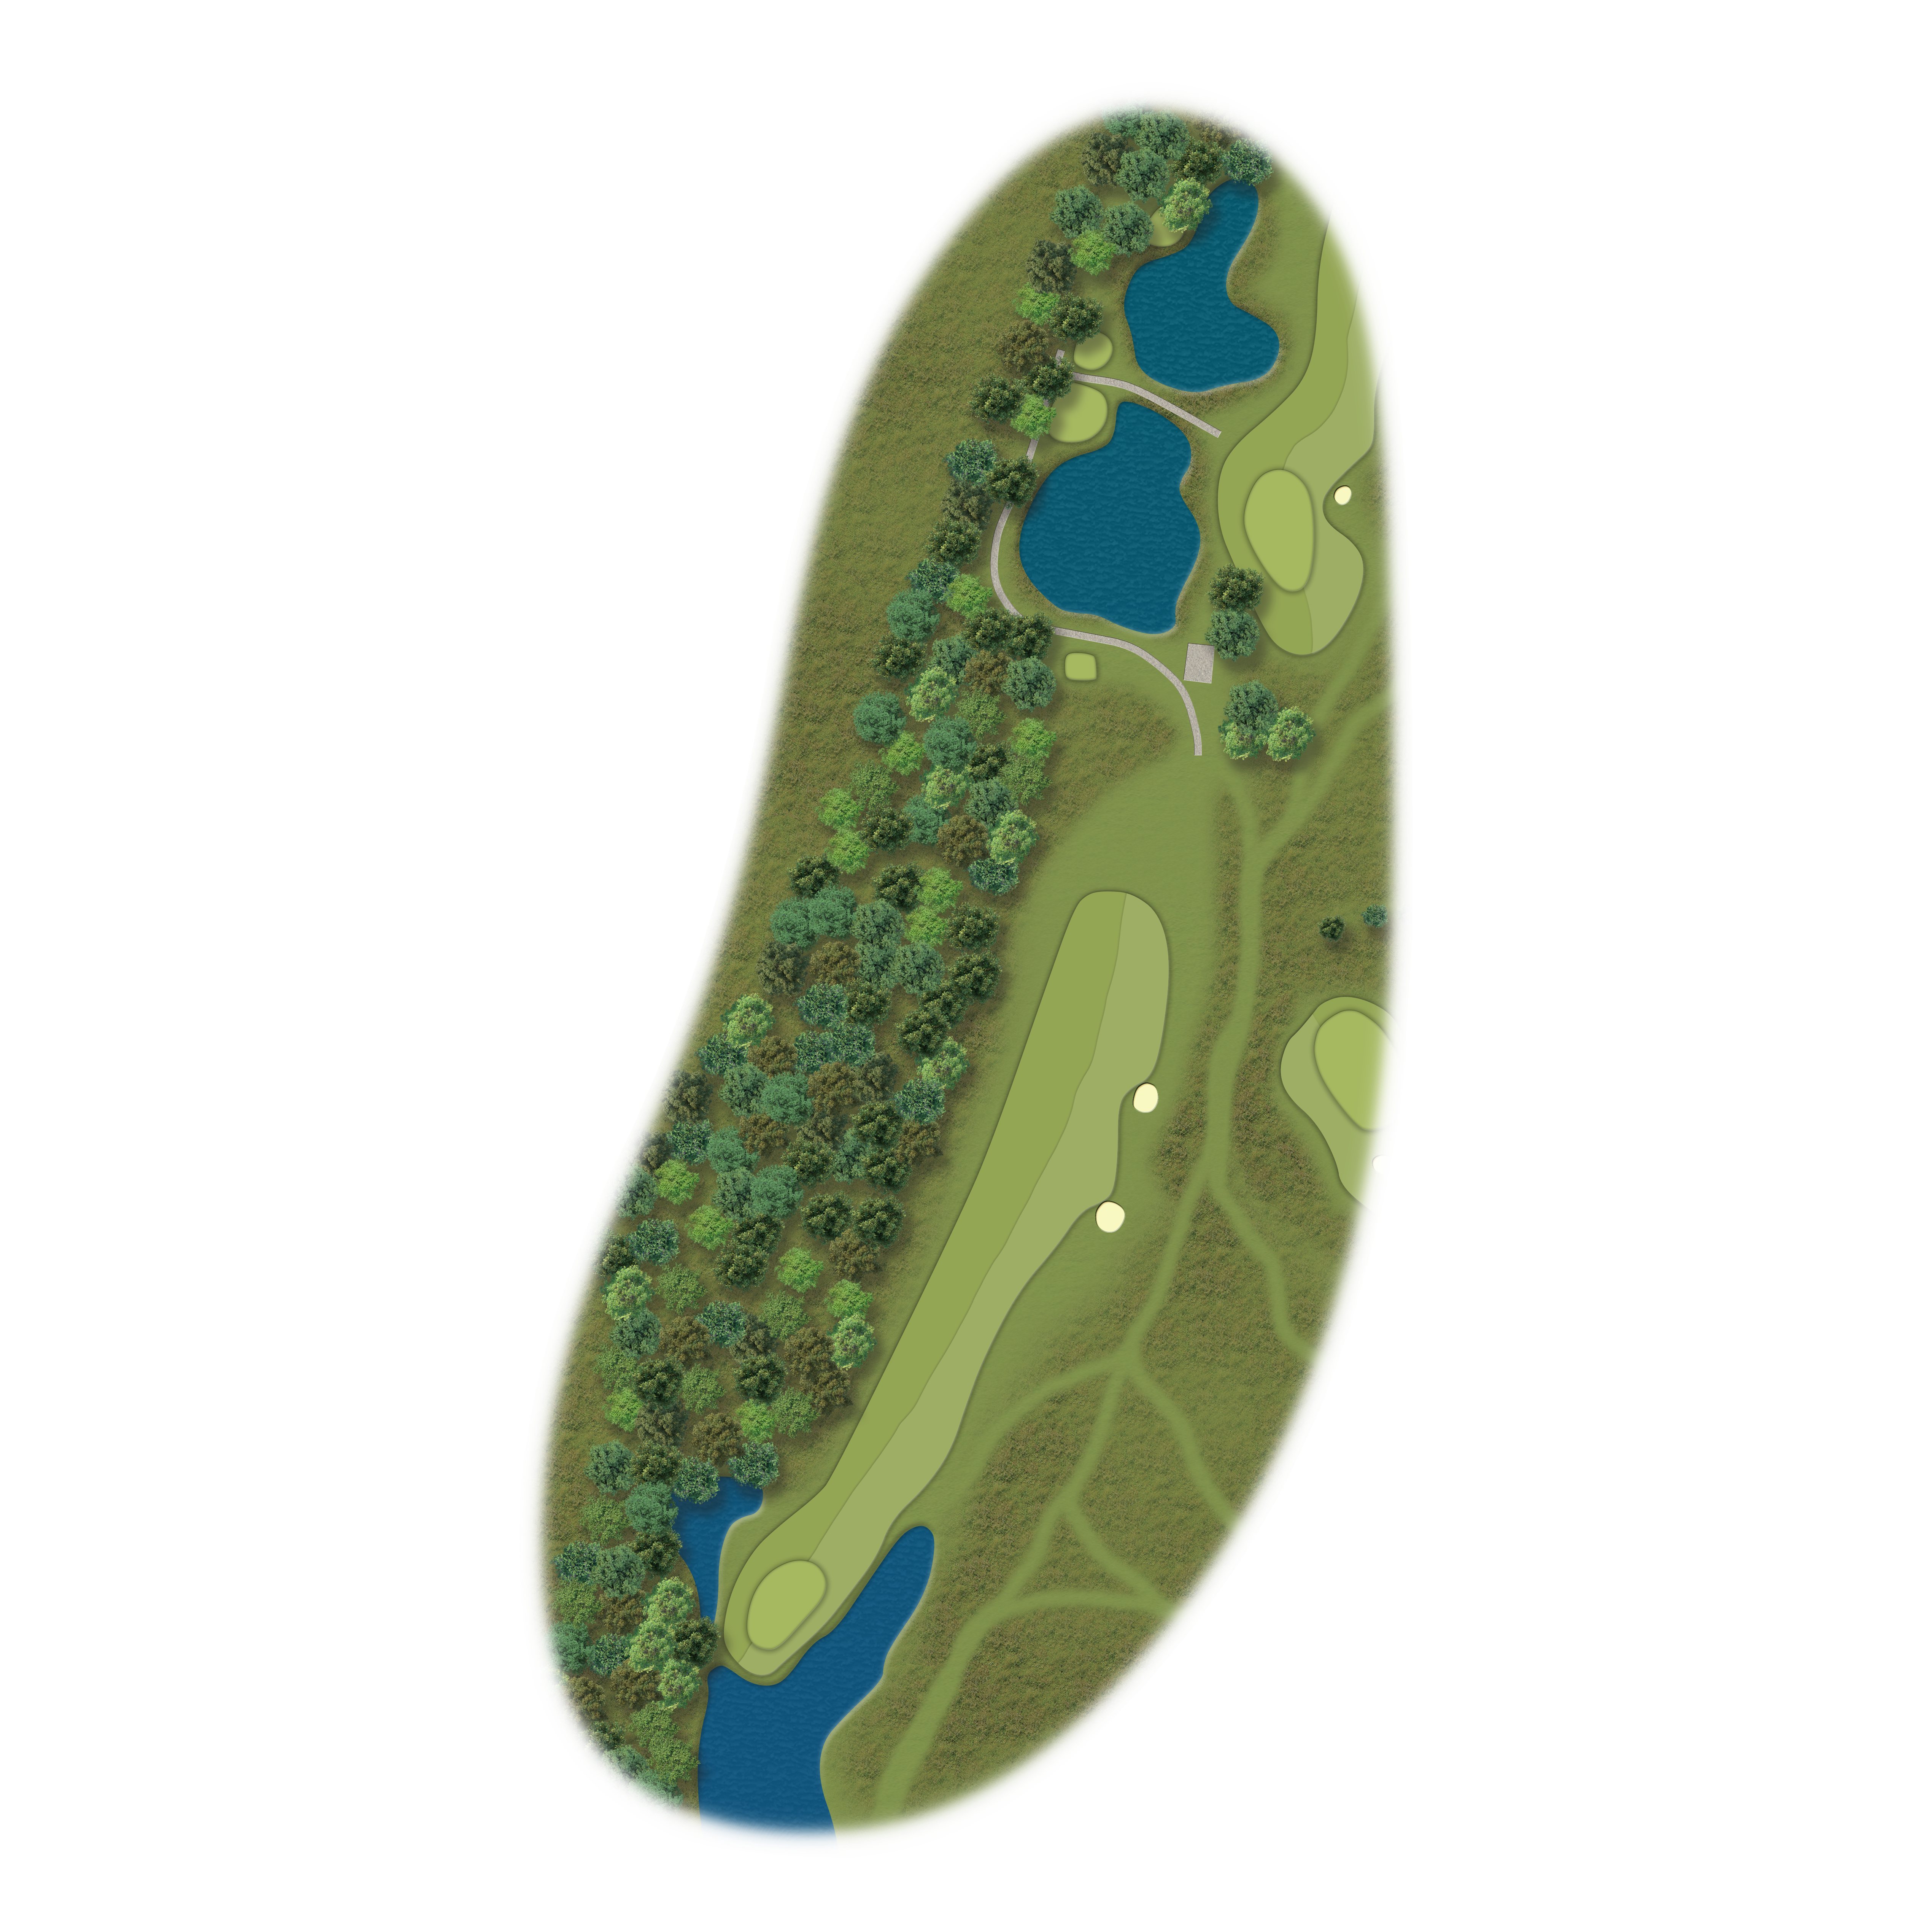
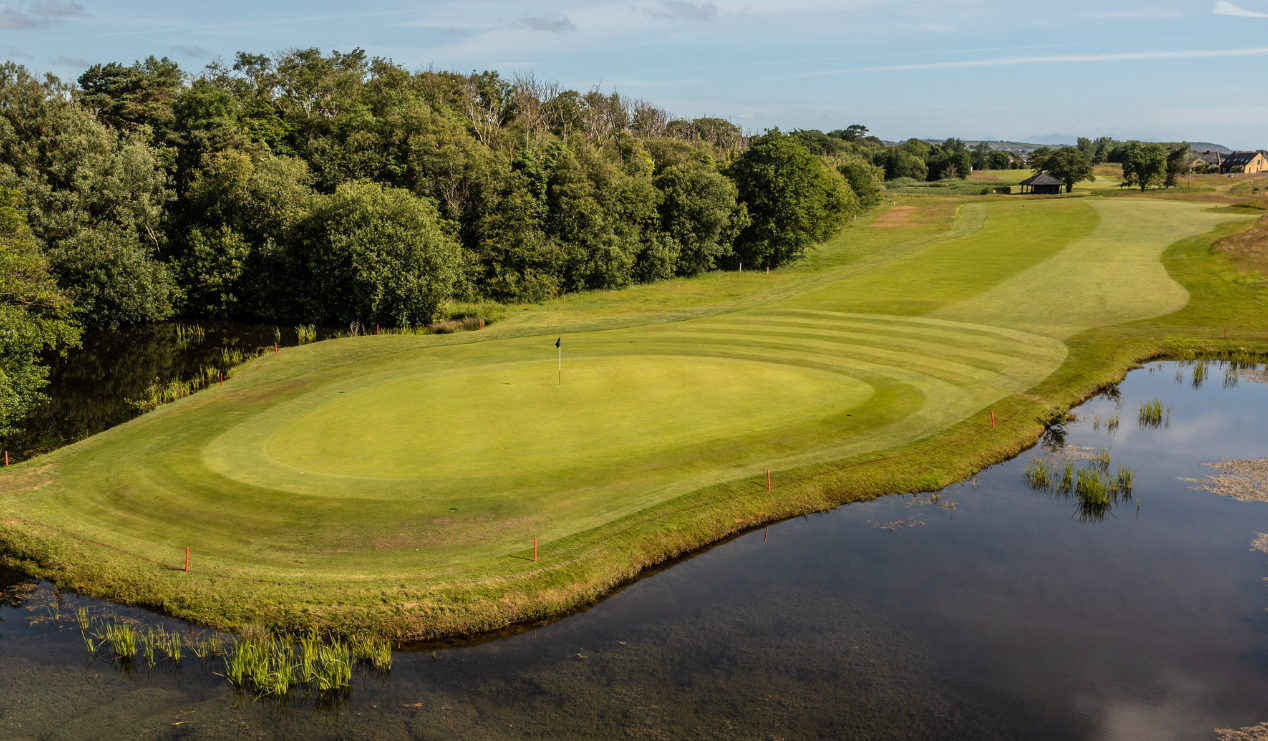
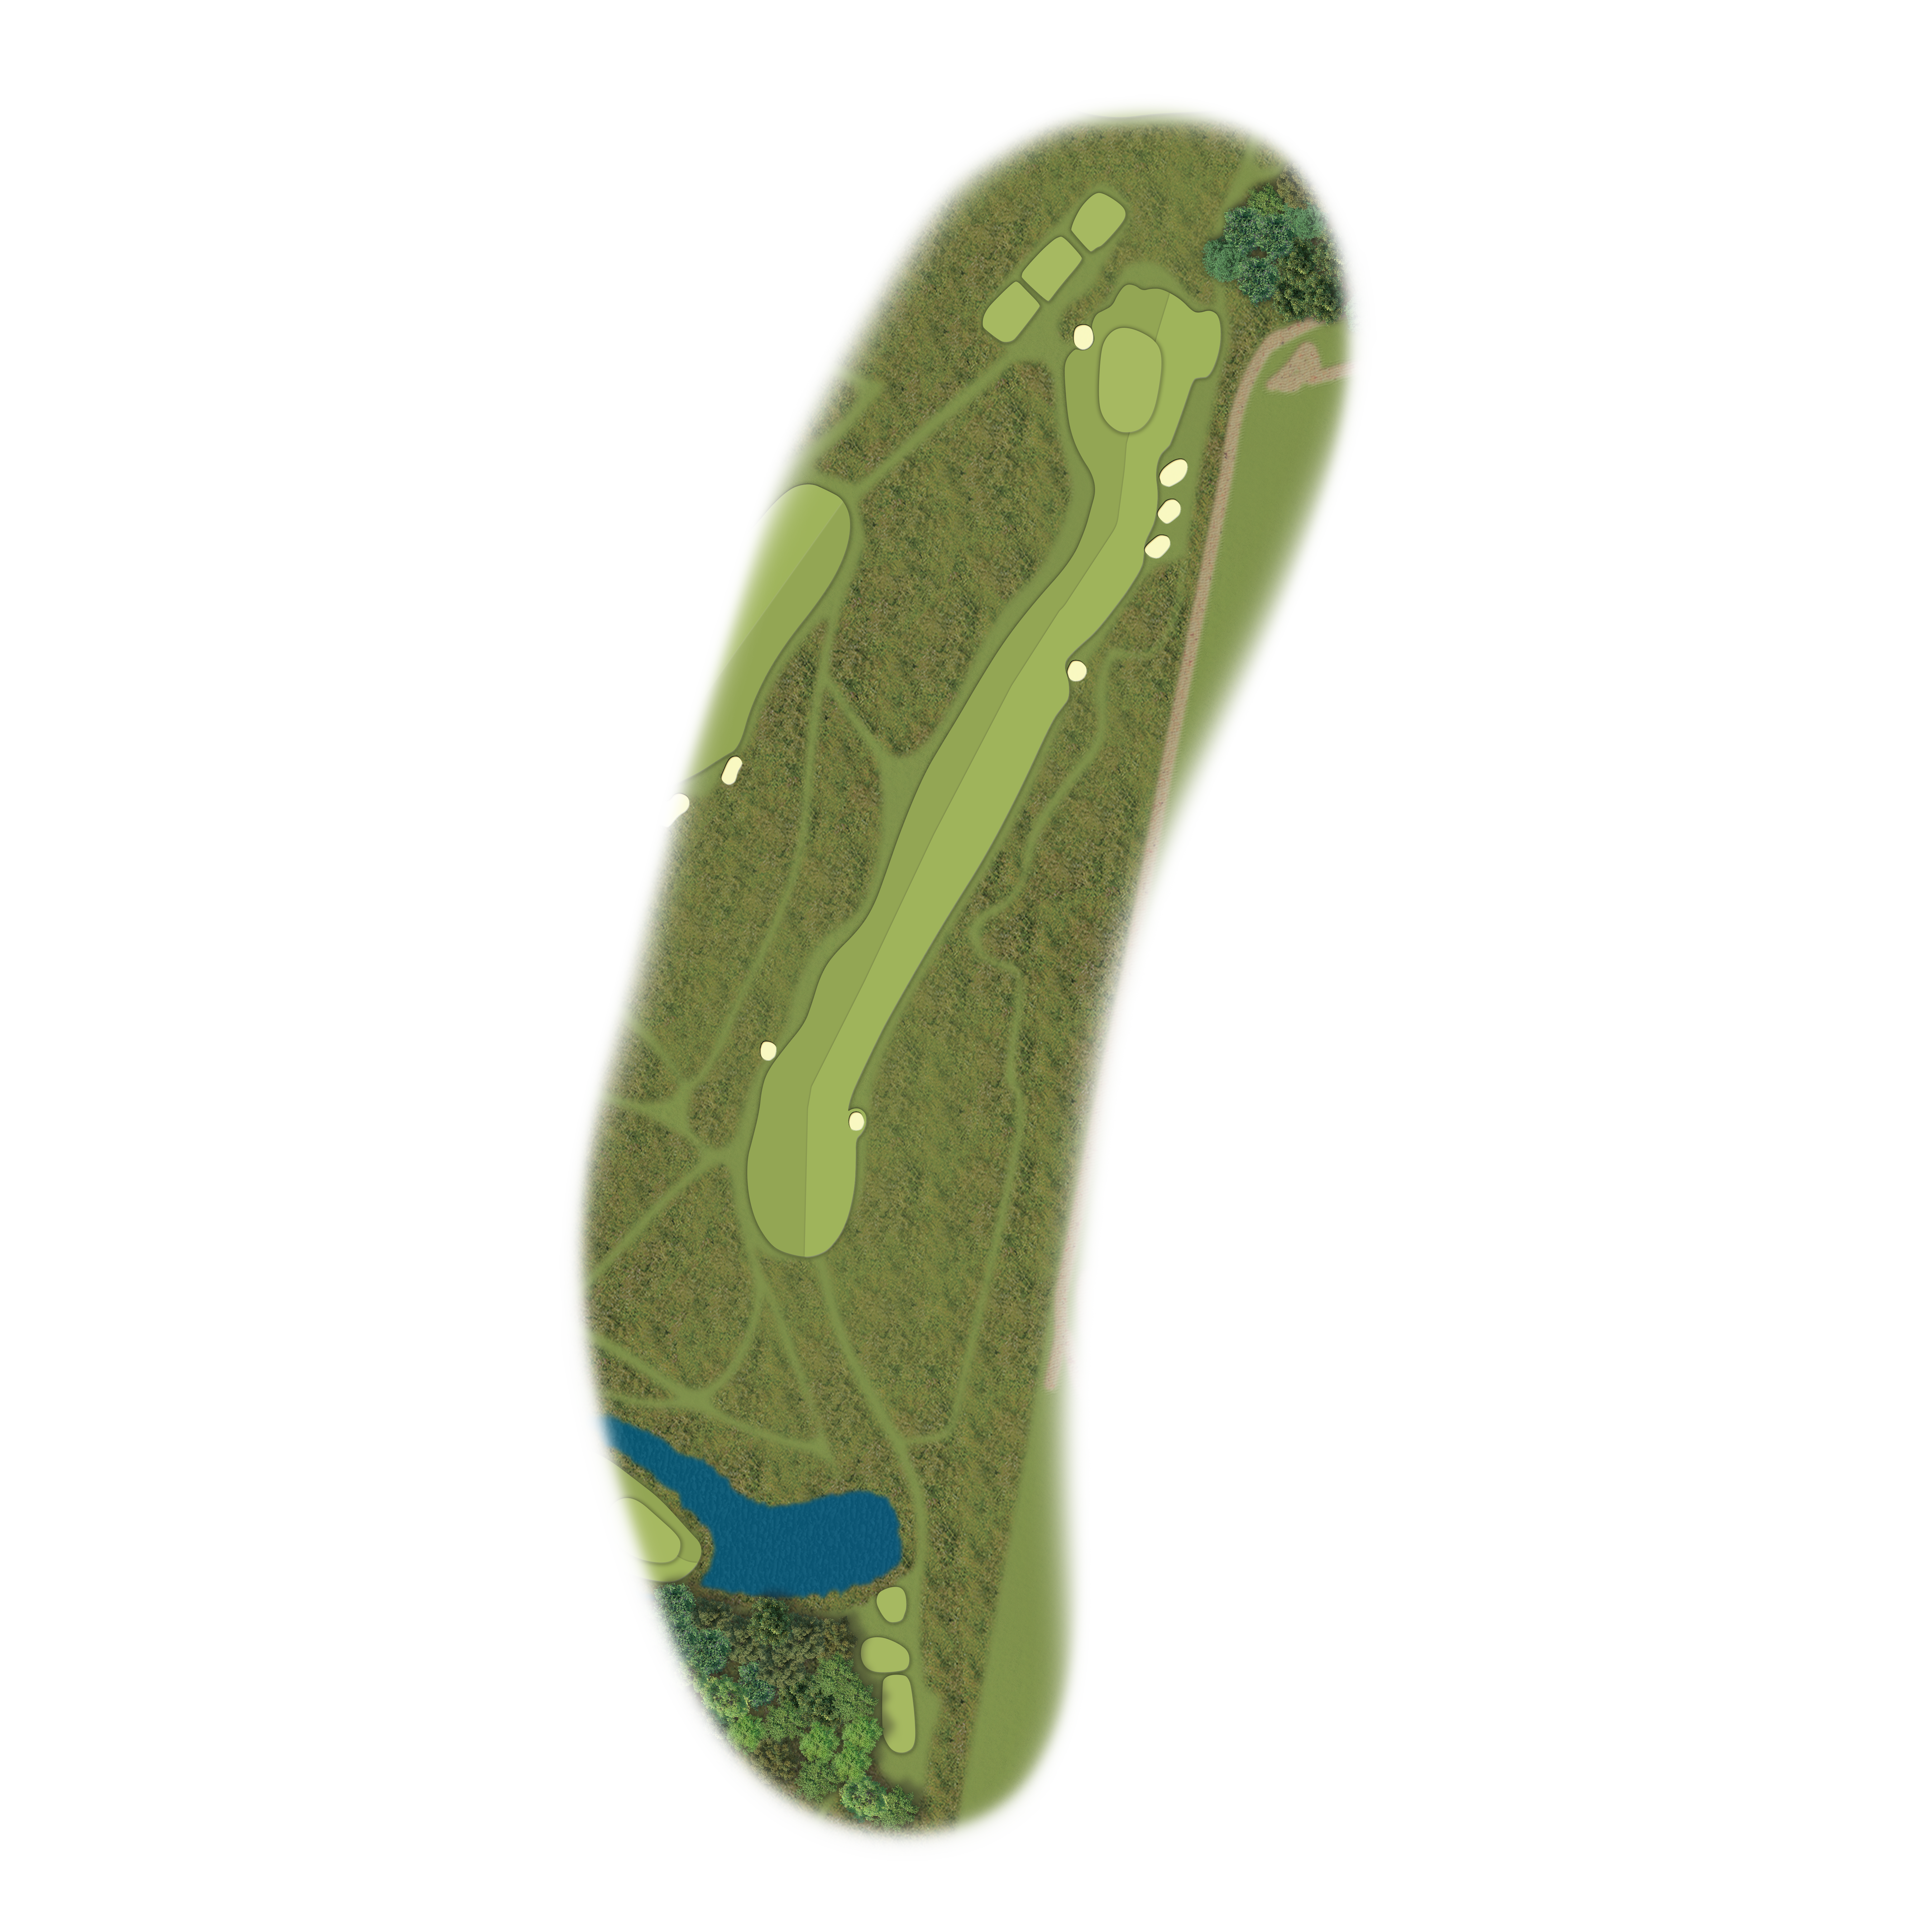
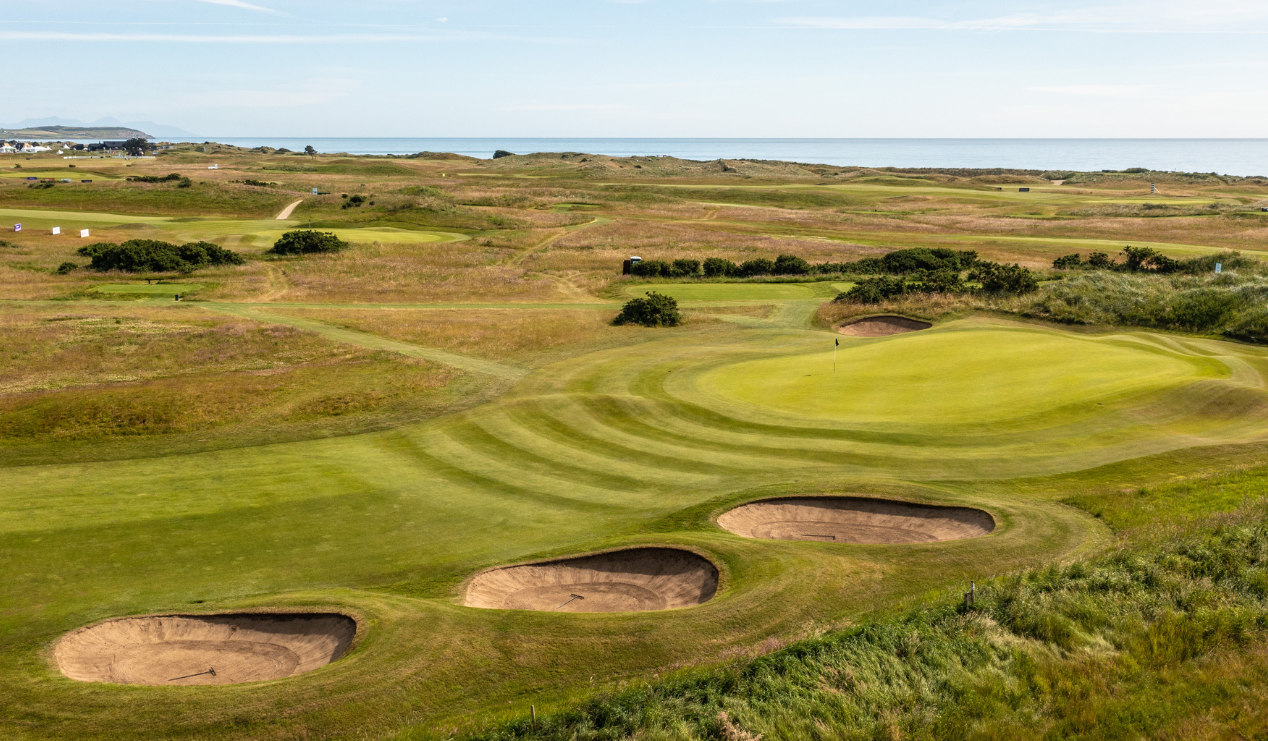
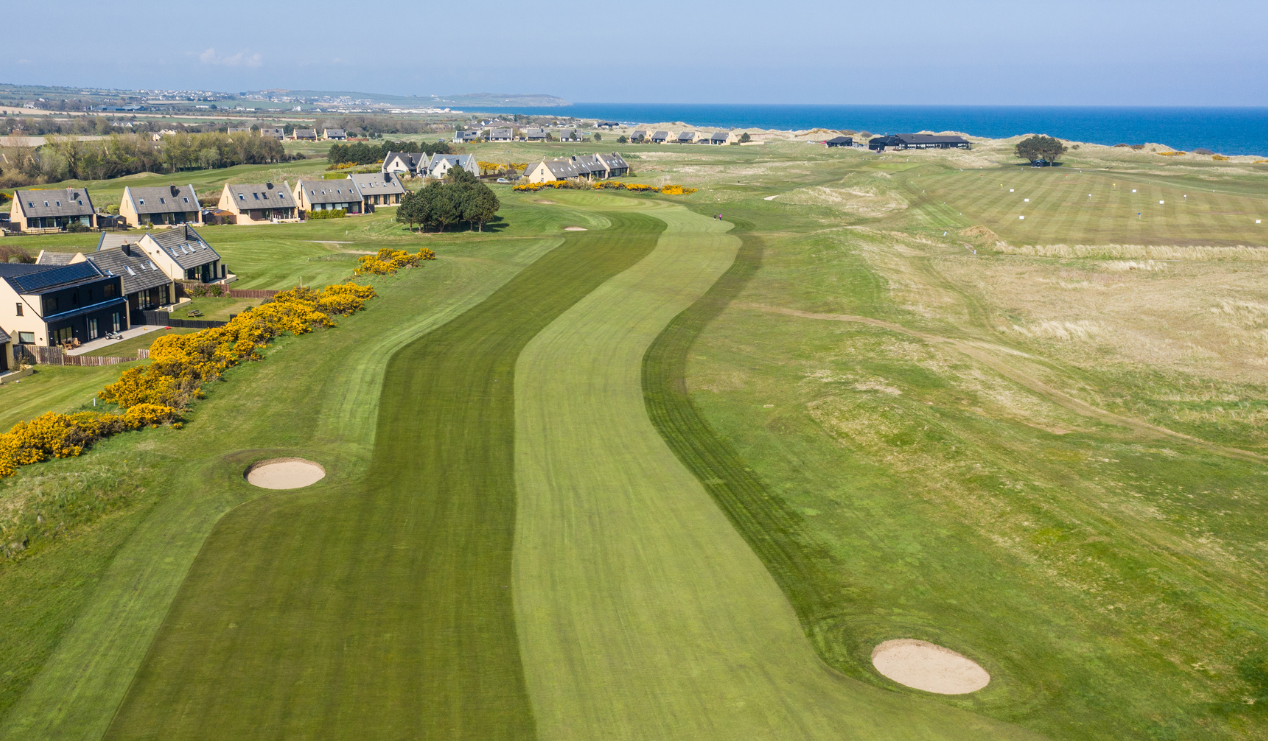
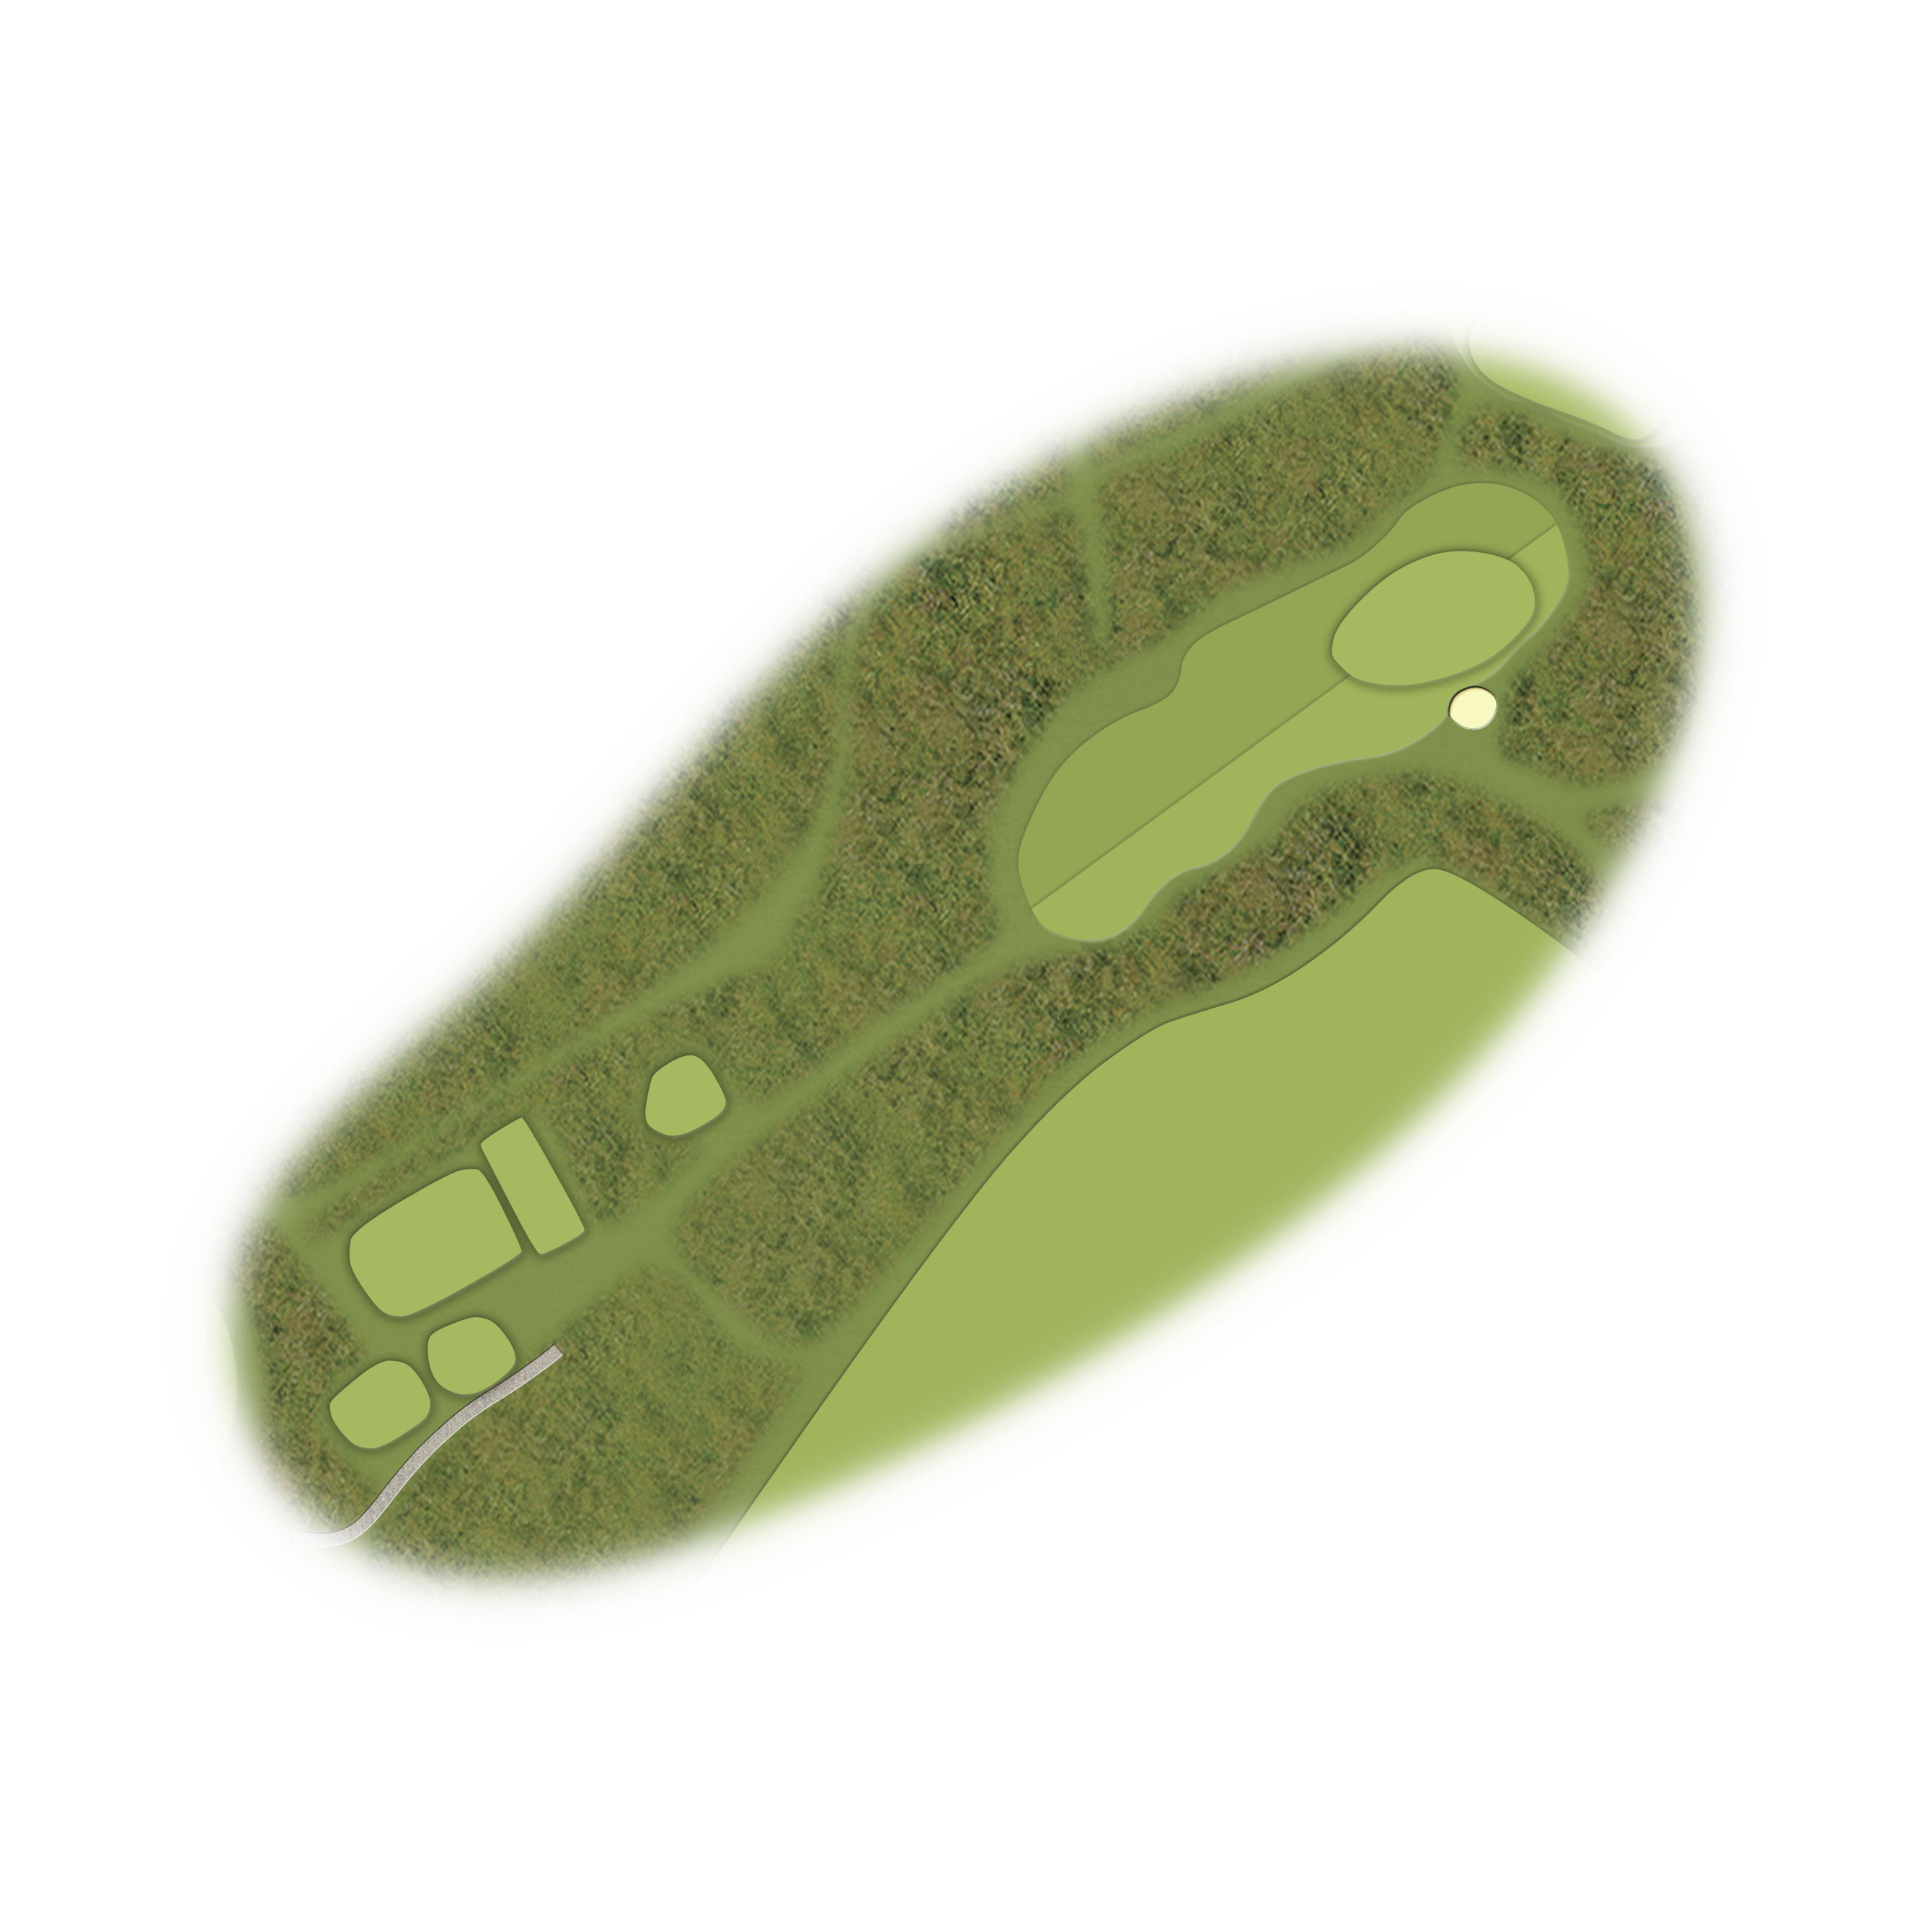
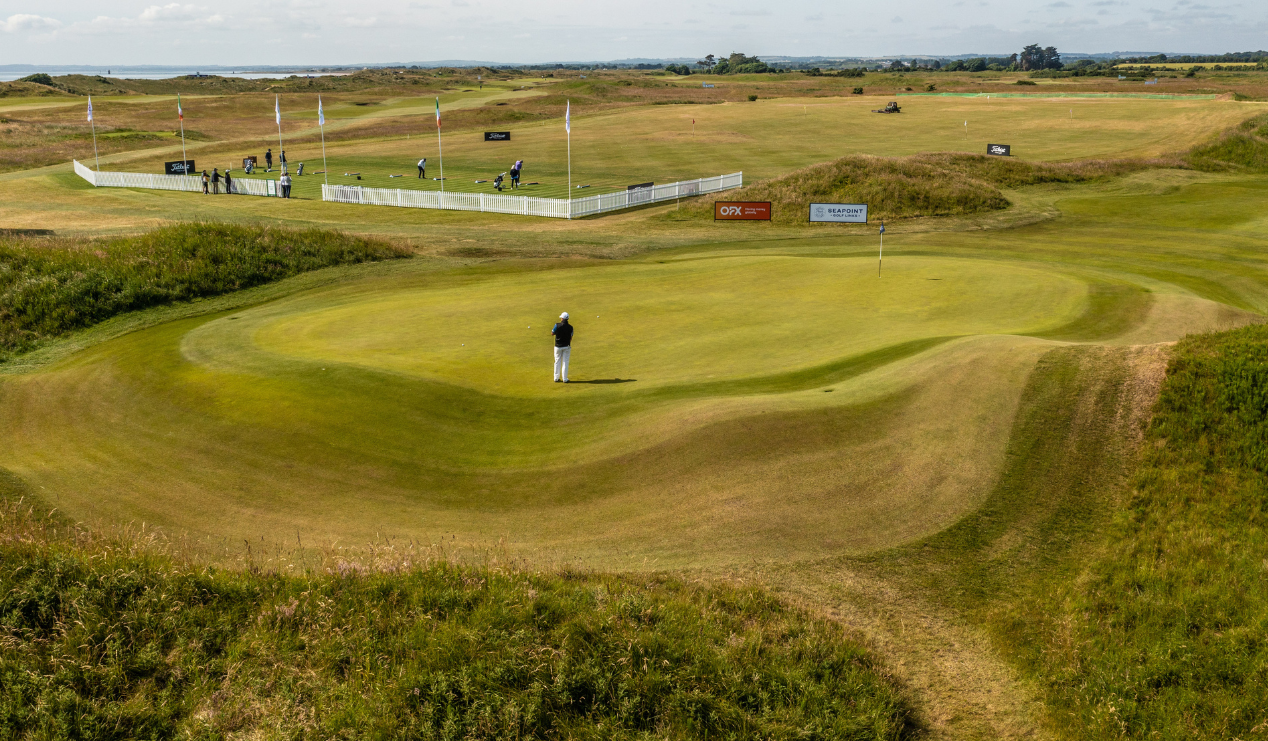
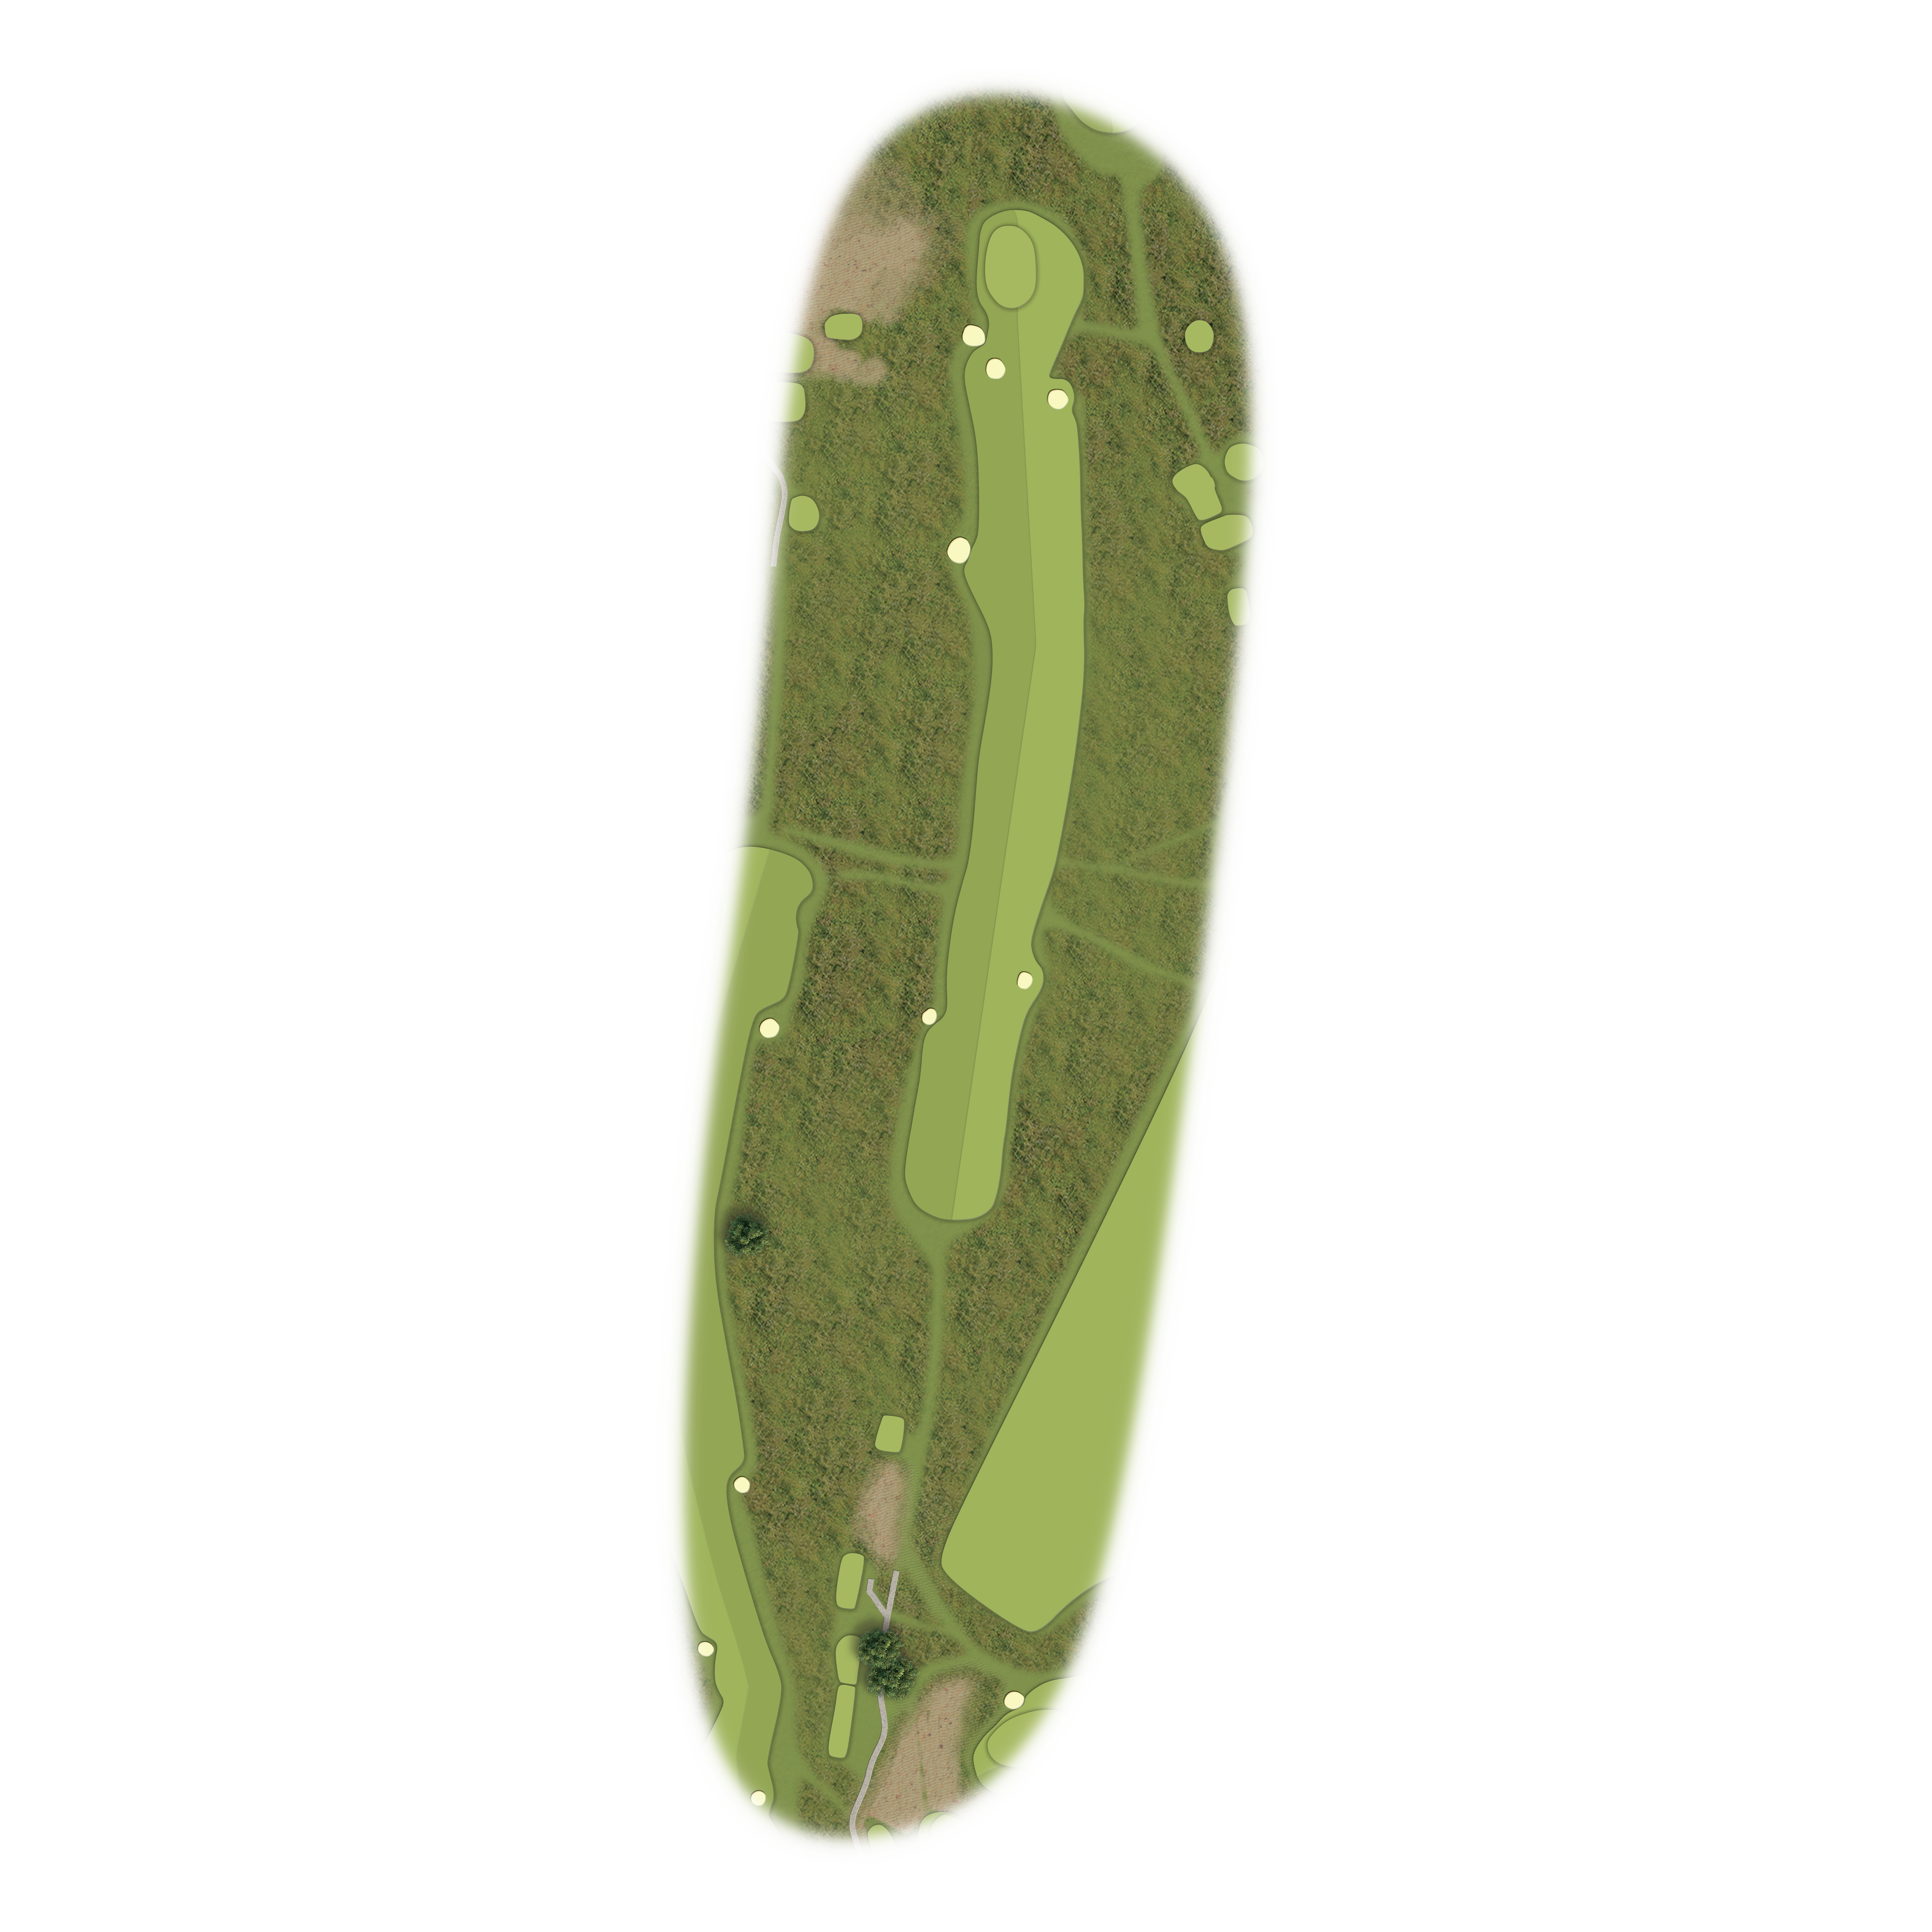
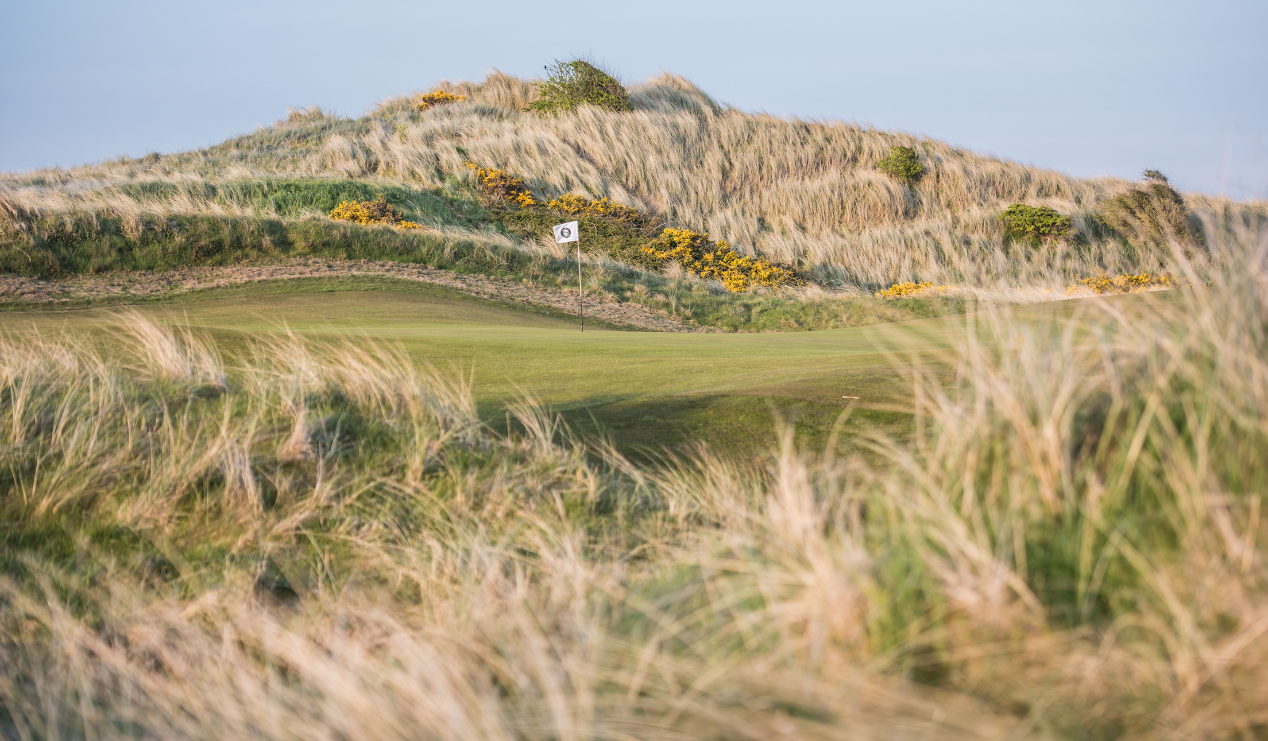
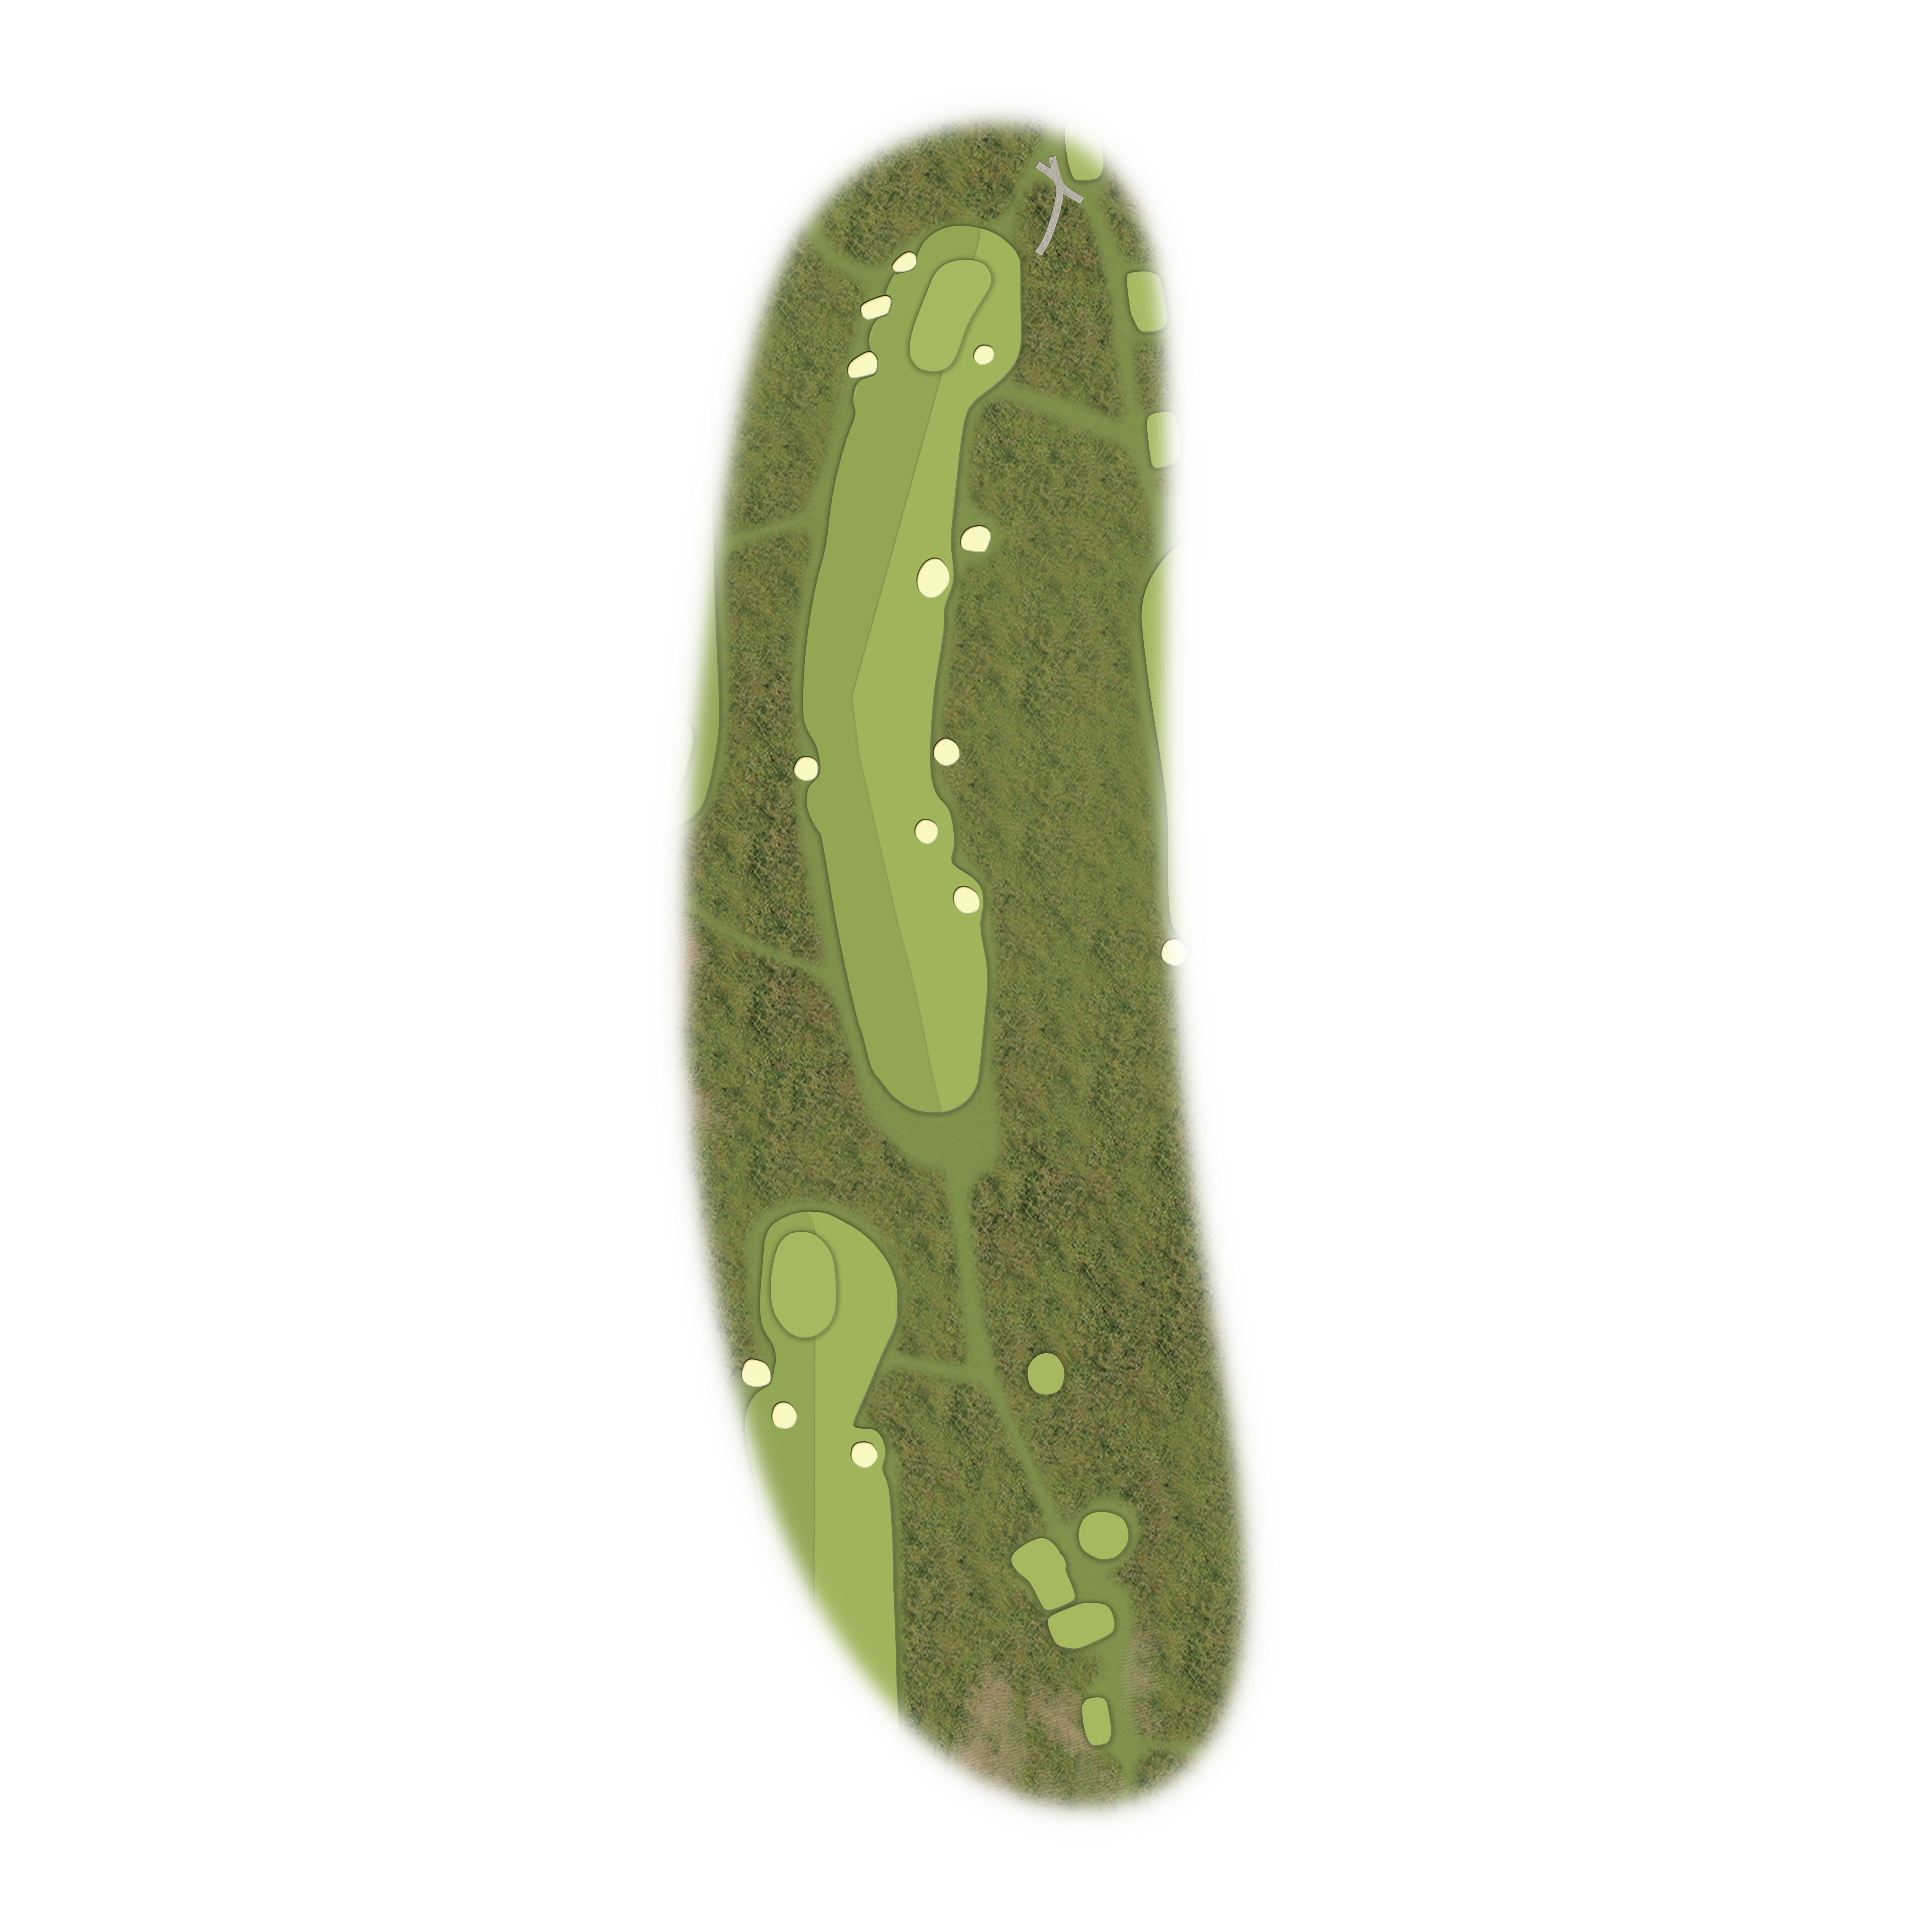
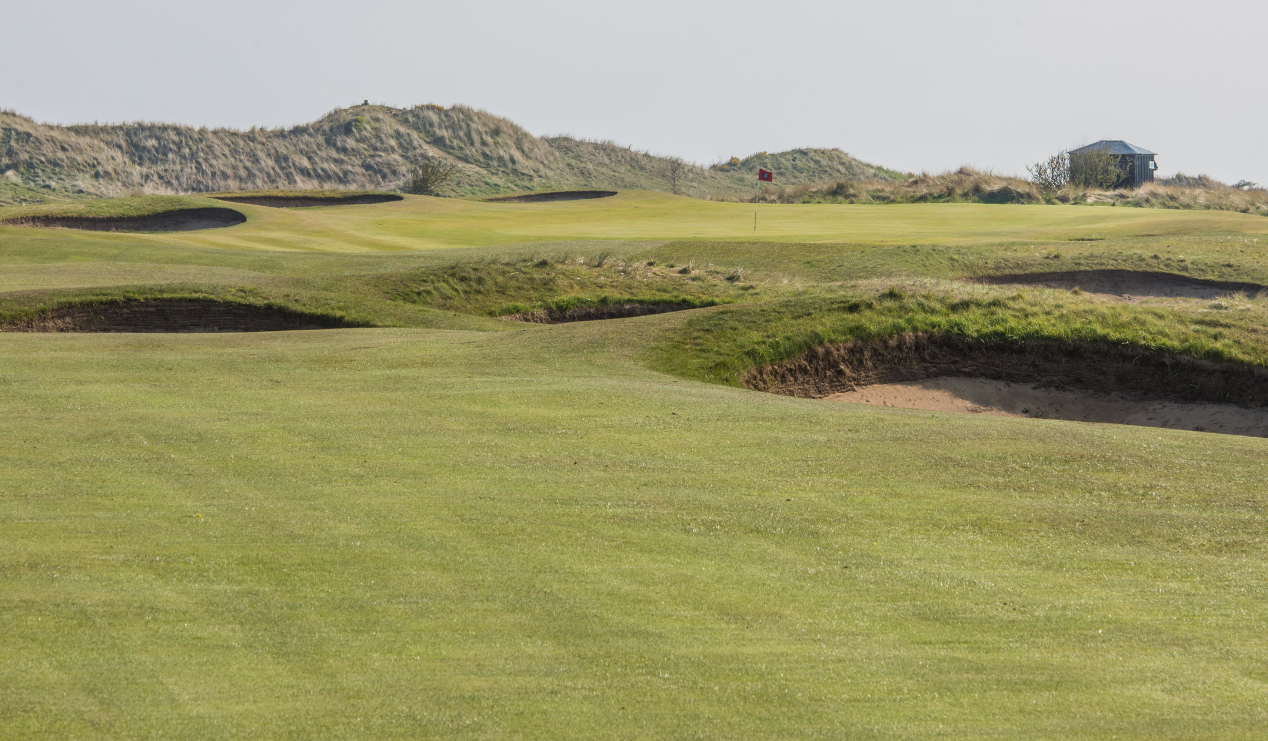
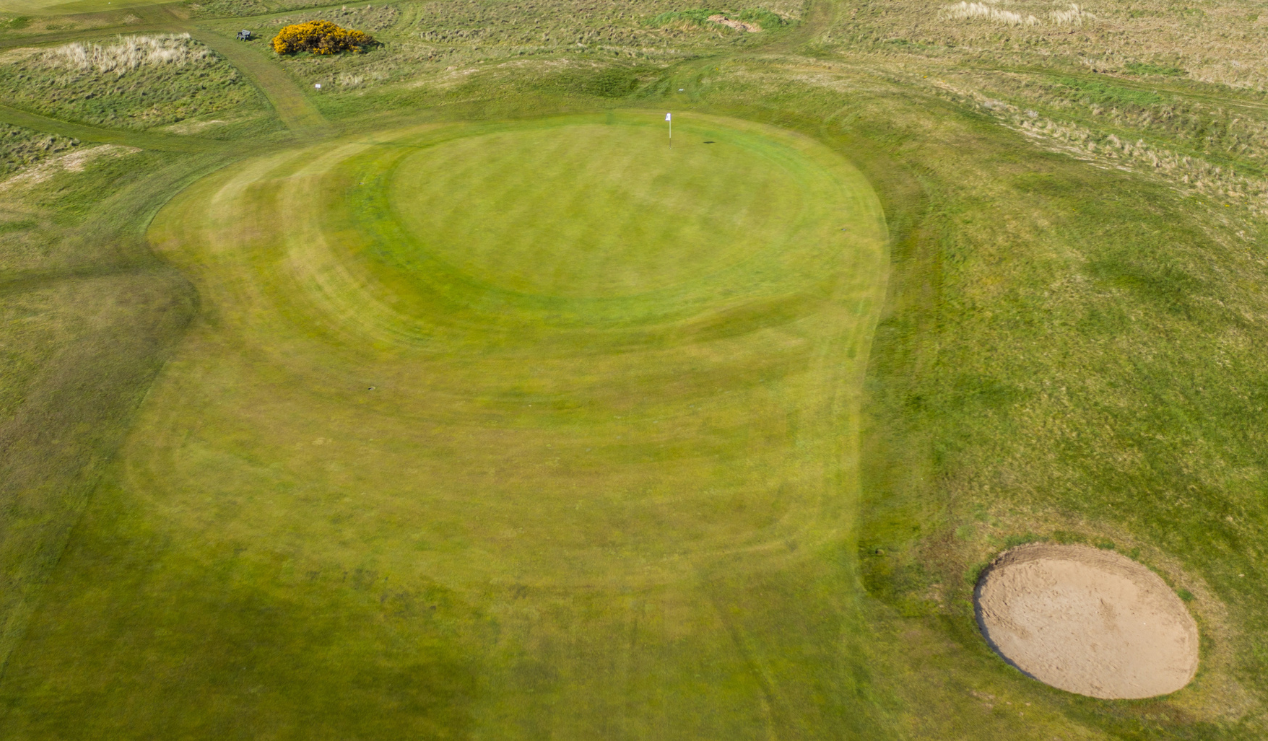
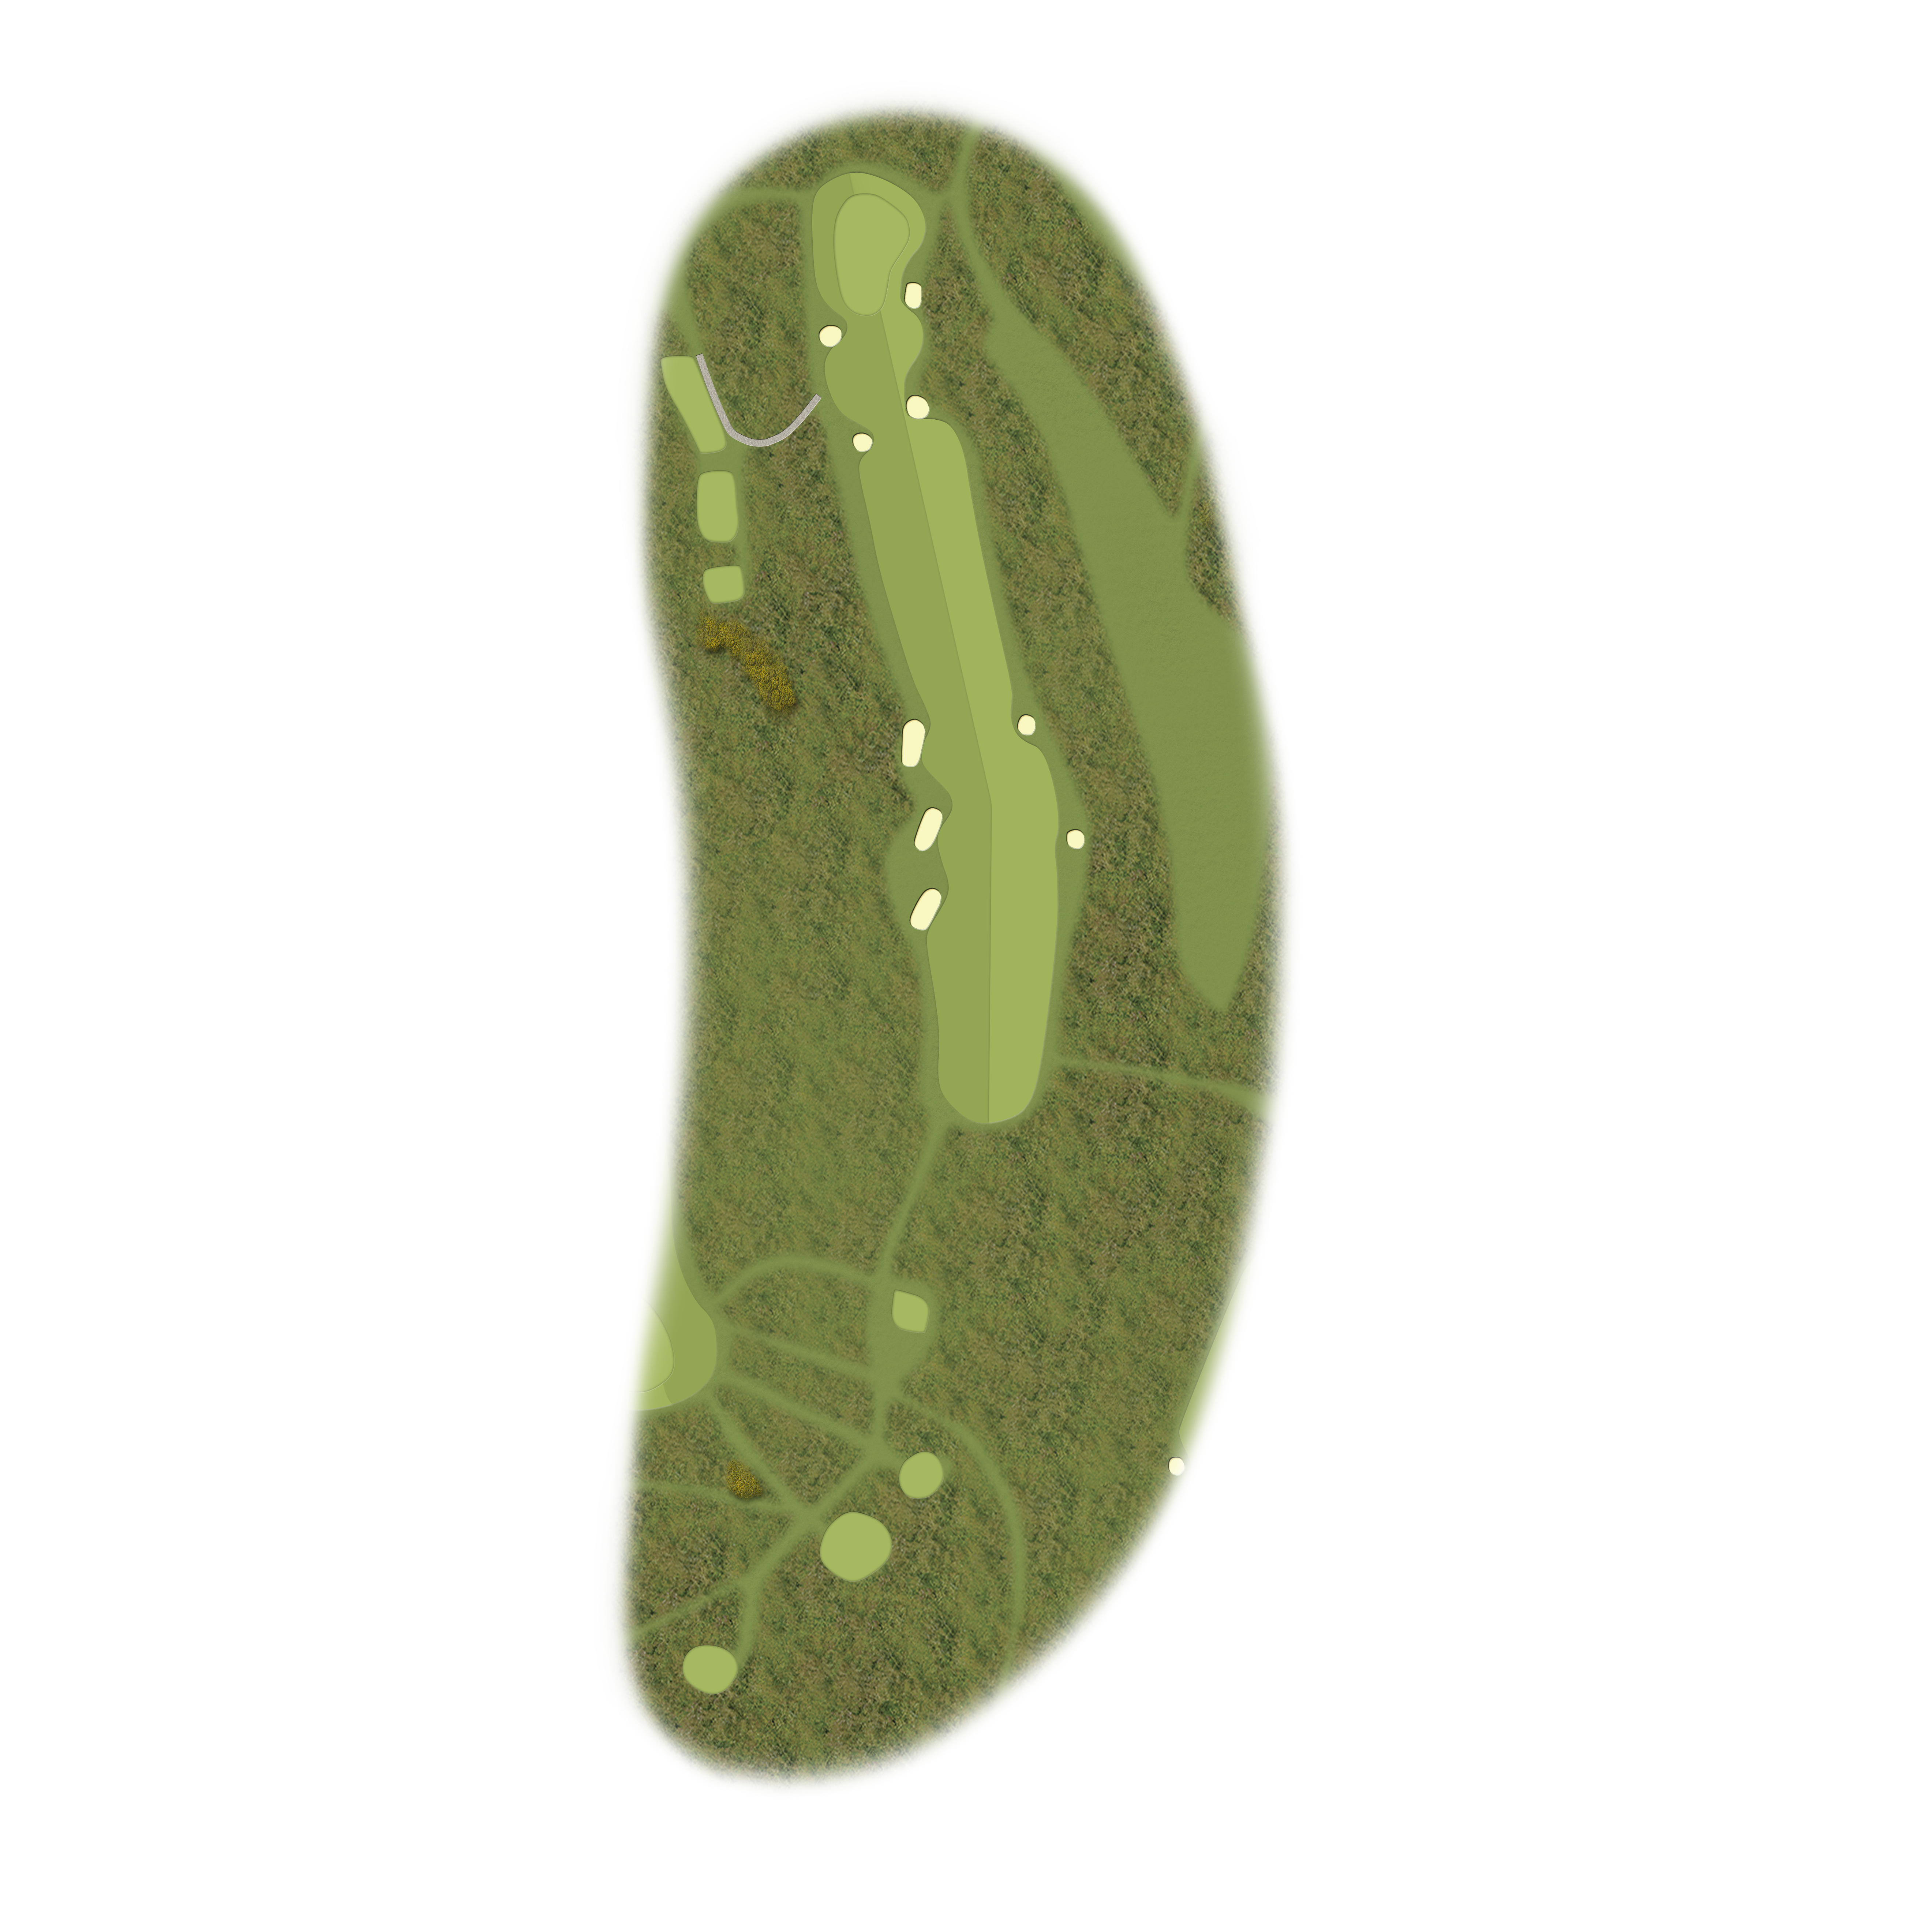
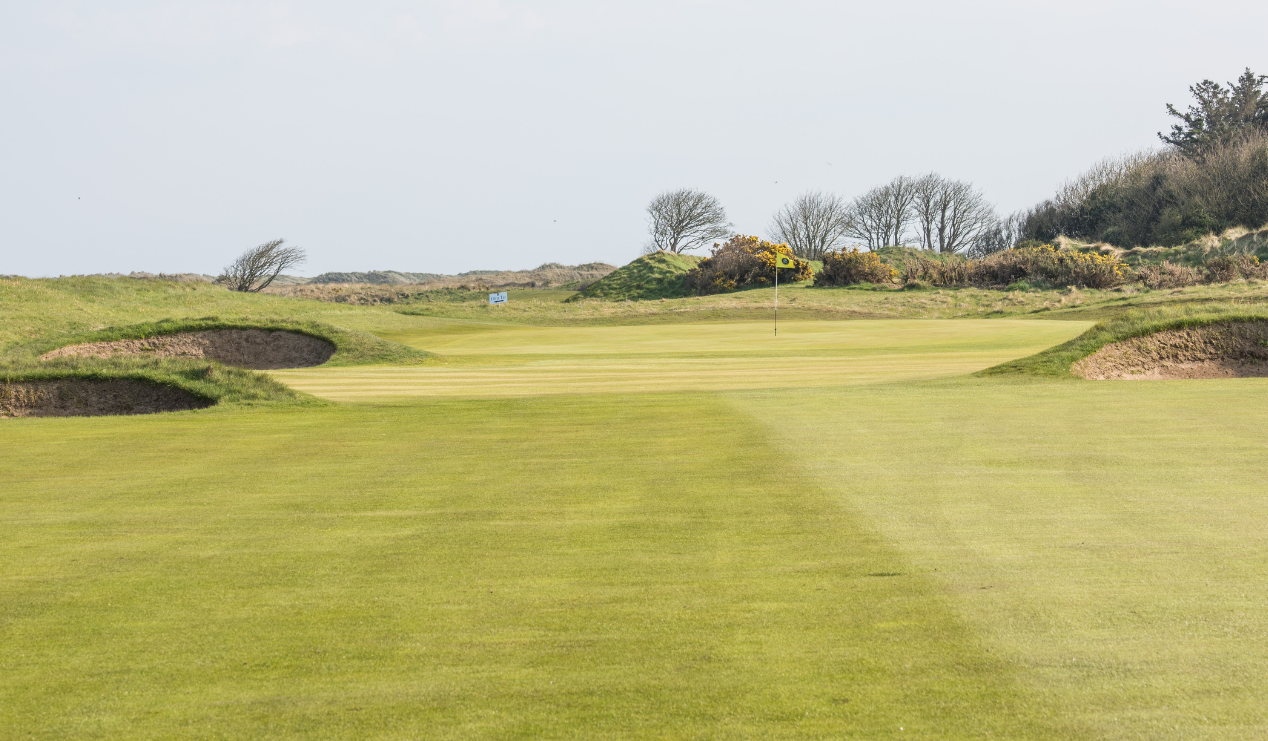
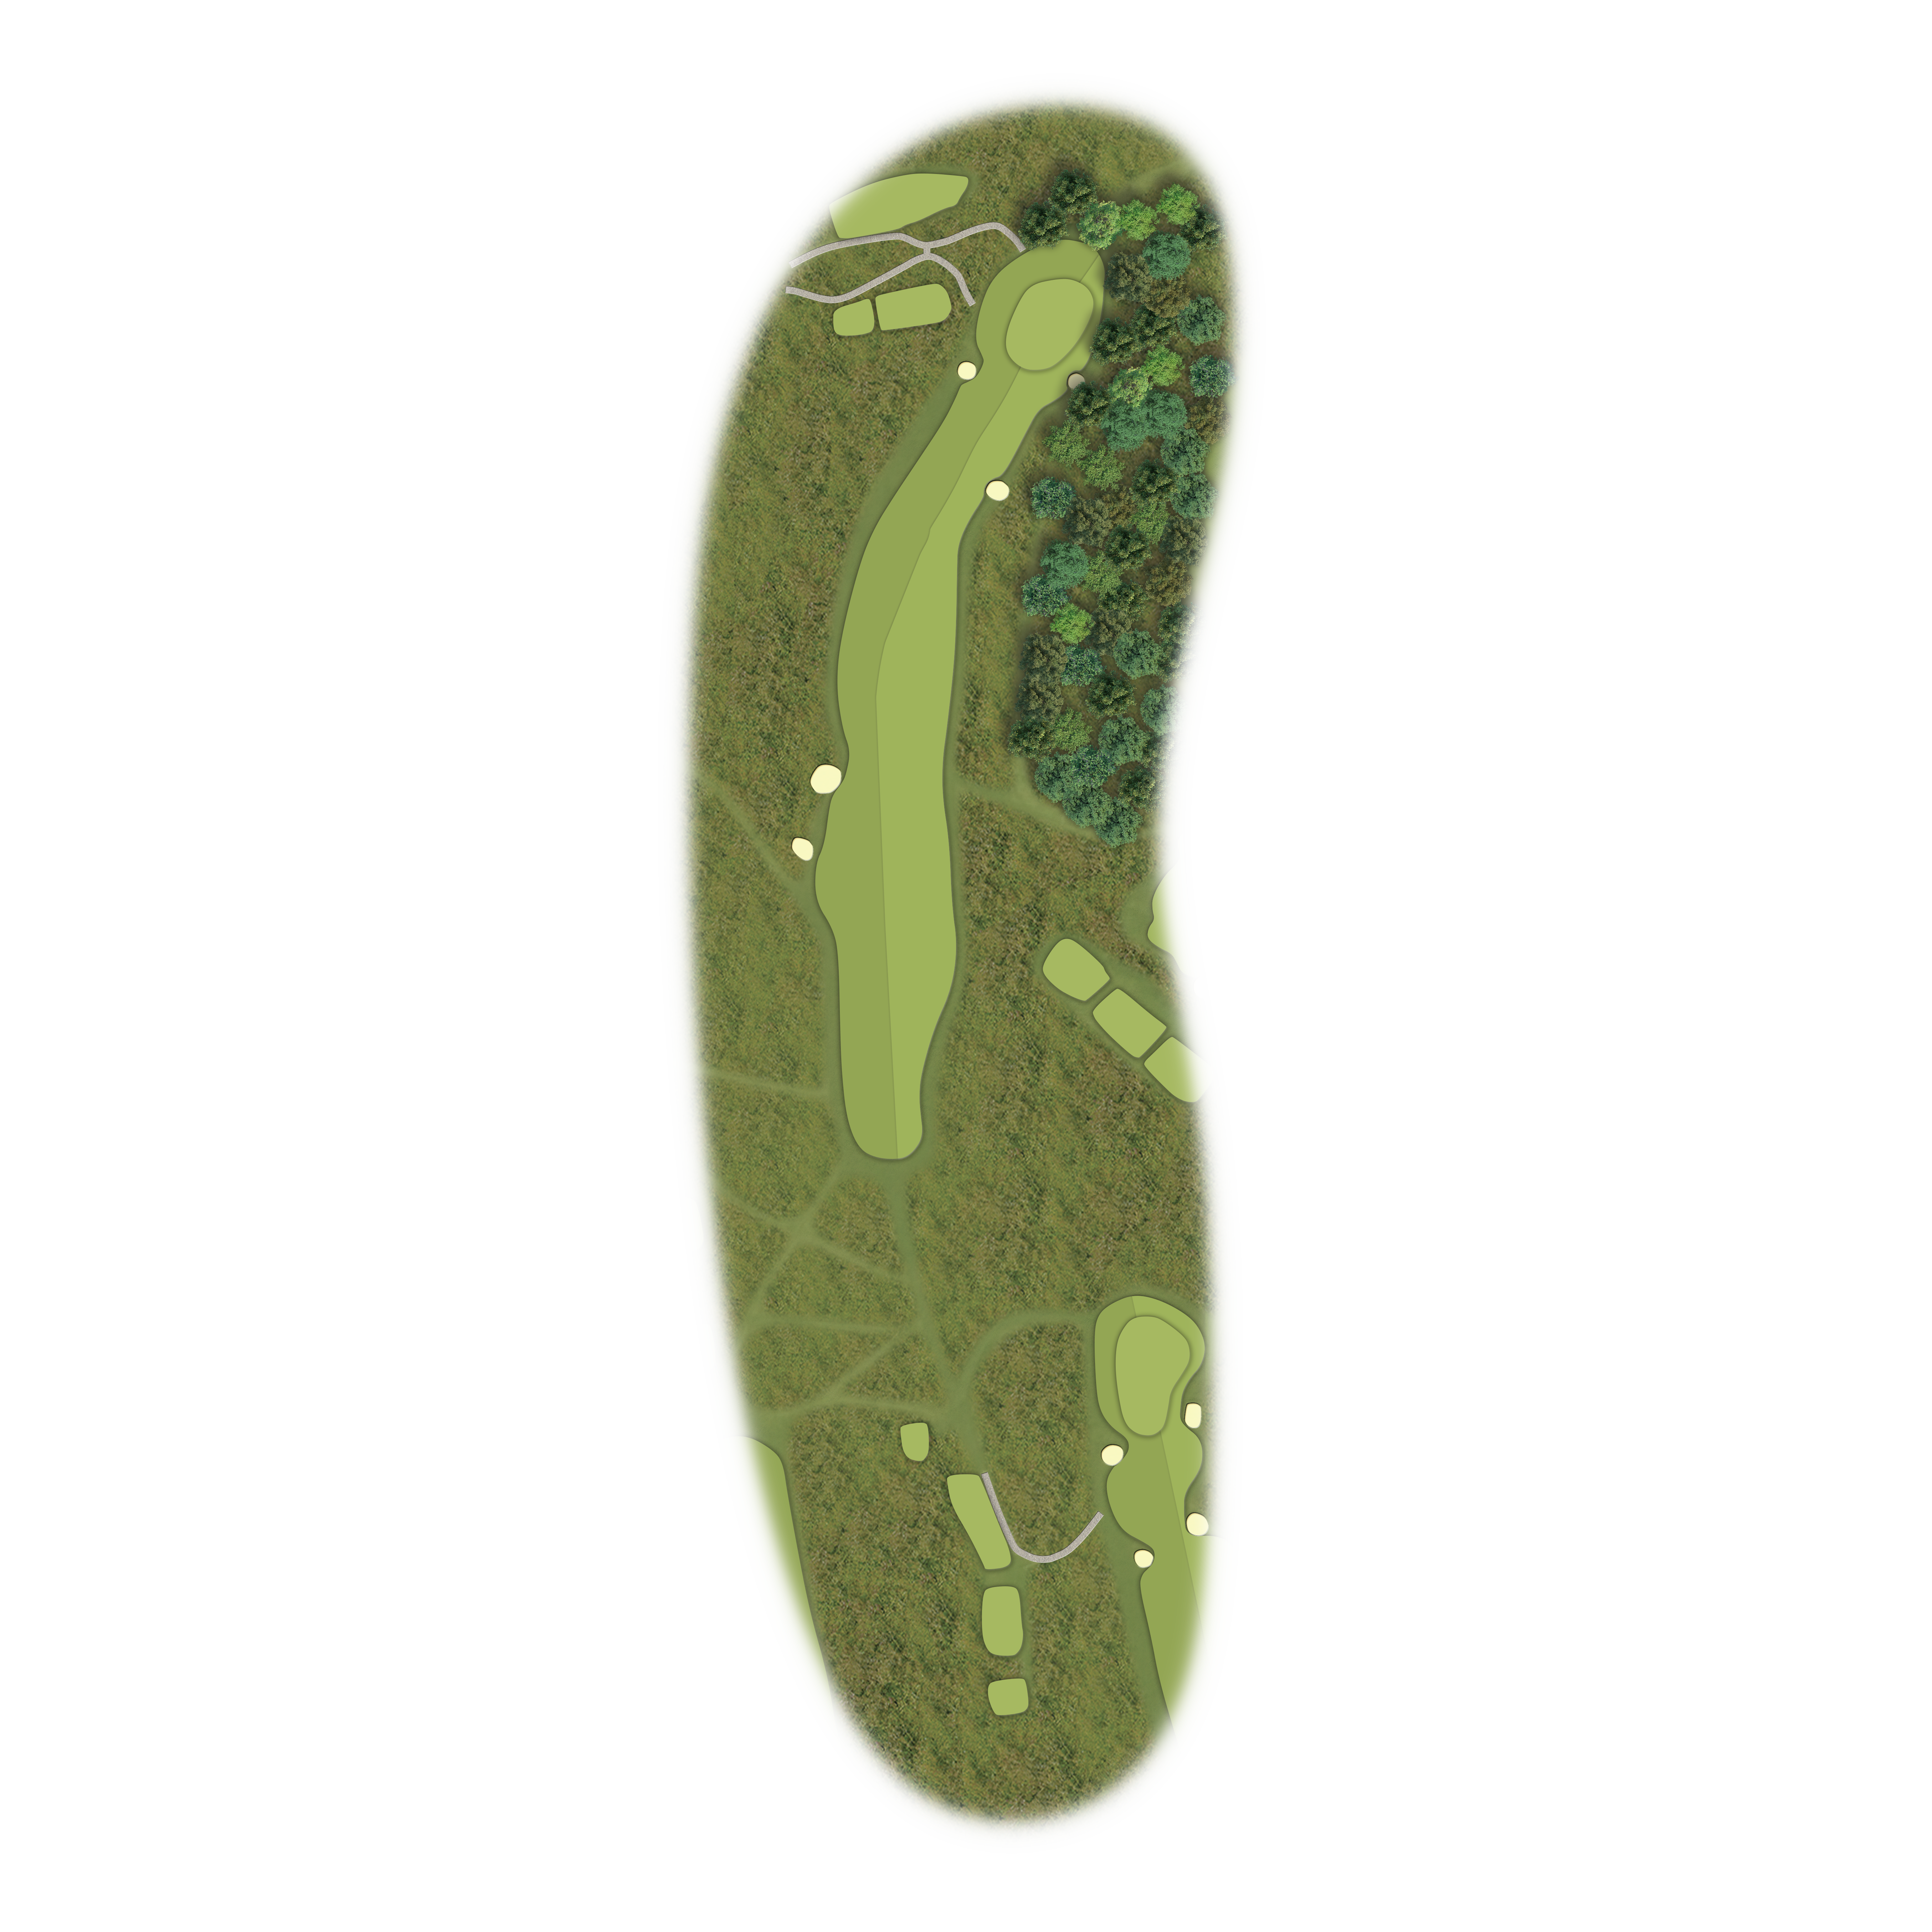
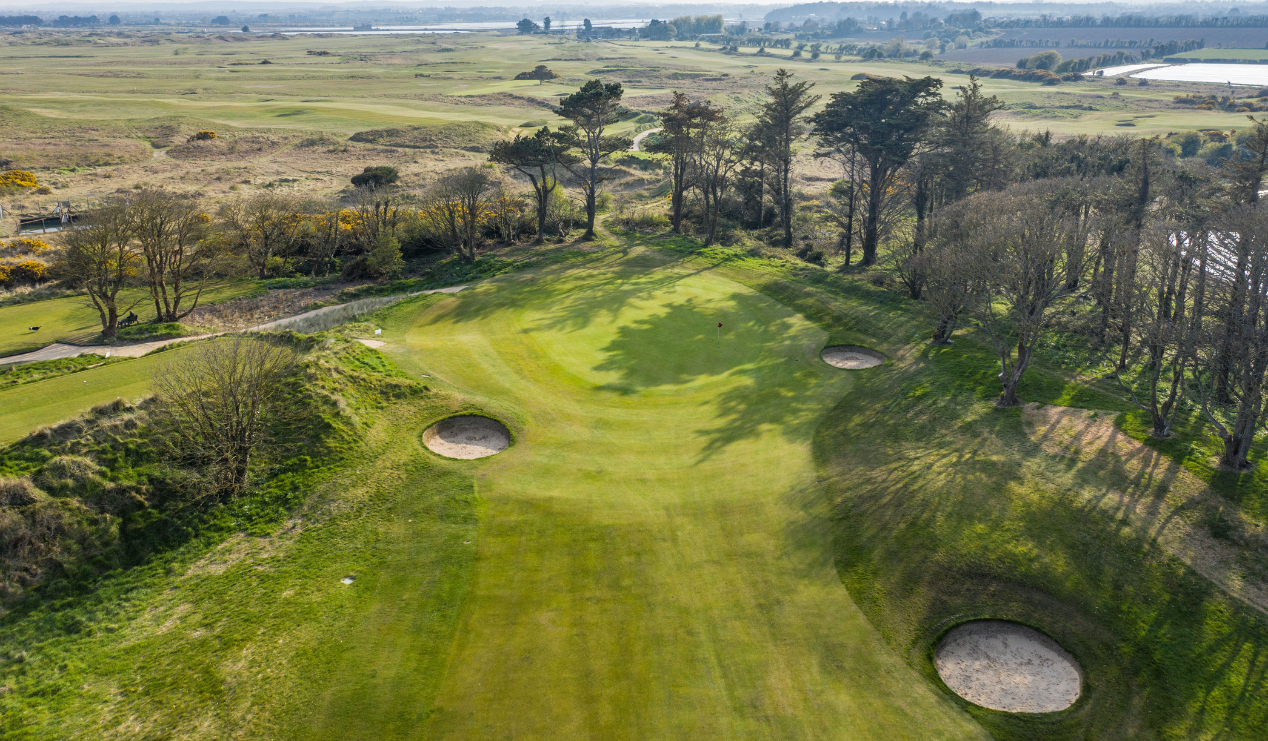
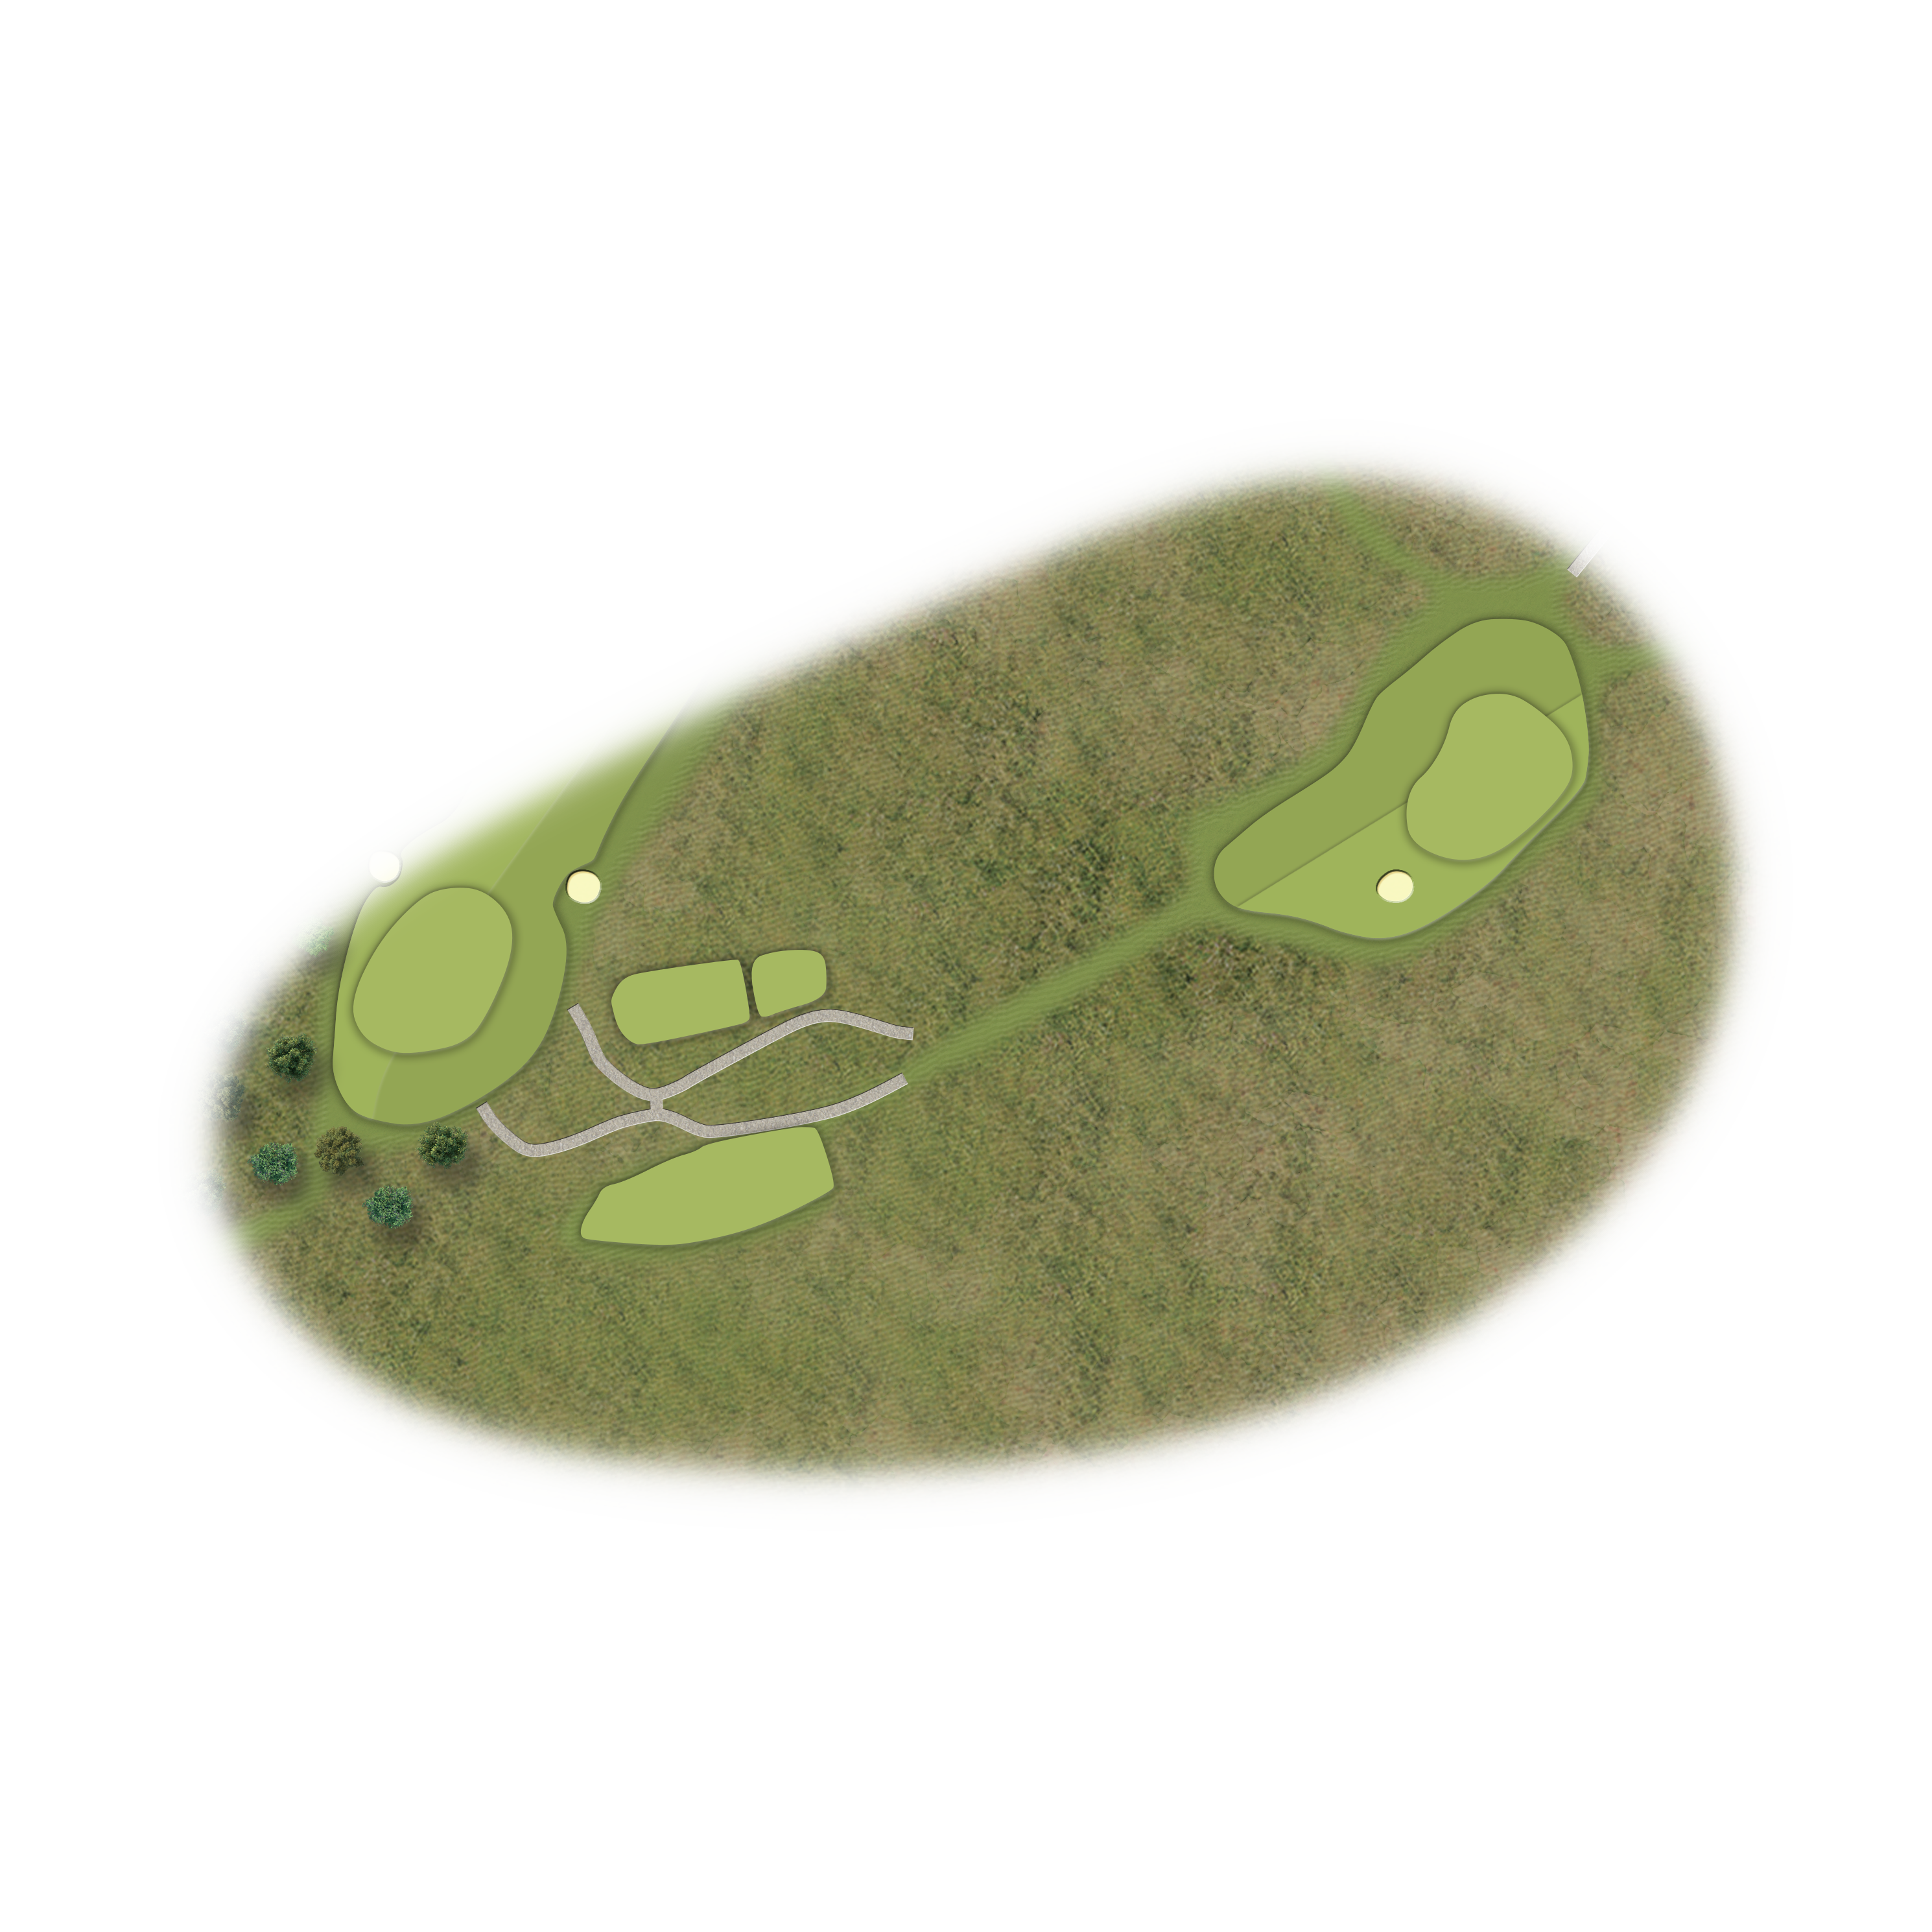
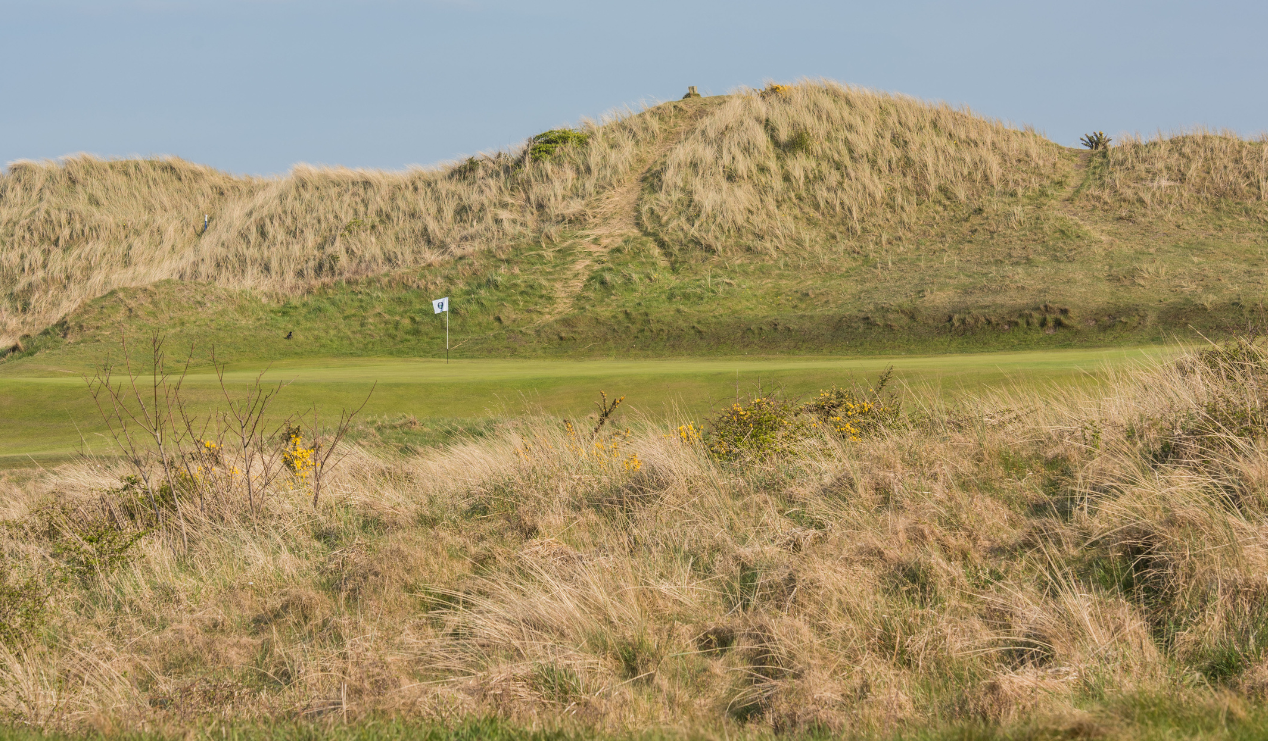
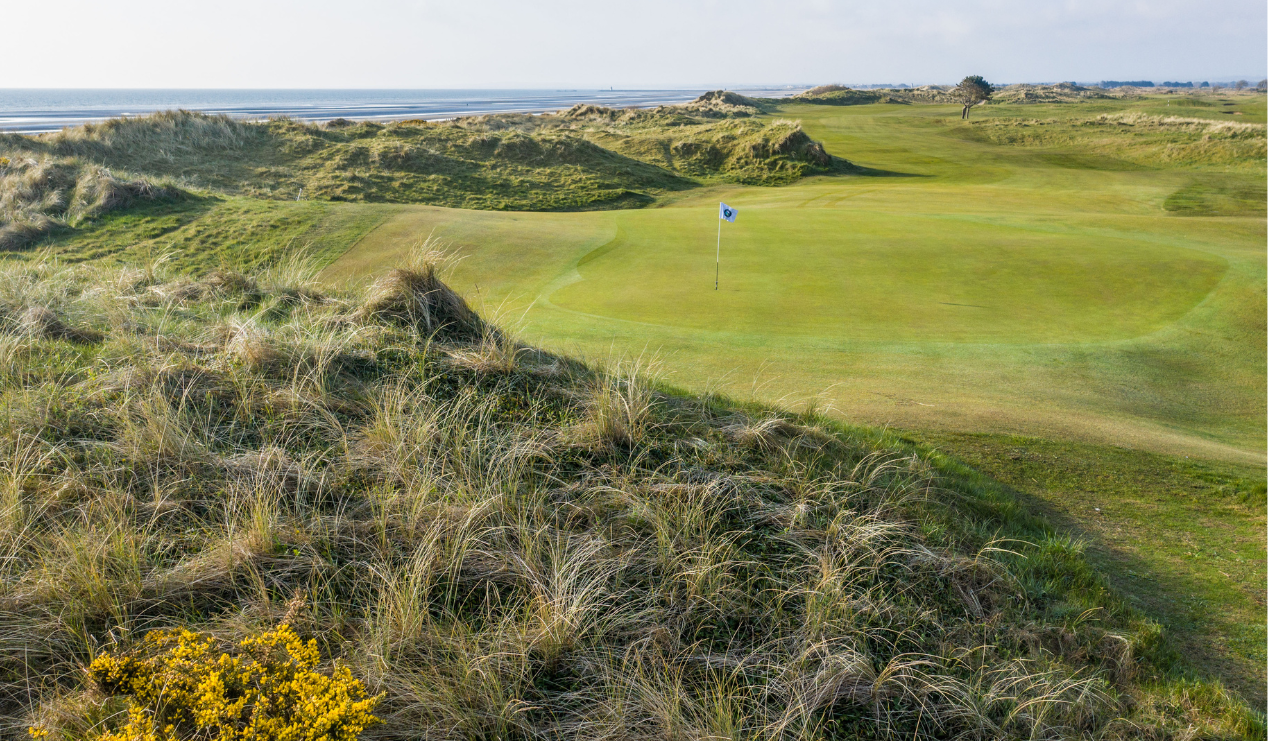
A gentle par 4 to start. Aim for the right half of the fairway to provide the best view into the green. You’ll be hitting downhill to a generous putting surface, with danger lurking short. A stream crosses a few yards before the green, recalling the infamous opening hole at the Old Course. A solid approach provides opportunity to get the score card off to a good start.
Tee
Yardage
Par
SL
Championship
354
4
7
Medal
329
4
7
Ladies
297
4
3
Society
312
4
7
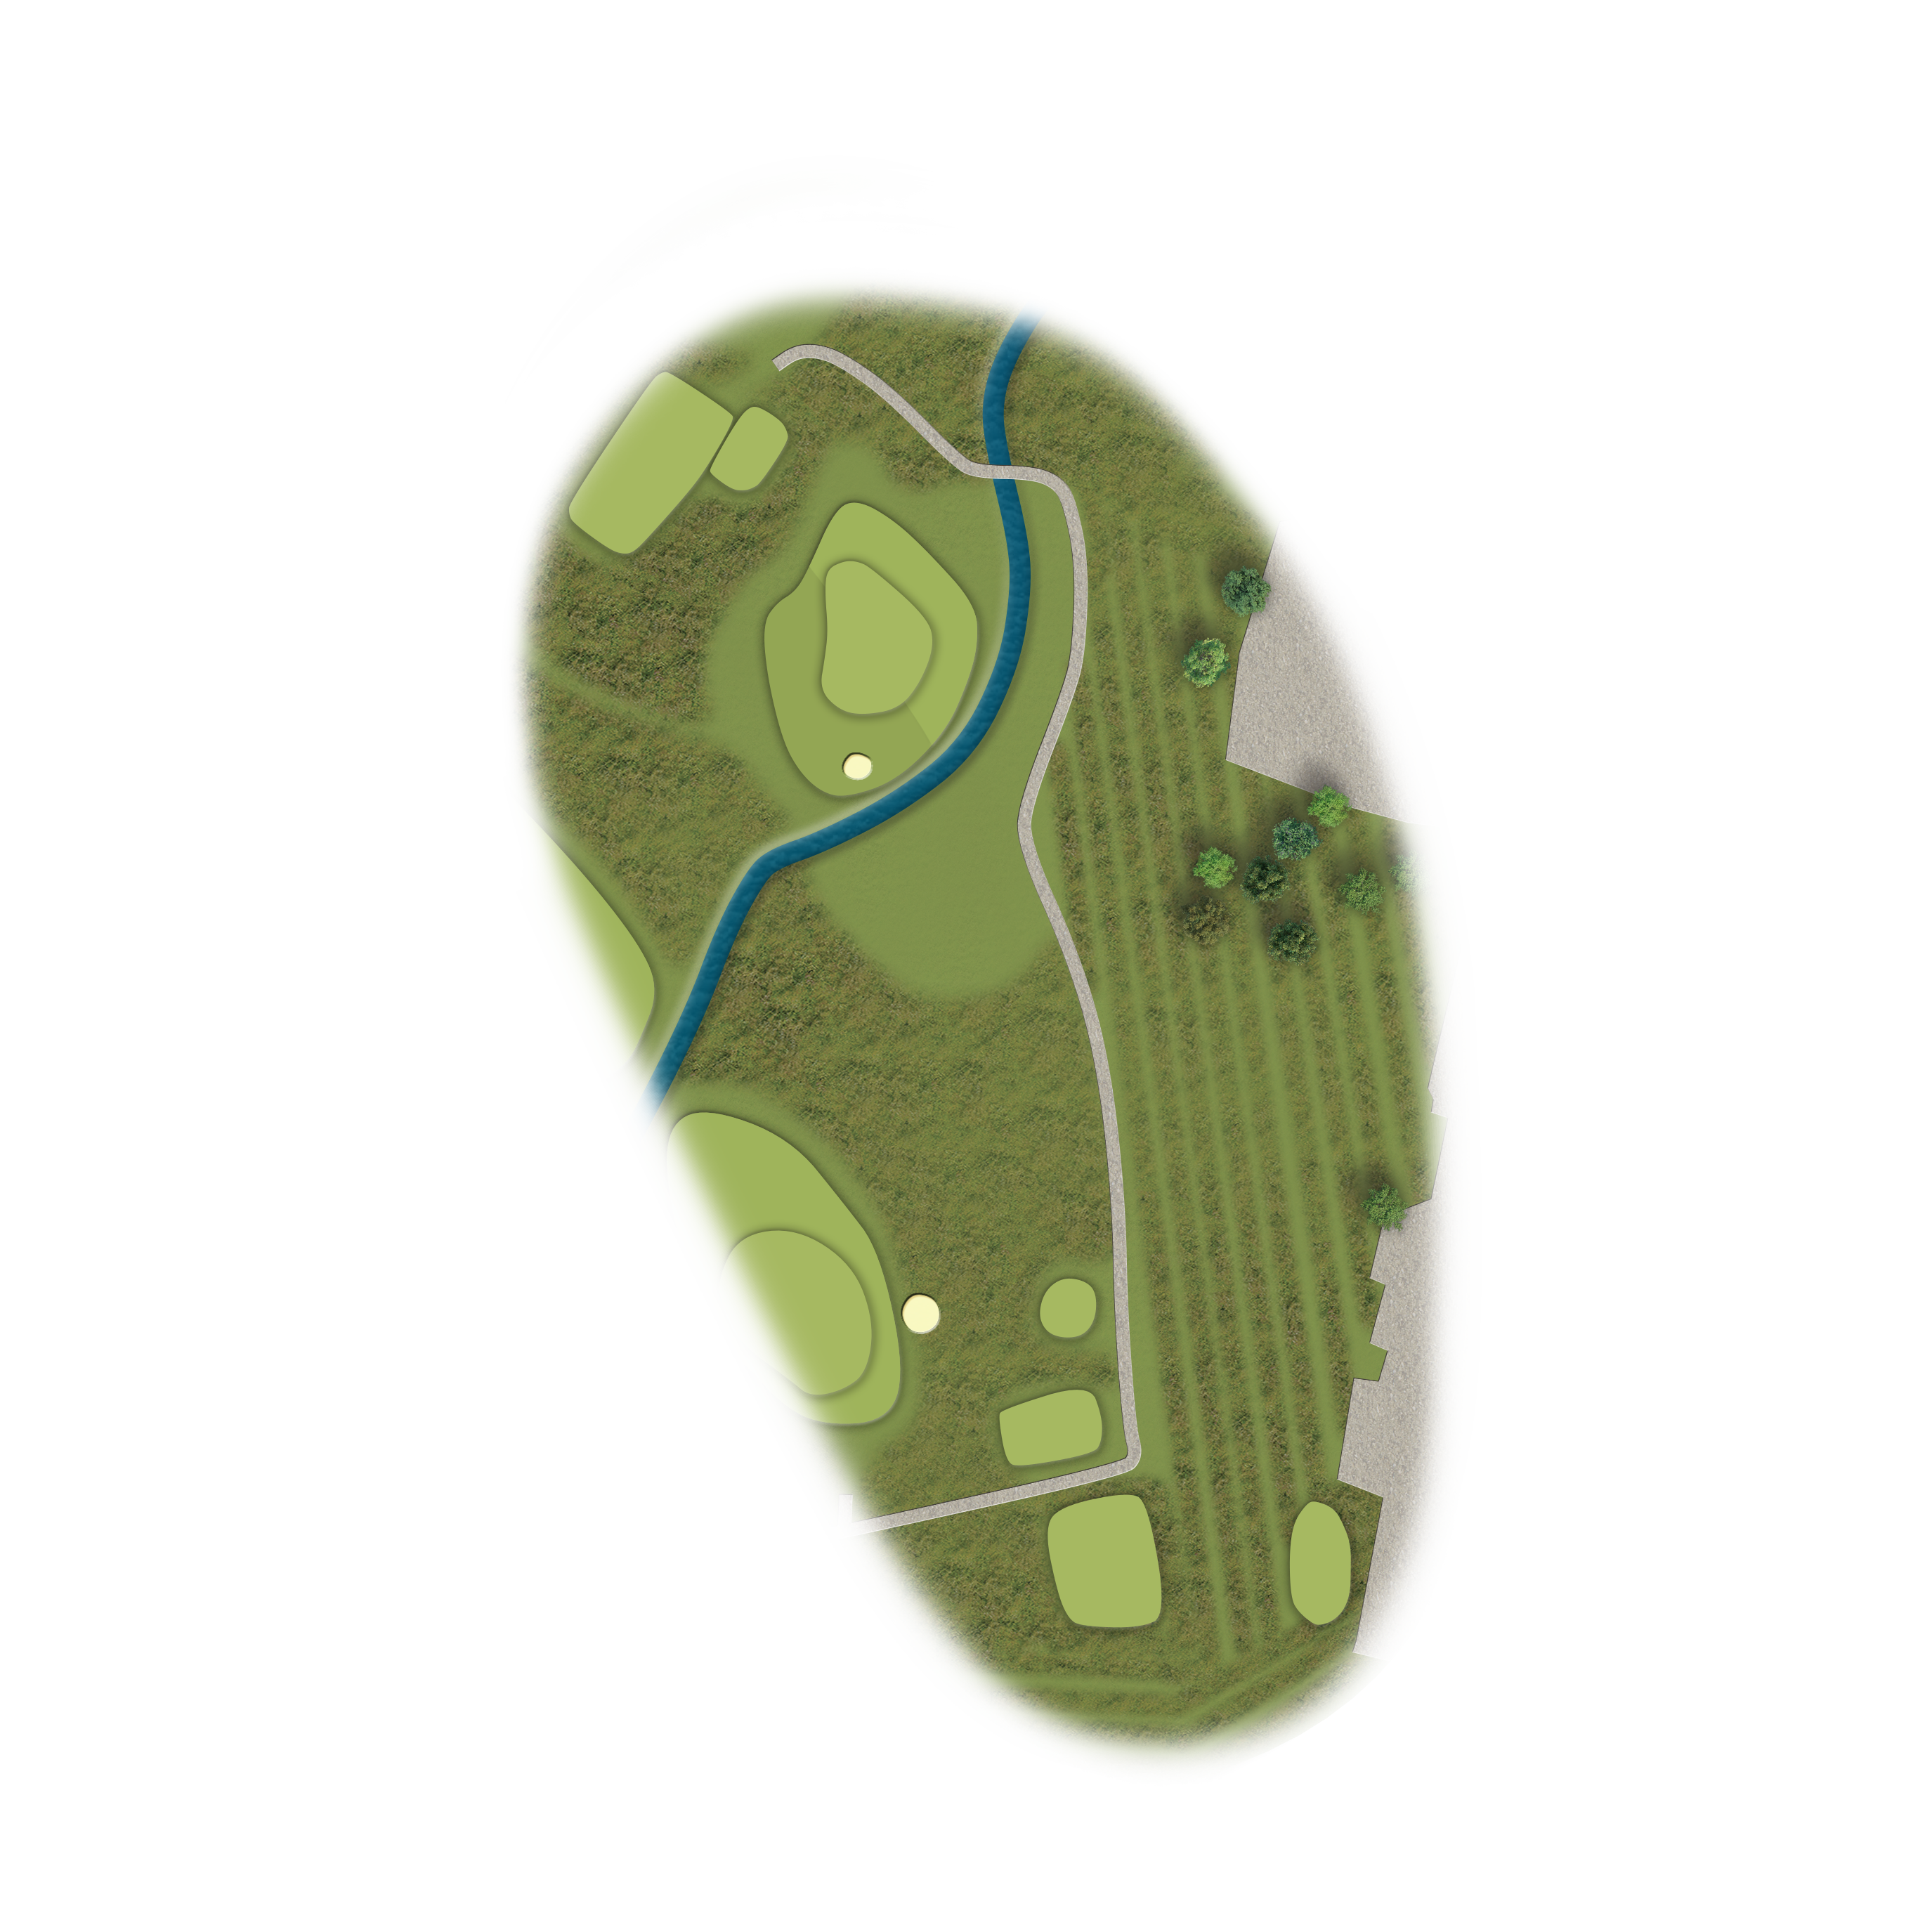
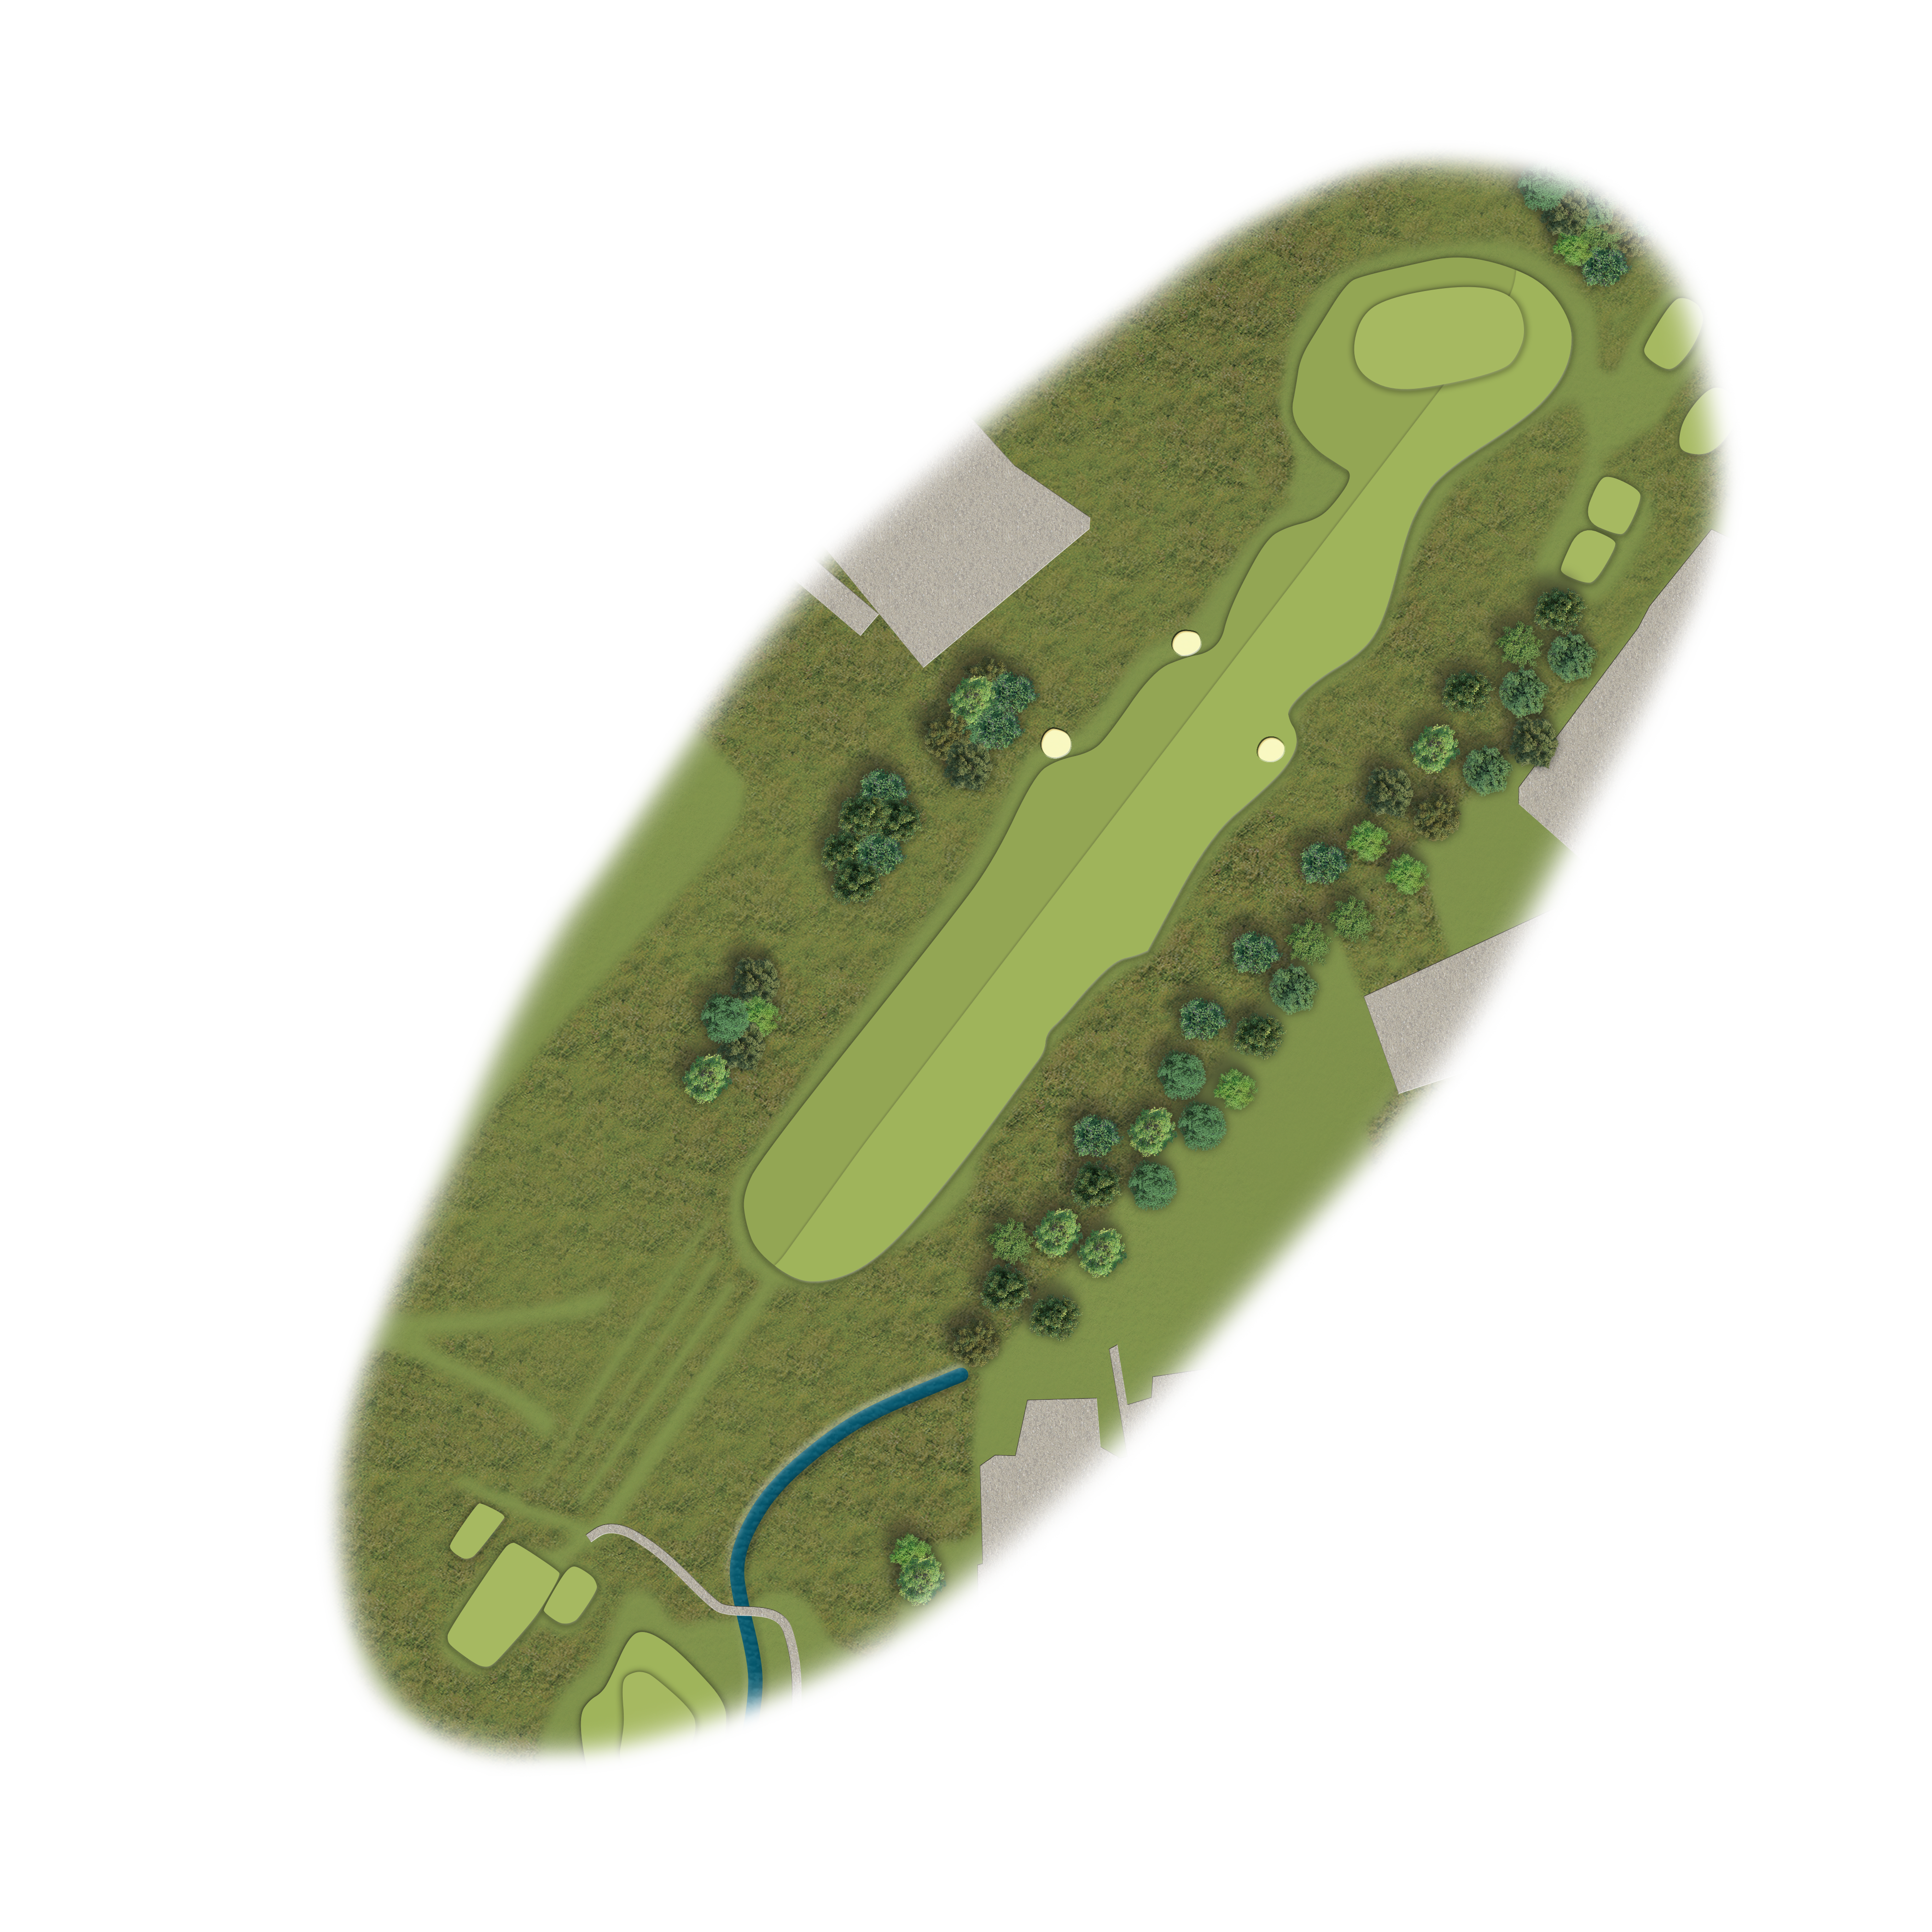
Choose your club wisely. Meandering water waits to swallow mishits around the front of this taxing Par 3. Target the centre of the green to avoid a bunker protecting its left and falling ground to the right.
Pro Tip
Tee
Yardage
Par
SL
Championship
145
3
15
Medal
138
3
15
Ladies
100
3
17
Society
119
3
15
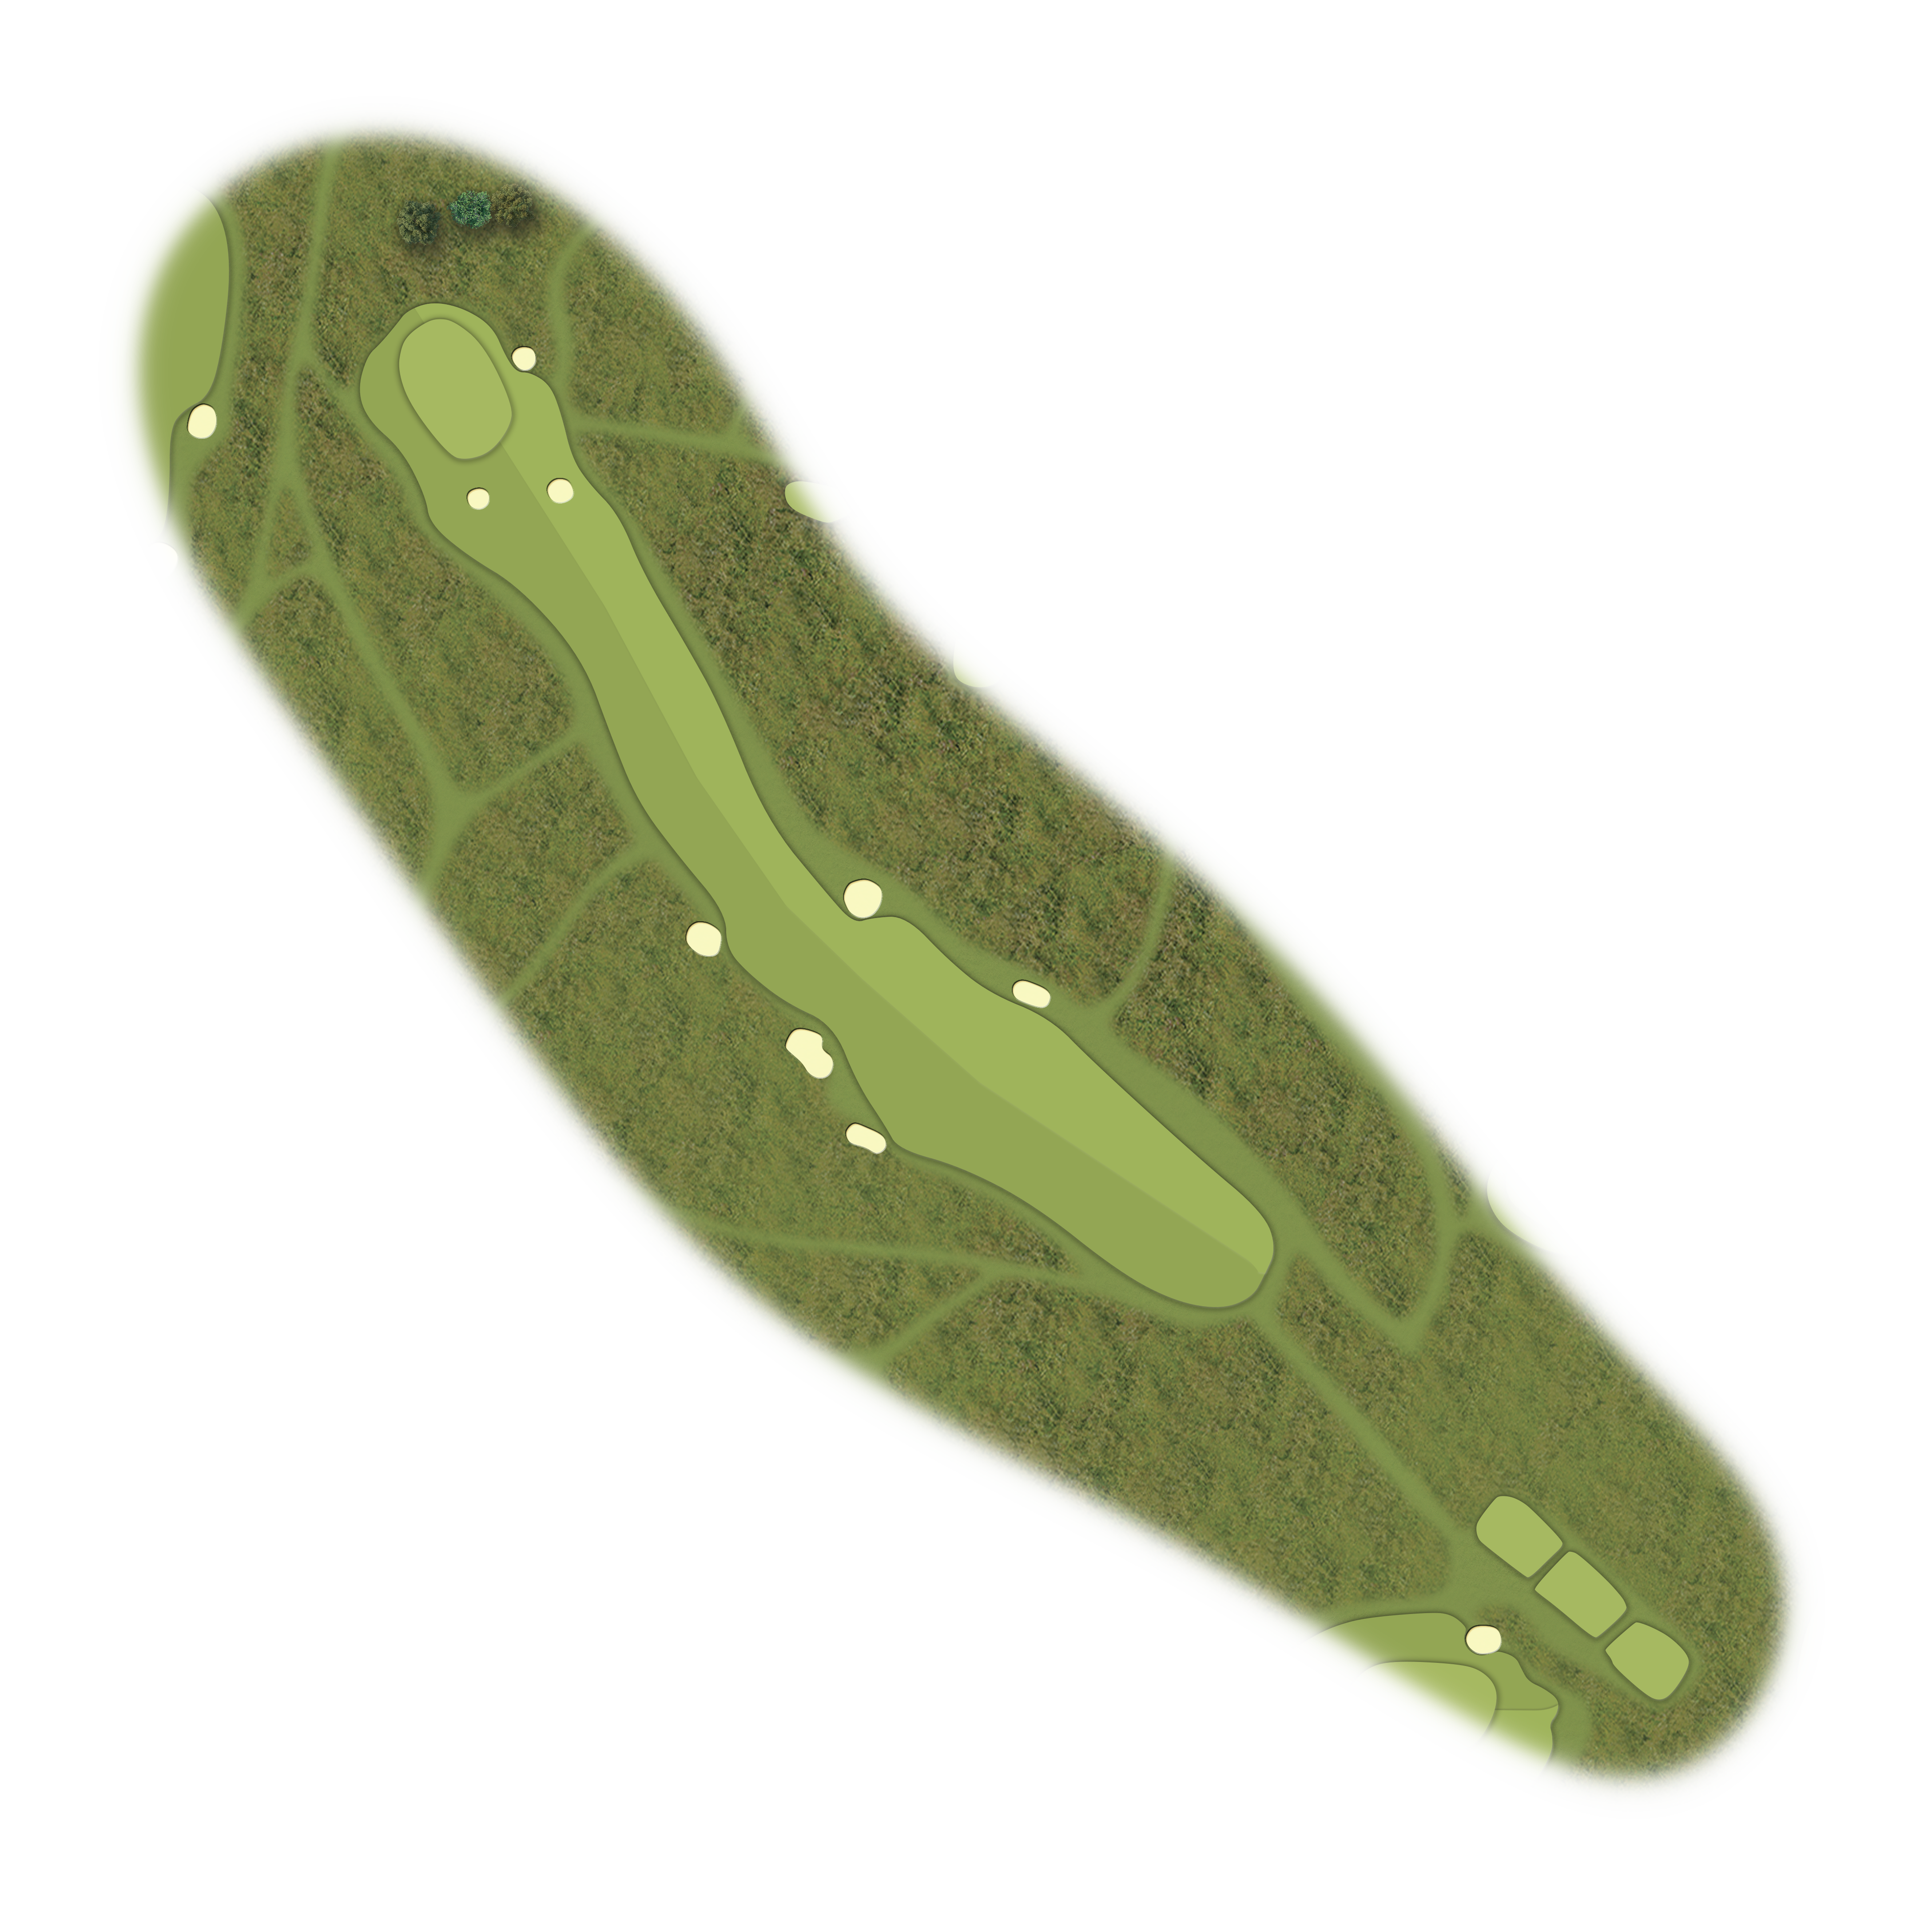
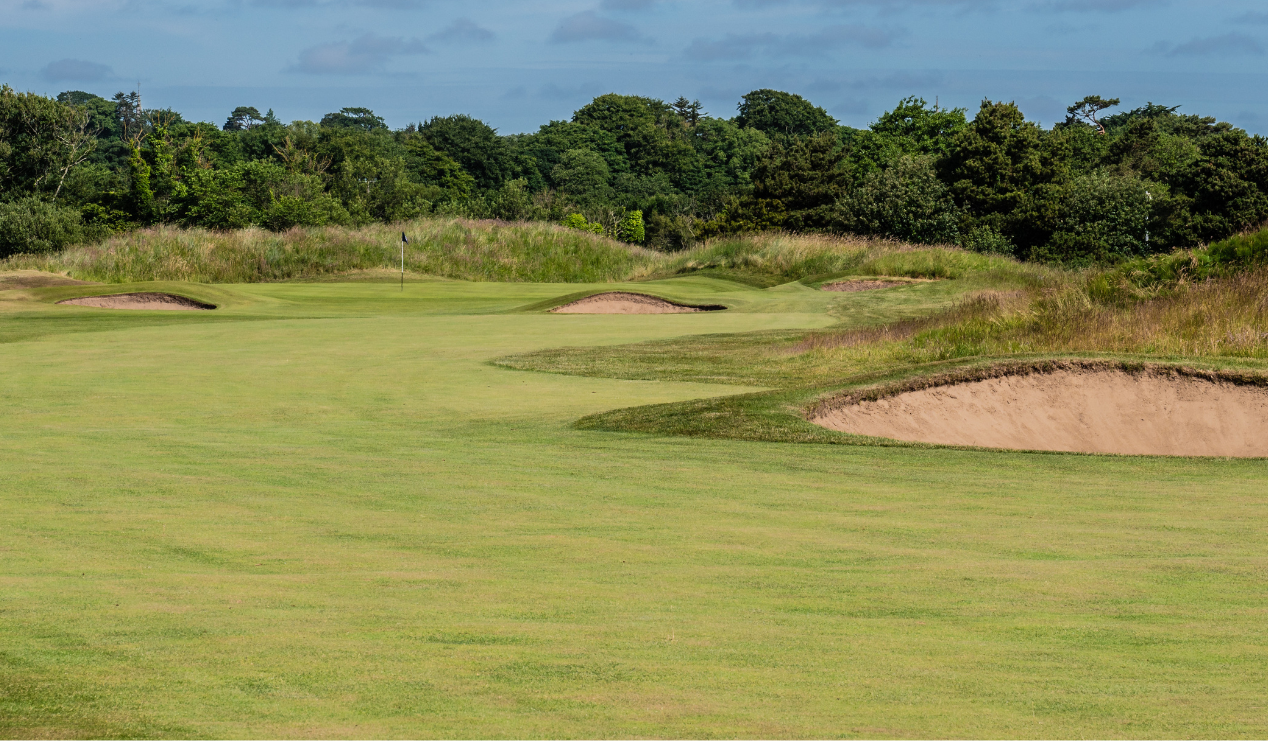
Finding the fairway, though generous from the tees, is vital. Strike straight and long for a more manageable route to a challenging target. Many tricky pin positions, compounded by run-off areas to the font right, require a deft approach shot.
Pro Tip
Tee
Yardage
Par
SL
Championship
340
4
11
Medal
333
4
11
Ladies
326
4
5
Society
324
4
11
Most are content with a par on this first of two consecutive mammoth tasks. Expect a left-to-right fairway camber and bunkers lining the left side of your approach. Even a prime position off the tee leaves you contending with water and bunkers on either side of the green.
Pro Tip
Tee
Yardage
Par
SL
Championship
402
4
3
Medal
388
4
3
Ladies
277
4
13
Society
343
4
3
A treacherous drive with water in front of the tee box and out-of-bounds to the right as well as two unforgiving bunkers on the left. Hitting centre fairway sets up a reasonable approach shot – on a landing area sandwiched by water – to the green.
Pro Tip
Tee
Yardage
Par
SL
Championship
385
4
1
Medal
353
4
1
Ladies
267
4
11
Society
338
4
1
Some welcome respite after the high-wire act of the previous two holes. Solid shots will find the fairway, evade chomping teeth around the green (including four bunkers to the right) and create chances to score.
Pro Tip
Tee
Yardage
Par
SL
Championship
473
5
17
Medal
461
5
17
Ladies
420
5
1
Society
437
5
17
The tee shot to an otherwise amendable fairway must account for bunkers, rough and gorse bushes to the left and right. Bunkers surrounding the green provide another test of nerve and accuracy on the approach.
Pro Tip
Tee
Yardage
Par
SL
Championship
400
4
5
Medal
384
4
5
Ladies
305
4
7
Society
362
4
5
Prioritise distance from the tee before a crucial second shot on your way back towards the Clubhouse. A prudent approach is needed to find the green in regulation and avoid stiff roll-offs on either side of the putting surface.
Pro Tip
Tee
Yardage
Par
SL
Championship
505
5
13
Medal
494
4
5
Ladies
410
5
9
Society
461
5
13
A short par 3 with razor-sharp teeth. Overenthusiastic tee shots to the left, right or long will be eaten alive. Trusting your short-game skills offers a safer finish, especially when the wind is up.
Pro Tip
Tee
Yardage
Par
SL
Championship
186
3
9
Medal
170
3
9
Ladies
124
3
15
Society
170
3
9
What is statistically the easiest hole on the course gets the back nine underway. Your run-up to the green is relatively straightforward provided you avoid the small pot bunker where the fairway slopes right on the landing area.
Pro Tip
Tee
Yardage
Par
SL
Championship
490
5
18
Medal
466
5
18
Ladies
389
5
16
Society
448
5
18
Ominous bunkers on this gentle right-to-left dogleg lurk to the right off the tee. Your uphill approach shot may require an extra club if the pin is to the back half of an elongated green. Be advised that missing long could result in a difficult up and down.
Pro Tip
Tee
Yardage
Par
SL
Championship
368
4
10
Medal
344
4
10
Ladies
280
4
14
Society
328
4
10
The drive must locate the fairway to clear your approach to an unforgiving two-tiered green. Balls landing short can kick to the left, leaving you with an uphill chip to the pin.
Pro Tip
Tee
Yardage
Par
SL
Championship
419
4
4
Medal
392
4
4
Ladies
312
4
12
Society
352
4
4
Bunkers to the left and right wait to devour wayward drives on this dogleg. Approach shots must navigate sand traps and the duo of bunkers protecting one of the flattest greens on the course.
Pro Tip
Tee
Yardage
Par
SL
Championship
412
4
2
Medal
370
4
2
Ladies
302
4
8
Society
343
4
2
Aim tee shots to the left for a generous view of the green – but beware of the two awaiting bunkers. You’ll need a full locker of short-game skills if you miss the blind green on the uphill approach.
Pro Tip
Tee
Yardage
Par
SL
Championship
394
4
6
Medal
378
4
6
Ladies
332
4
6
Society
352
4
6
The drive towards the Irish Sea must be near-faultless to secure a manageable putt on the contoured two-tiered green. Failure to find the putting surface, which slopes off the left, leaves no easy options to get up and down.
Pro Tip
Tee
Yardage
Par
SL
Championship
154
3
14
Medal
138
3
14
Ladies
116
3
18
Society
141
3
14
The green is reachable with enough distance off the tee on this short par 4. If not, the sloping fairway sometimes produces unexpected bounces. Finding the short stuff should set up a reasonable second shot that must avoid a tricky bunker to the front right of the green.
Pro Tip
Tee
Yardage
Par
SL
Championship
342
4
12
Medal
342
4
12
Ladies
301
4
2
Society
342
4
12
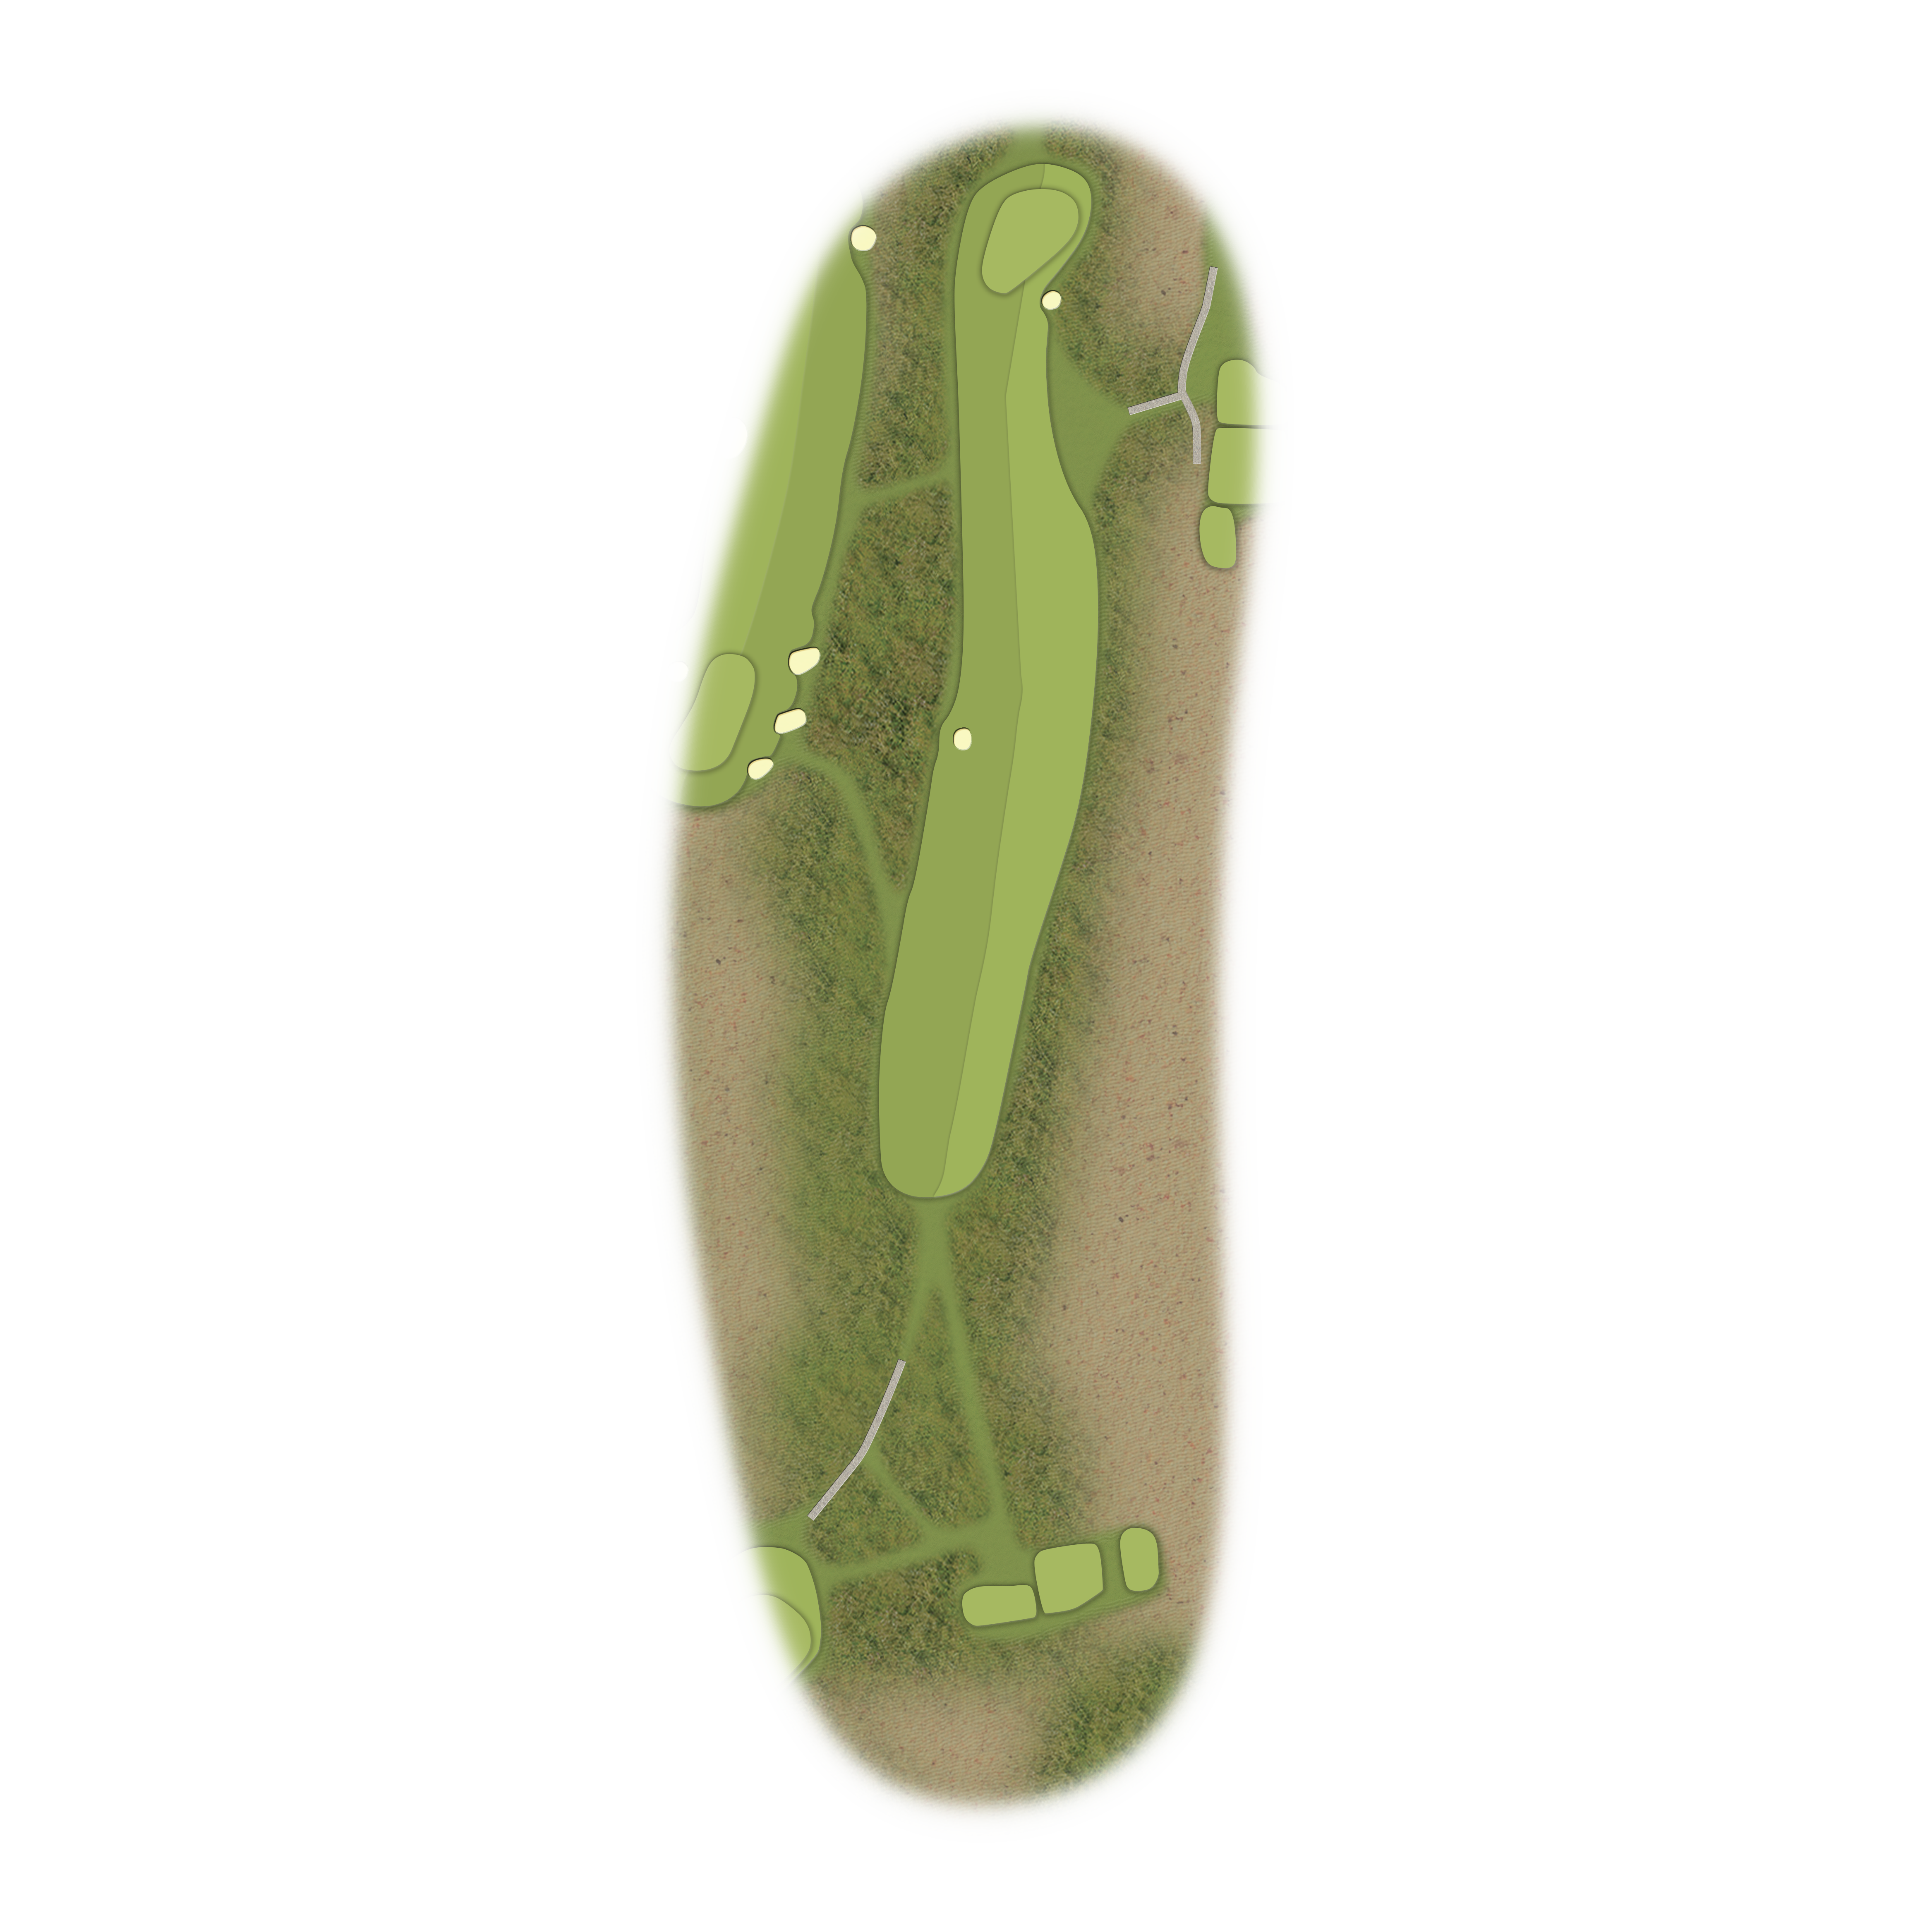
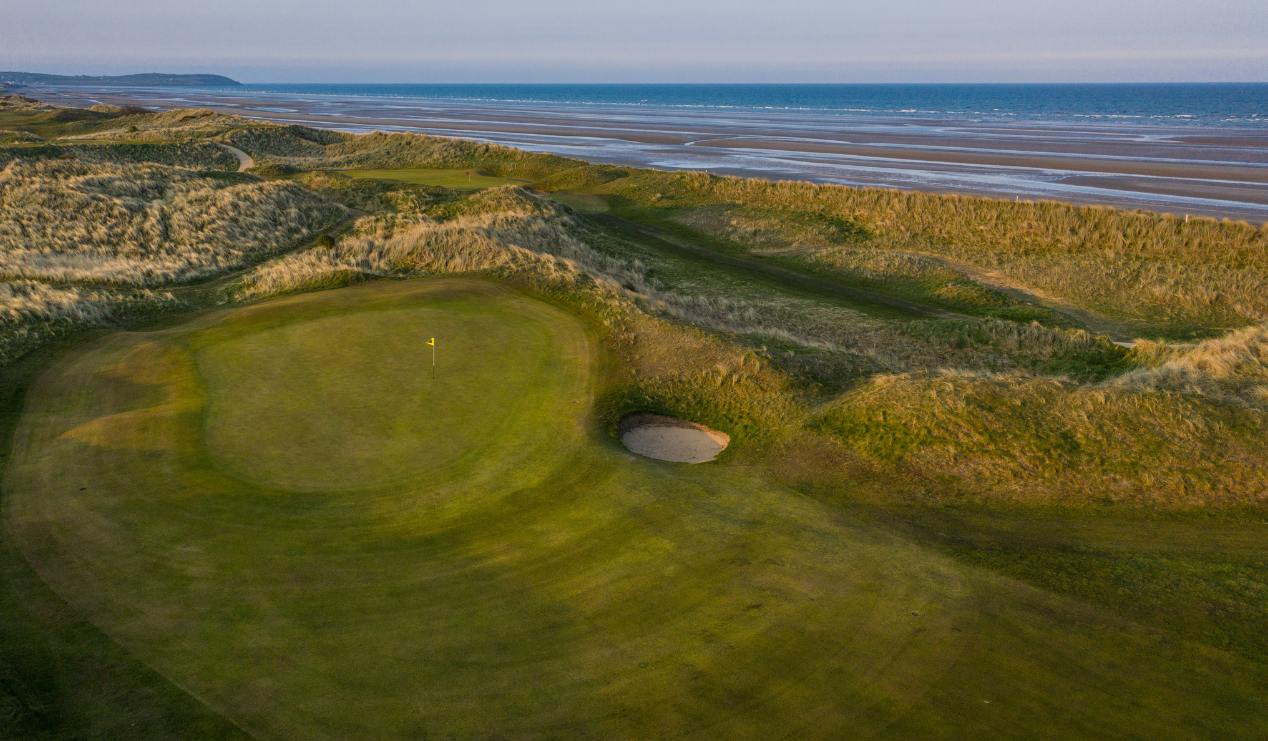
The signature hole. An elevated tee through the dunes leads to a long and narrow green. A ridge splits the putting surface into two sections, front and back, and you risk serious peril if your tee shot fails to find one of them.
Pro Tip
Tee
Yardage
Par
SL
Championship
171
3
16
Medal
156
3
16
Ladies
136
3
10
Society
136
3
16
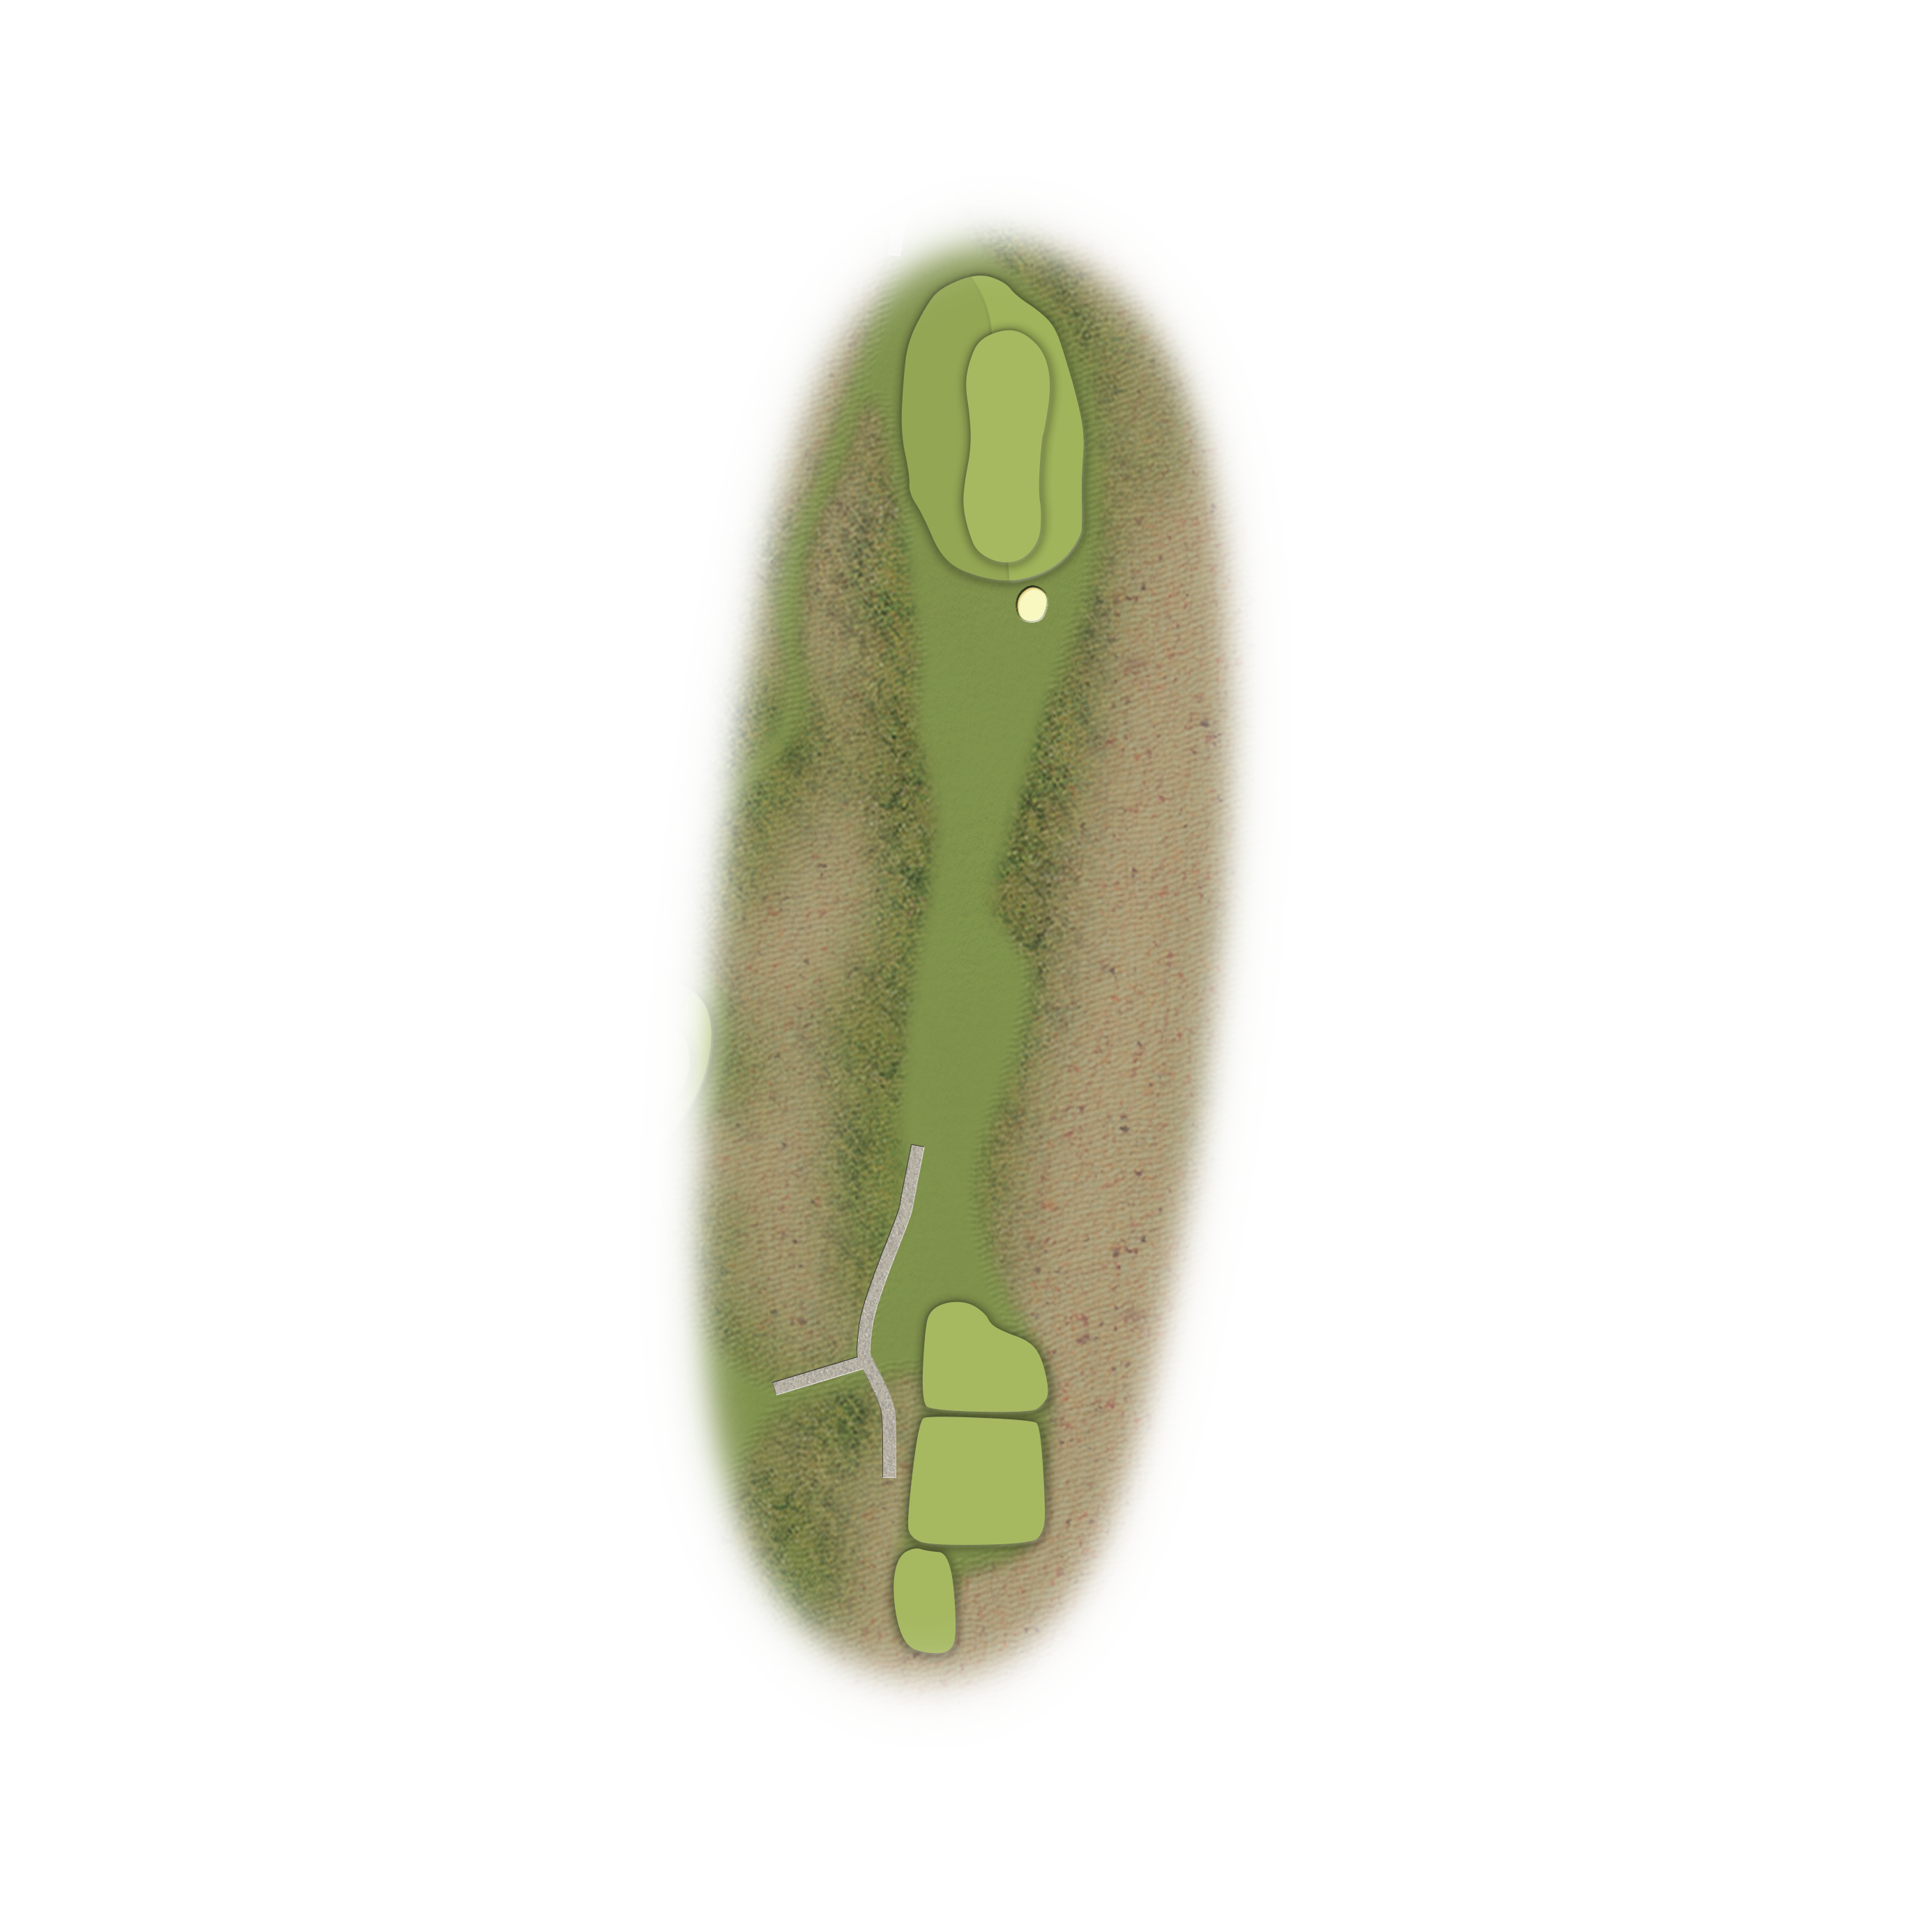
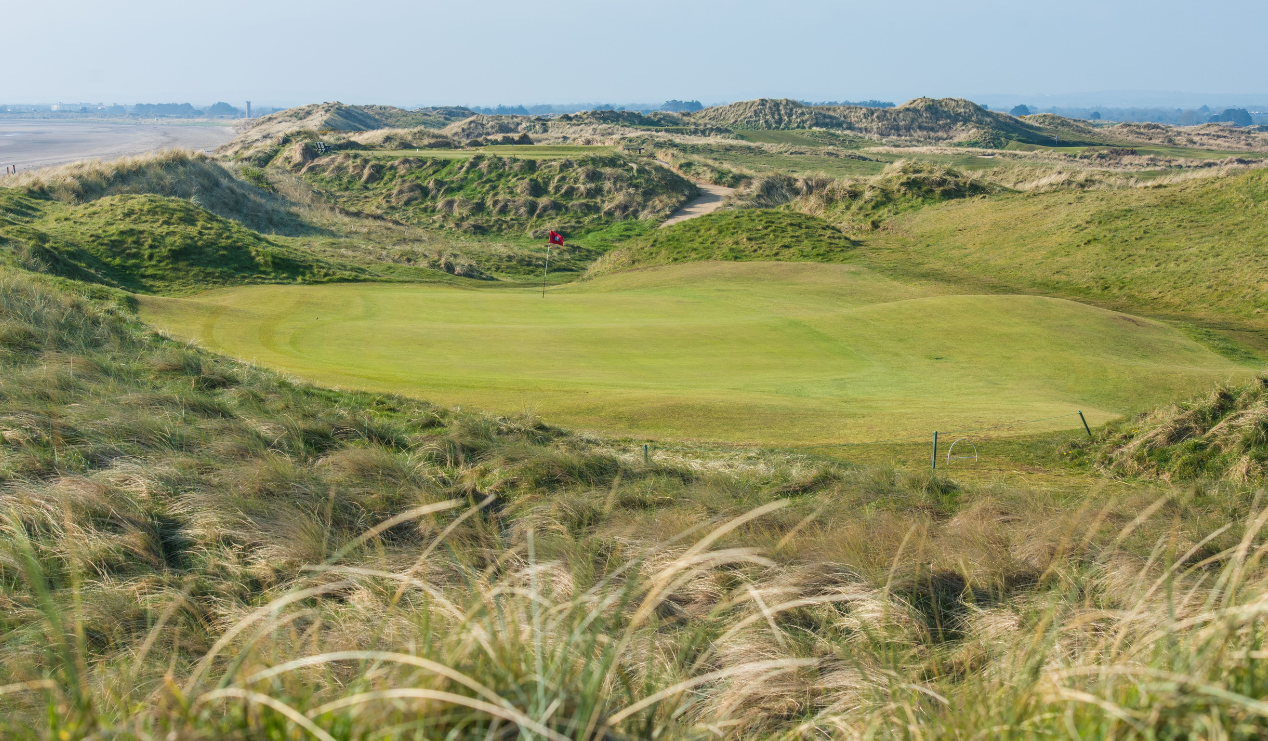
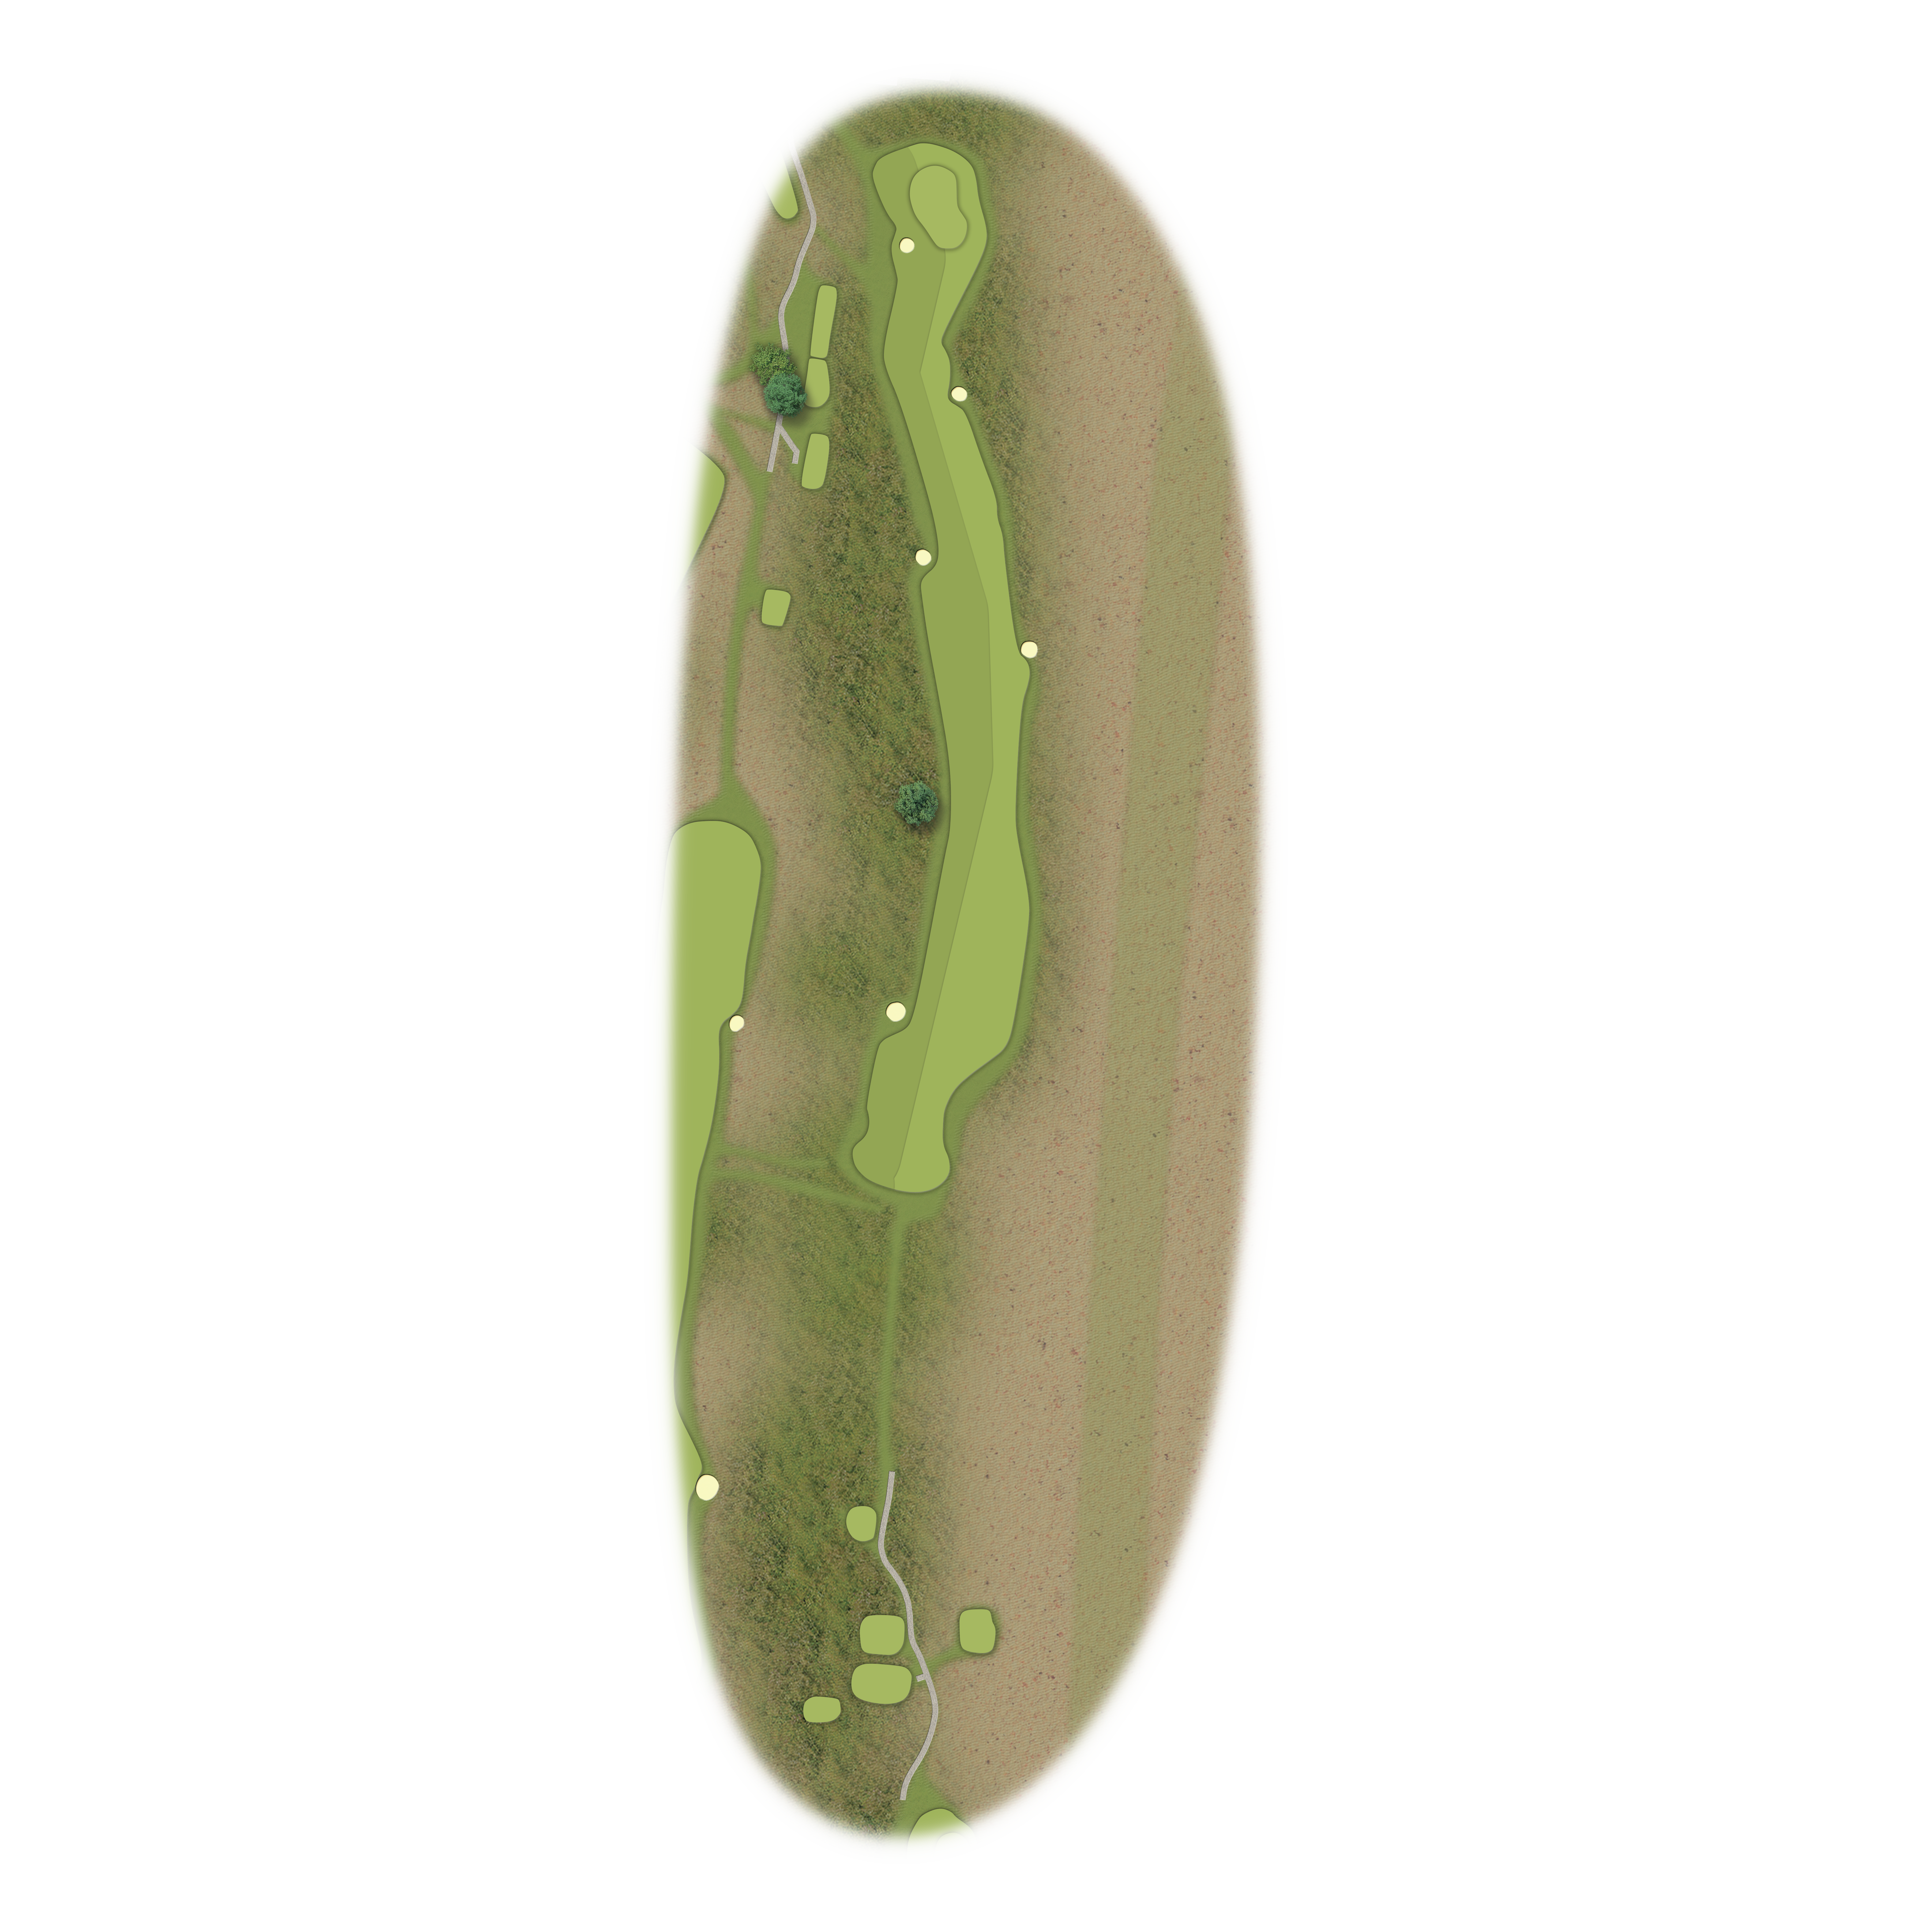
A fantastic finish along the Irish Sea begins with a leap of faith. Drive right for the fairway landing area unseeable from the tee to avoid the bunker and tree on the left. Your final approach, though arrayed with more bunkers, comes with the welcome sight of our Clubhouse.
Pro Tip
Tee
Yardage
Par
SL
Championship
499
5
8
Medal
472
5
8
Ladies
437
5
4
Society
490
5
8
Pro Tip
A gentle par 4 to start. Aim for the right half of the fairway to provide the best view into the green. You’ll be hitting downhill to a generous putting surface, with danger lurking short. A stream crosses a few yards before the green, recalling the infamous opening hole at the Old Course. A solid approach provides opportunity to get the score card off to a good start.
Tee
Yardage
Par
SL
Championship
354
4
7
Medal
329
4
7
Ladies
297
4
3
Society
312
4
7
Choose your club wisely. Meandering water waits to swallow mishits around the front of this taxing Par 3. Target the centre of the green to avoid a bunker protecting its left and falling ground to the right.
Pro Tip
Tee
Yardage
Par
SL
Championship
145
3
15
Medal
138
3
15
Ladies
100
3
17
Society
119
3
15
Finding the fairway, though generous from the tees, is vital. Strike straight and long for a more manageable route to a challenging target. Many tricky pin positions, compounded by run-off areas to the font right, require a deft approach shot.
Pro Tip
Tee
Yardage
Par
SL
Championship
340
4
11
Medal
333
4
11
Ladies
326
4
5
Society
324
4
11
Most are content with a par on this first of two consecutive mammoth tasks. Expect a left-to-right fairway camber and bunkers lining the left side of your approach. Even a prime position off the tee leaves you contending with water and bunkers on either side of the green.
Pro Tip
Tee
Yardage
Par
SL
Championship
402
4
3
Medal
388
4
3
Ladies
277
4
13
Society
343
4
3
A treacherous drive with water in front of the tee box and out-of-bounds to the right as well as two unforgiving bunkers on the left. Hitting centre fairway sets up a reasonable approach shot – on a landing area sandwiched by water – to the green.
Pro Tip
Tee
Yardage
Par
SL
Championship
385
4
1
Medal
353
4
1
Ladies
267
4
11
Society
338
4
1
Some welcome respite after the high-wire act of the previous two holes. Solid shots will find the fairway, evade chomping teeth around the green (including four bunkers to the right) and create chances to score.
Pro Tip
Tee
Yardage
Par
SL
Championship
473
5
17
Medal
461
5
17
Ladies
420
5
1
Society
437
5
17
The tee shot to an otherwise amendable fairway must account for bunkers, rough and gorse bushes to the left and right. Bunkers surrounding the green provide another test of nerve and accuracy on the approach.
Pro Tip
Tee
Yardage
Par
SL
Championship
400
4
5
Medal
384
4
5
Ladies
305
4
7
Society
362
4
5
Prioritise distance from the tee before a crucial second shot on your way back towards the Clubhouse. A prudent approach is needed to find the green in regulation and avoid stiff roll-offs on either side of the putting surface.
Pro Tip
Tee
Yardage
Par
SL
Championship
505
5
13
Medal
494
4
5
Ladies
410
5
9
Society
461
5
13
A short par 3 with razor-sharp teeth. Overenthusiastic tee shots to the left, right or long will be eaten alive. Trusting your short-game skills offers a safer finish, especially when the wind is up.
Pro Tip
Tee
Yardage
Par
SL
Championship
186
3
9
Medal
170
3
9
Ladies
124
3
15
Society
170
3
9
What is statistically the easiest hole on the course gets the back nine underway. Your run-up to the green is relatively straightforward provided you avoid the small pot bunker where the fairway slopes right on the landing area.
Pro Tip
Tee
Yardage
Par
SL
Championship
490
5
18
Medal
466
5
18
Ladies
389
5
16
Society
448
5
18
Ominous bunkers on this gentle right-to-left dogleg lurk to the right off the tee. Your uphill approach shot may require an extra club if the pin is to the back half of an elongated green. Be advised that missing long could result in a difficult up and down.
Pro Tip
Tee
Yardage
Par
SL
Championship
368
4
10
Medal
344
4
10
Ladies
280
4
14
Society
328
4
10
The drive must locate the fairway to clear your approach to an unforgiving two-tiered green. Balls landing short can kick to the left, leaving you with an uphill chip to the pin.
Pro Tip
Tee
Yardage
Par
SL
Championship
419
4
4
Medal
392
4
4
Ladies
312
4
12
Society
352
4
4
Bunkers to the left and right wait to devour wayward drives on this dogleg. Approach shots must navigate sand traps and the duo of bunkers protecting one of the flattest greens on the course.
Pro Tip
Tee
Yardage
Par
SL
Championship
412
4
2
Medal
370
4
2
Ladies
302
4
8
Society
343
4
2
Aim tee shots to the left for a generous view of the green – but beware of the two awaiting bunkers. You’ll need a full locker of short-game skills if you miss the blind green on the uphill approach.
Pro Tip
Tee
Yardage
Par
SL
Championship
394
4
6
Medal
378
4
6
Ladies
332
4
6
Society
352
4
6
The drive towards the Irish Sea must be near-faultless to secure a manageable putt on the contoured two-tiered green. Failure to find the putting surface, which slopes off the left, leaves no easy options to get up and down.
Pro Tip
Tee
Yardage
Par
SL
Championship
154
3
14
Medal
138
3
14
Ladies
116
3
18
Society
141
3
14
The green is reachable with enough distance off the tee on this short par 4. If not, the sloping fairway sometimes produces unexpected bounces. Finding the short stuff should set up a reasonable second shot that must avoid a tricky bunker to the front right of the green.
Pro Tip
Tee
Yardage
Par
SL
Championship
342
4
12
Medal
342
4
12
Ladies
301
4
2
Society
342
4
12
The signature hole. An elevated tee through the dunes leads to a long and narrow green. A ridge splits the putting surface into two sections, front and back, and you risk serious peril if your tee shot fails to find one of them.
Pro Tip
Tee
Yardage
Par
SL
Championship
171
3
16
Medal
156
3
16
Ladies
136
3
10
Society
136
3
16
A fantastic finish along the Irish Sea begins with a leap of faith. Drive right for the fairway landing area unseeable from the tee to avoid the bunker and tree on the left. Your final approach, though arrayed with more bunkers, comes with the welcome sight of our Clubhouse.